Modes
Personal + PTOne shared product with strong personal tracking and a PT workspace when you need client-facing flows.
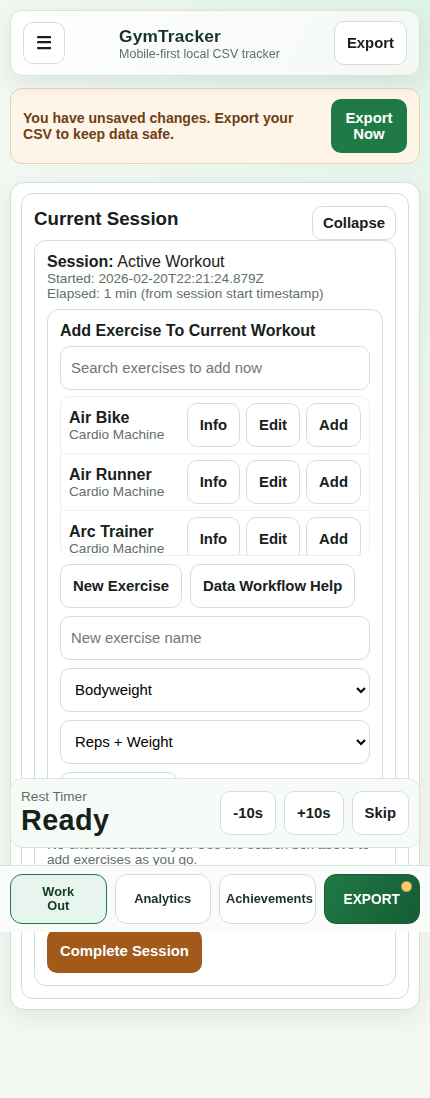
Private-first training tracker
GymTracker is built for two fast-moving use cases: personal logging with deeper Pro unlocks, and PT workflows that need cleaner exports, branding, and public profile control without a corporate-looking tool.

Modes
Personal + PTOne shared product with strong personal tracking and a PT workspace when you need client-facing flows.
Data model
CSV-firstThe same file format moves between free, Pro, PT, and branded import flows.
Privacy
Device-firstNormal workout rows are designed to stay out of the hosted account stack.
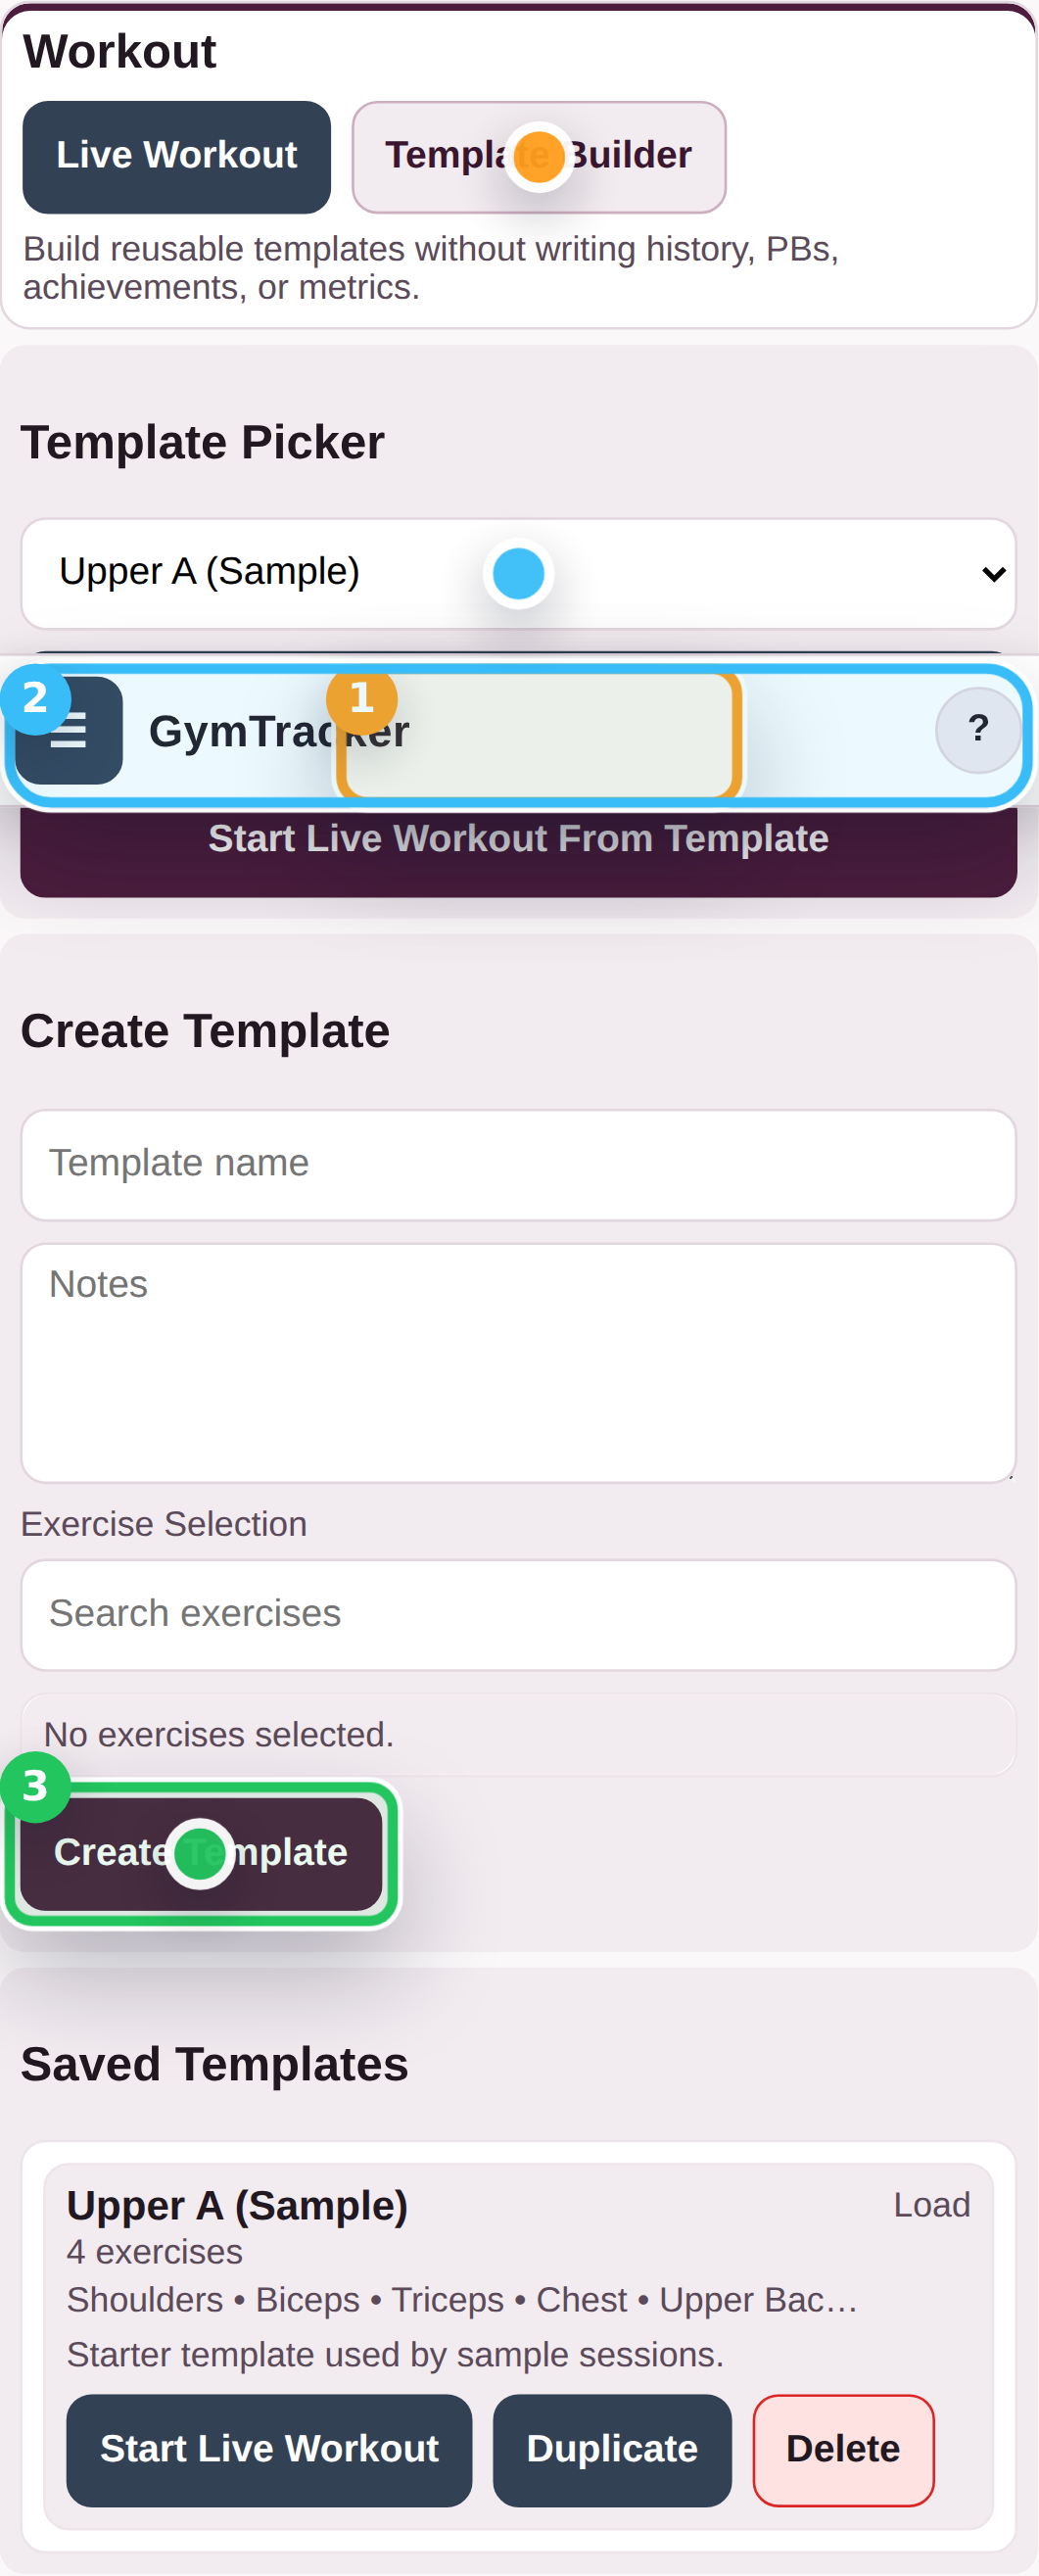
Two clear paths
Start fast, keep exports simple, and unlock more range only when you want deeper programming and analytics.
PT Pro brings together client-ready exports, branding assets, and a PT-facing profile without storing ordinary workout history in the account.
Why people upgrade
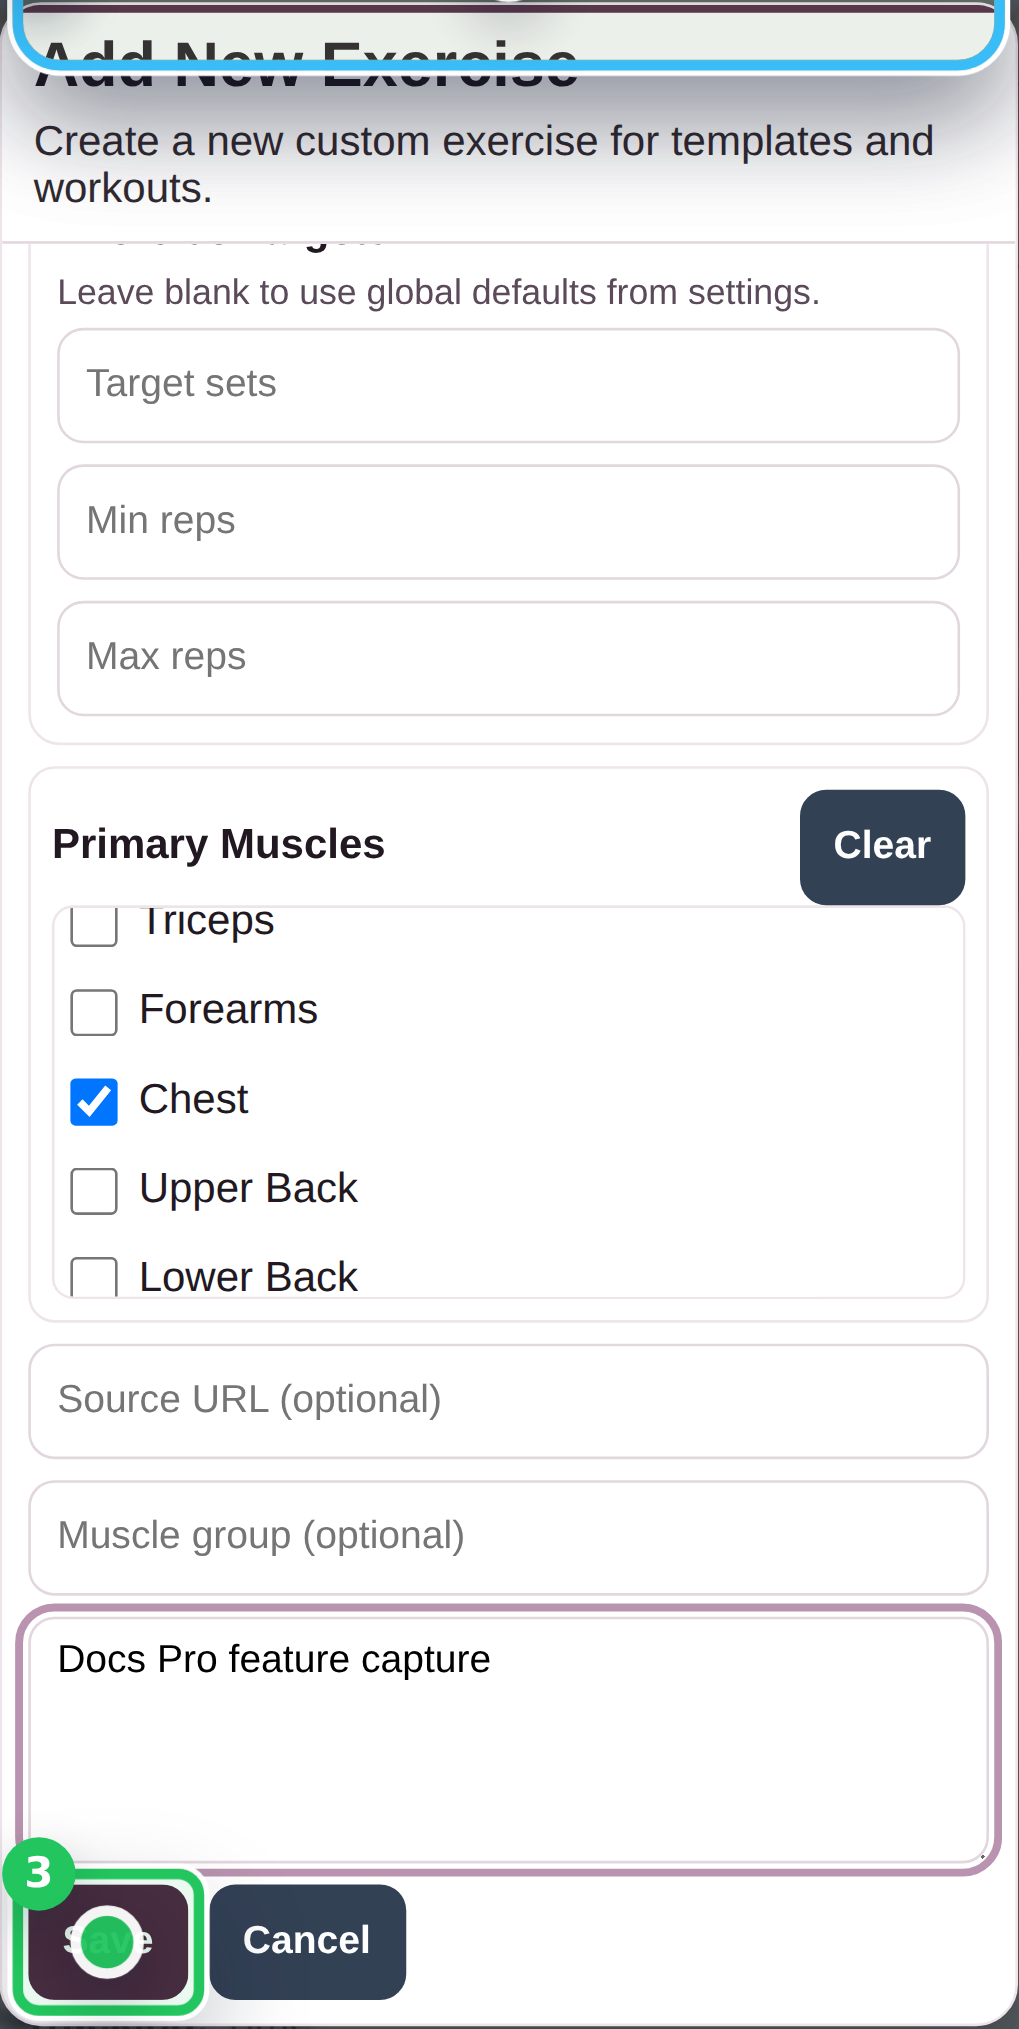
Add your own bar variations, machine names, and specialist movements without hitting the free custom-exercise ceiling.
Review long-term trends, compare training phases, and use custom date windows instead of a locked short-range view.
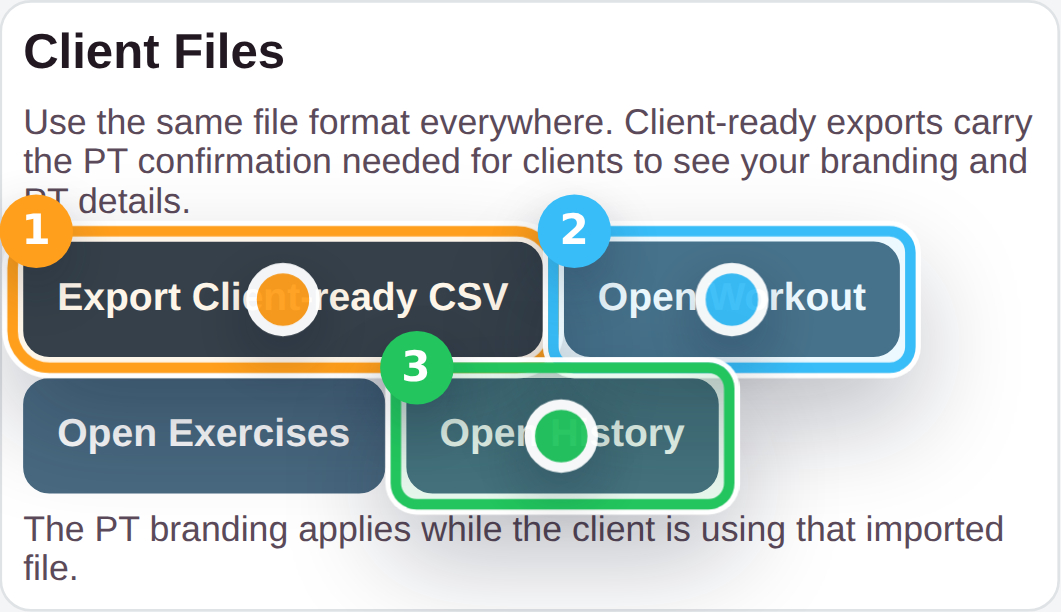
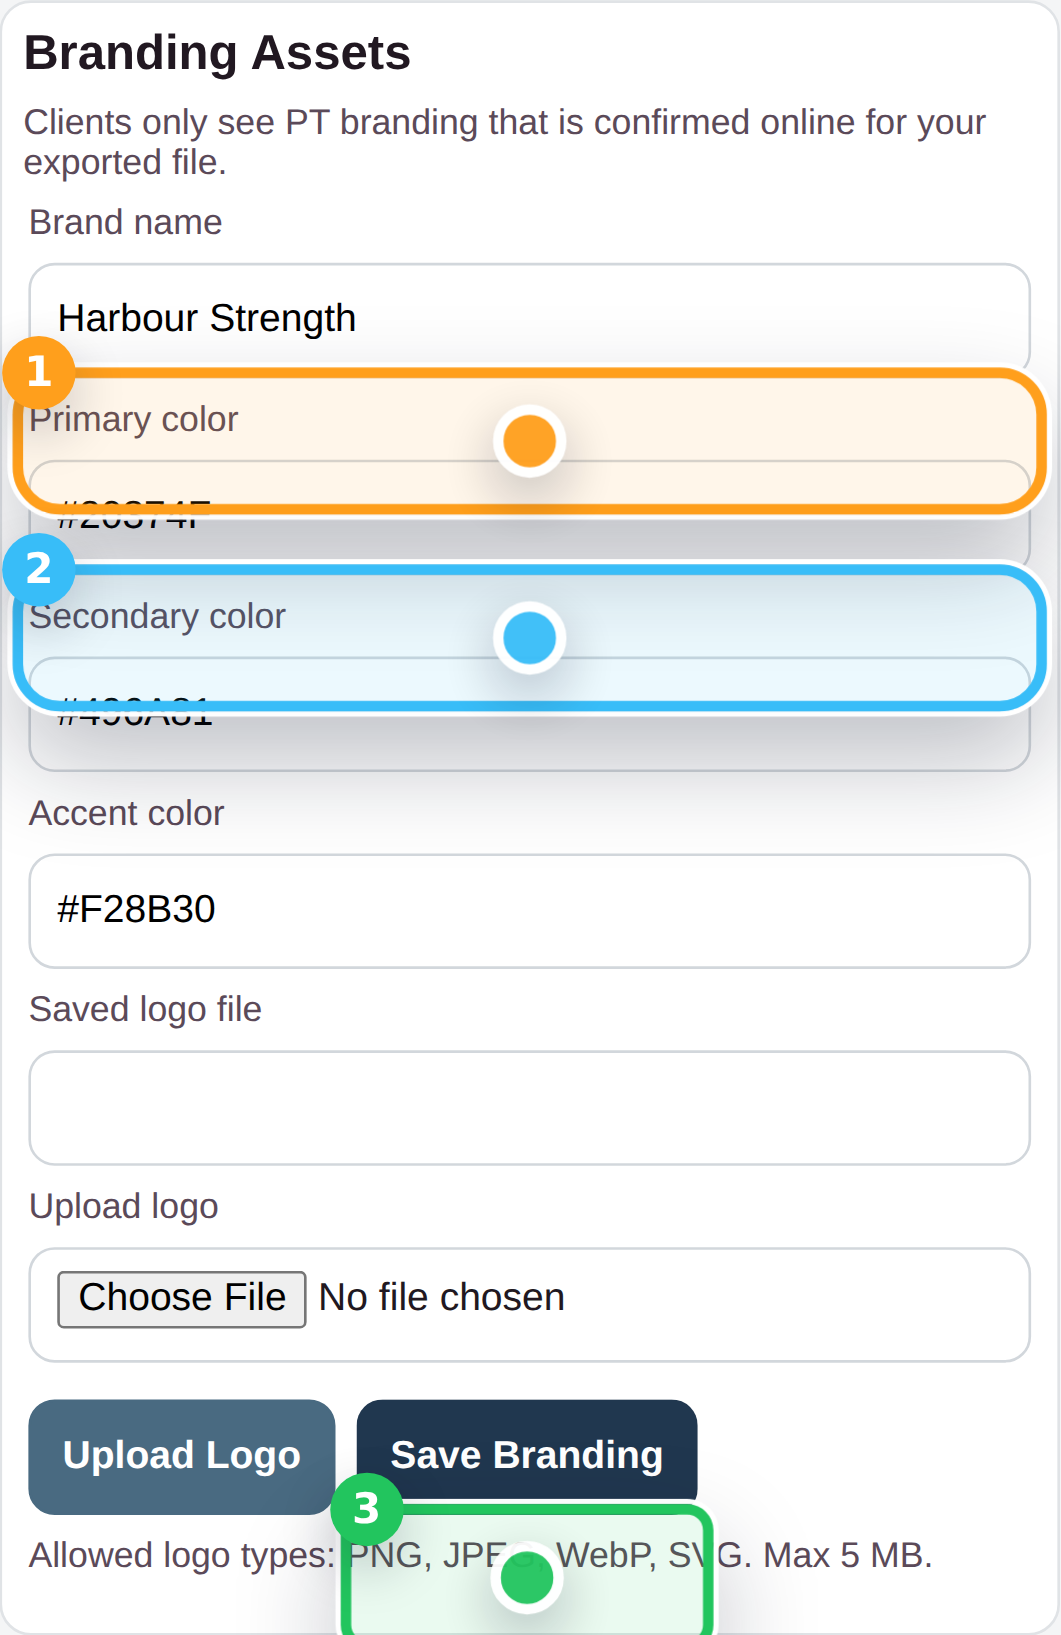
Export files that carry the PT confirmation needed for clients to see your saved branding and profile details on import.
Product proof
Log workouts, keep exports local, and upgrade only when you need more depth.
Use broader date ranges and visual trend views when short-range tracking stops being enough.
PT Pro keeps client-ready exports, brand controls, and profile visibility in one flow.
See the full picture
The marketing pages stay concise on purpose. If you want the exact workflow, the integrated help hub carries the screenshots and customer-ready articles.