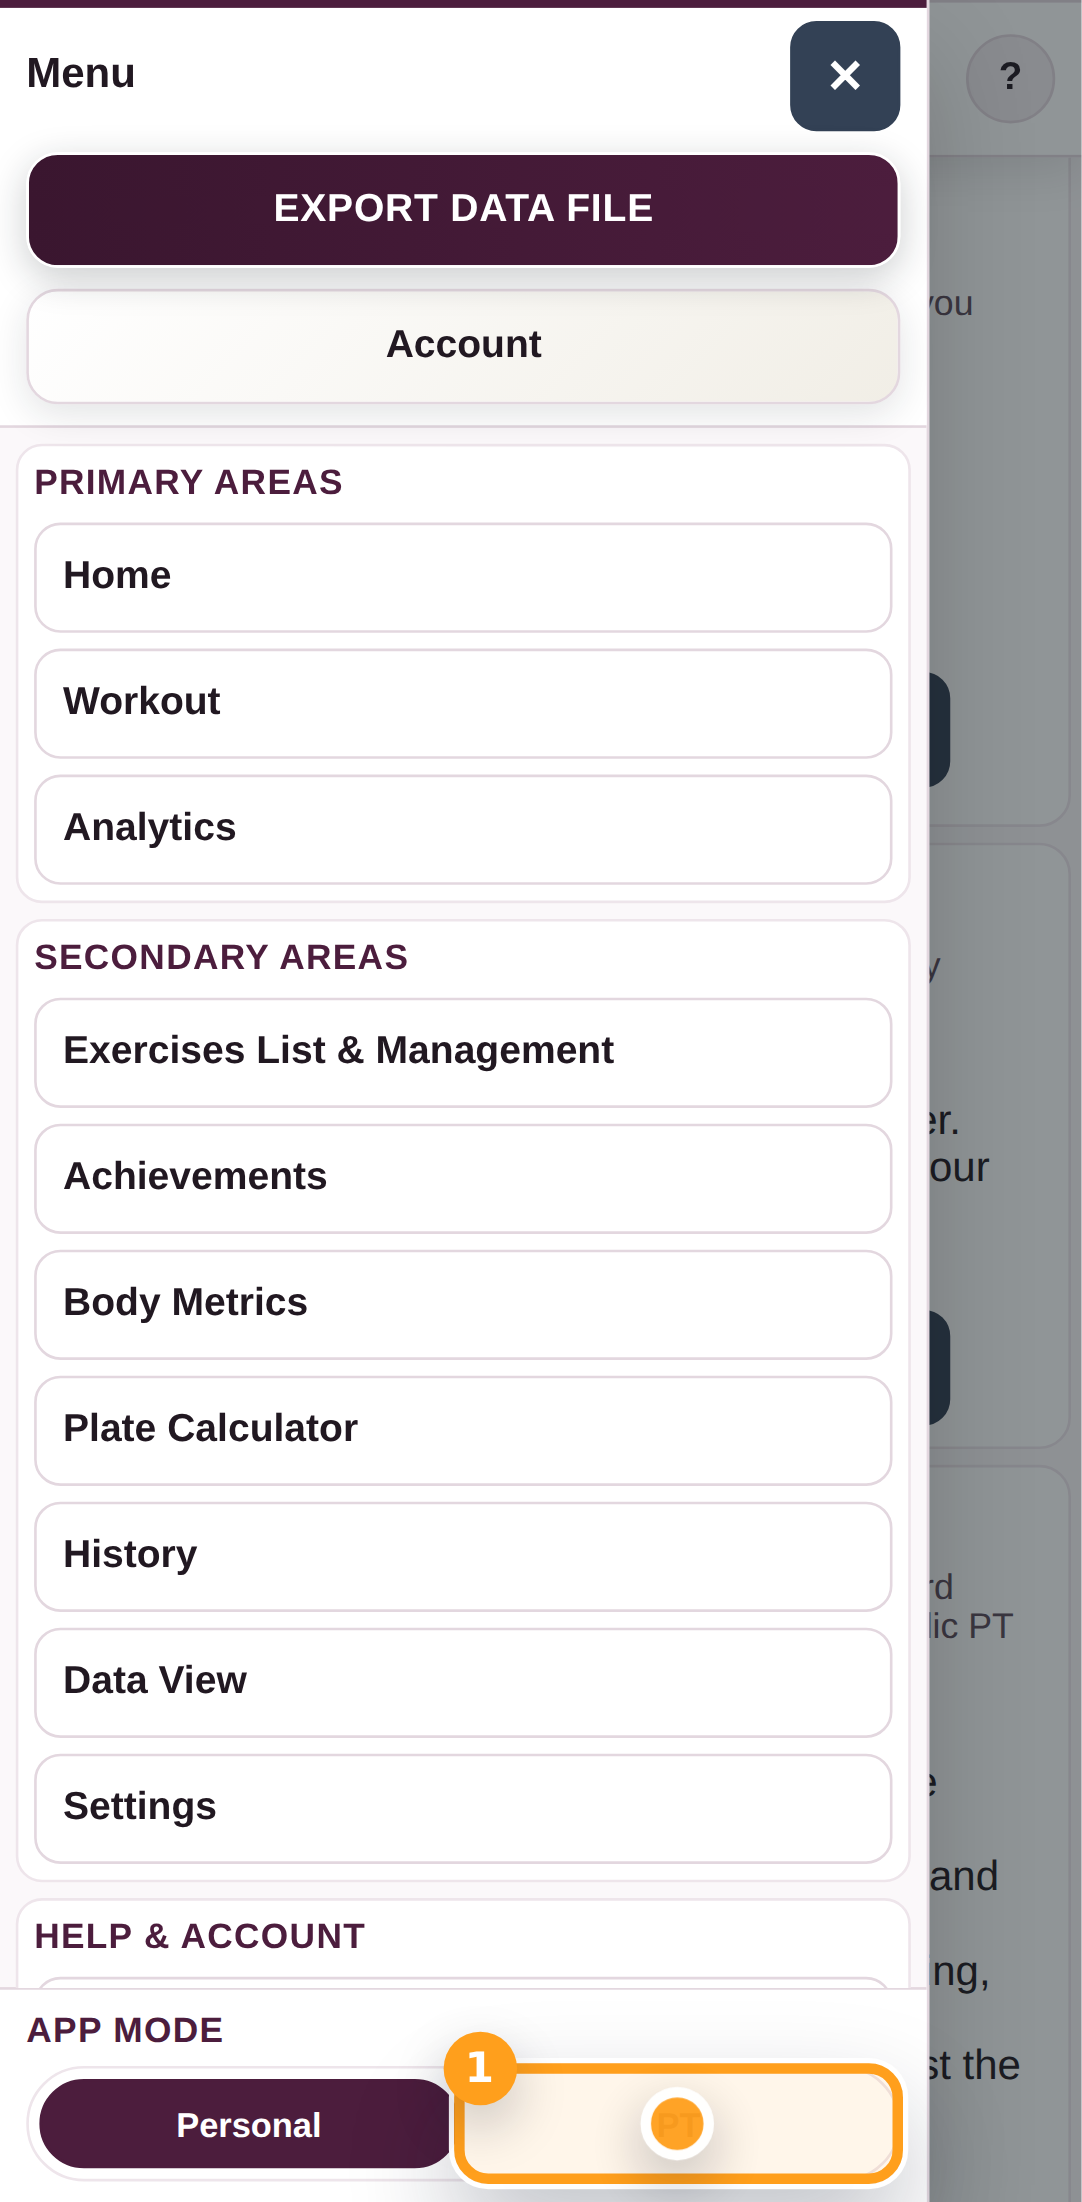
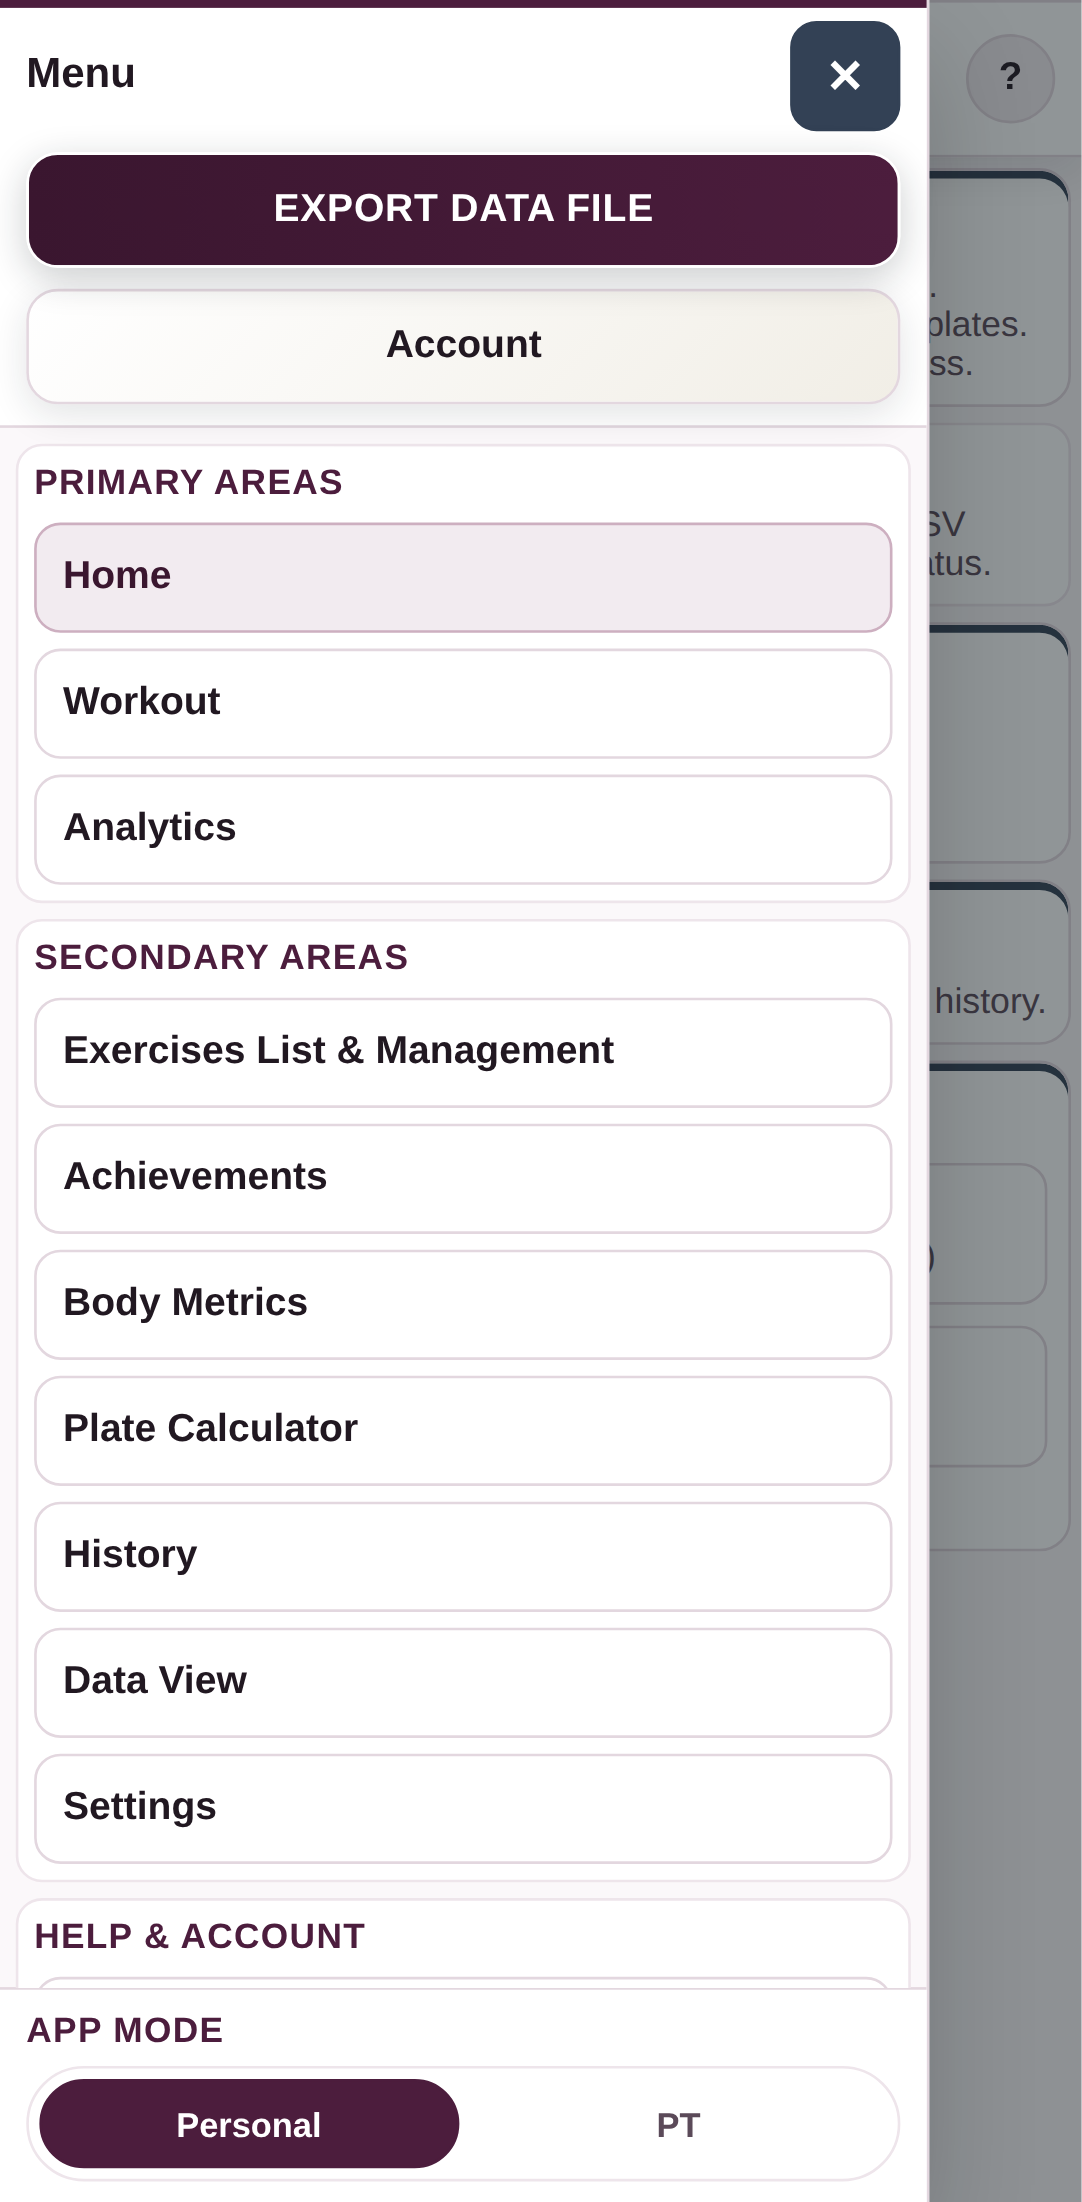
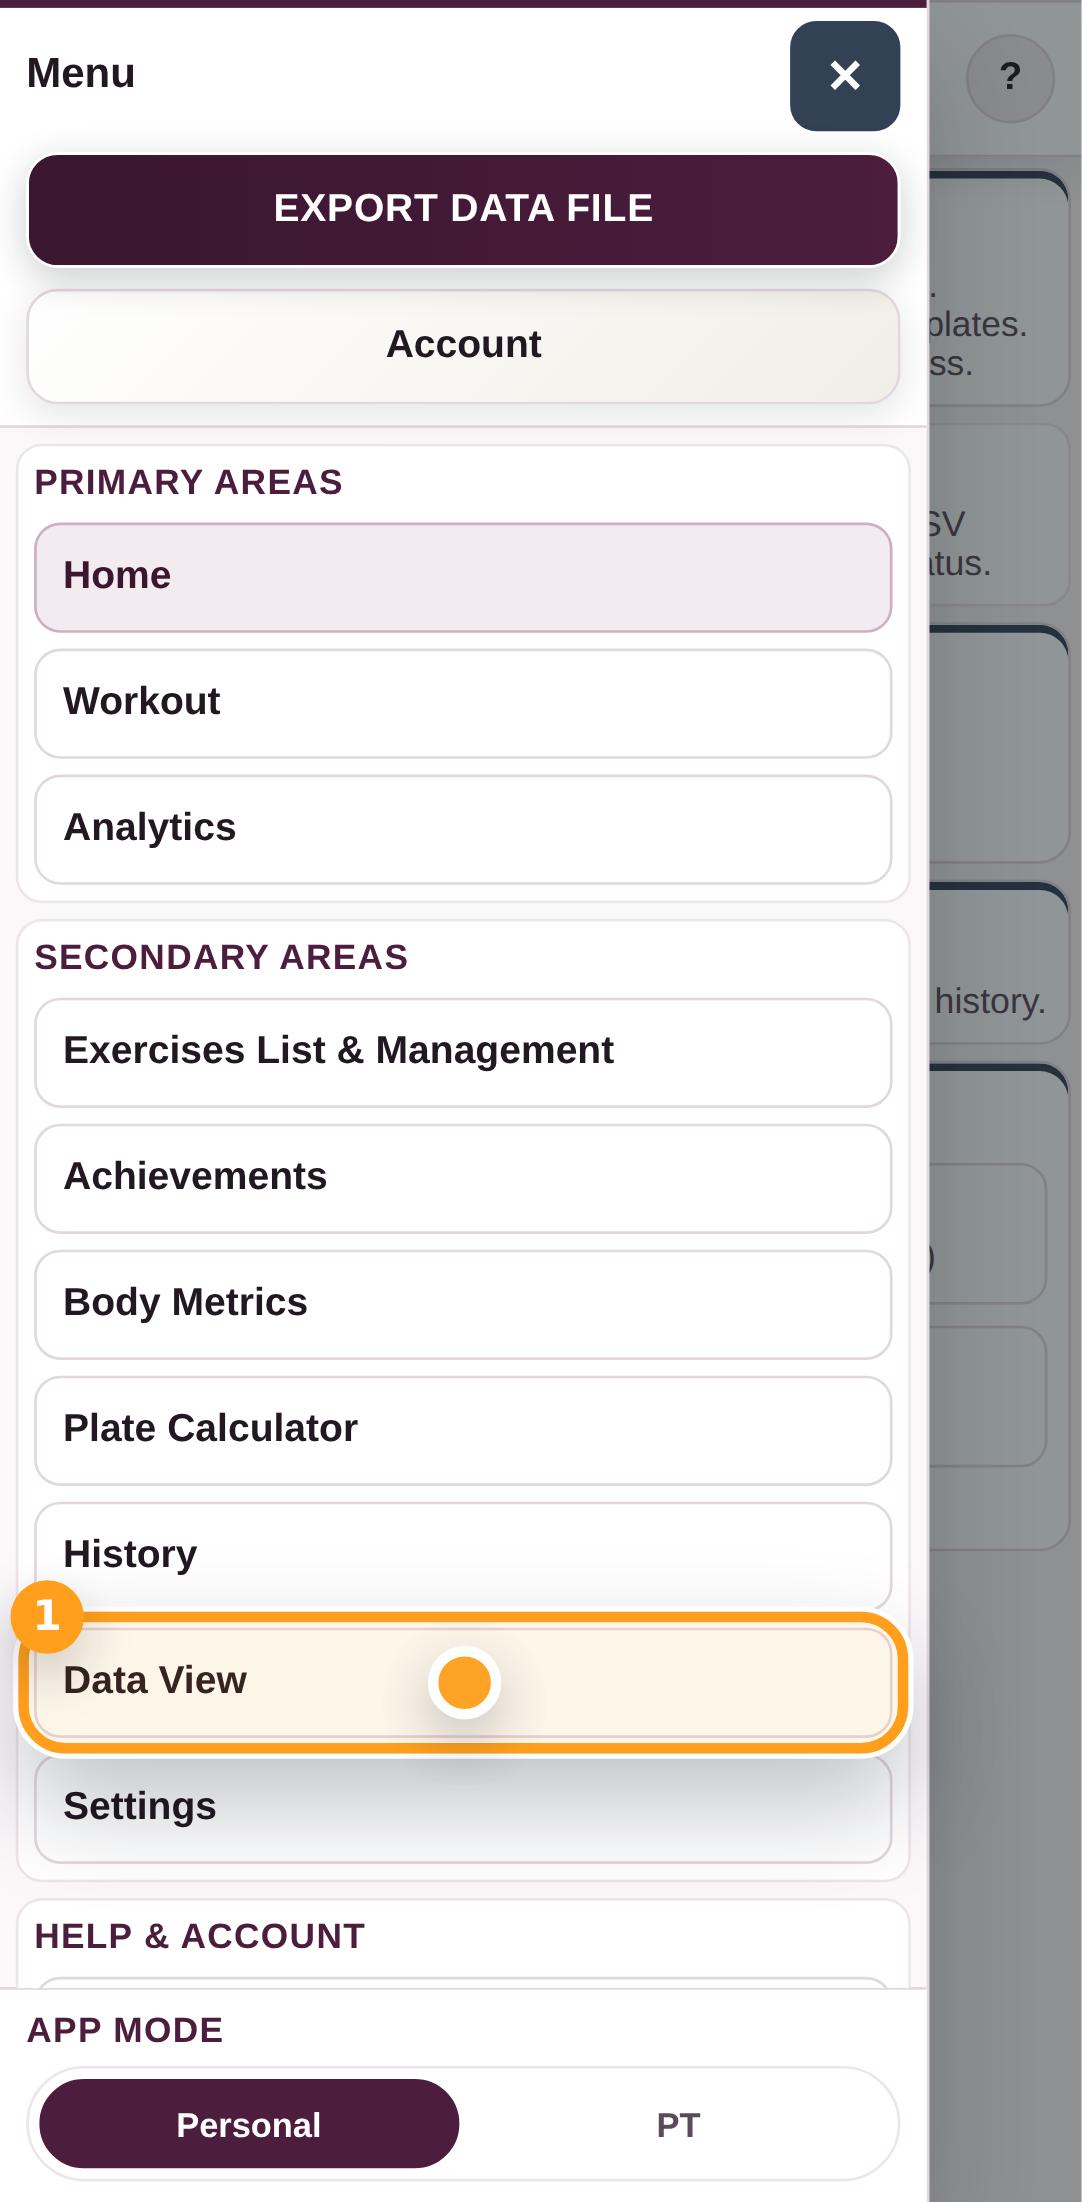
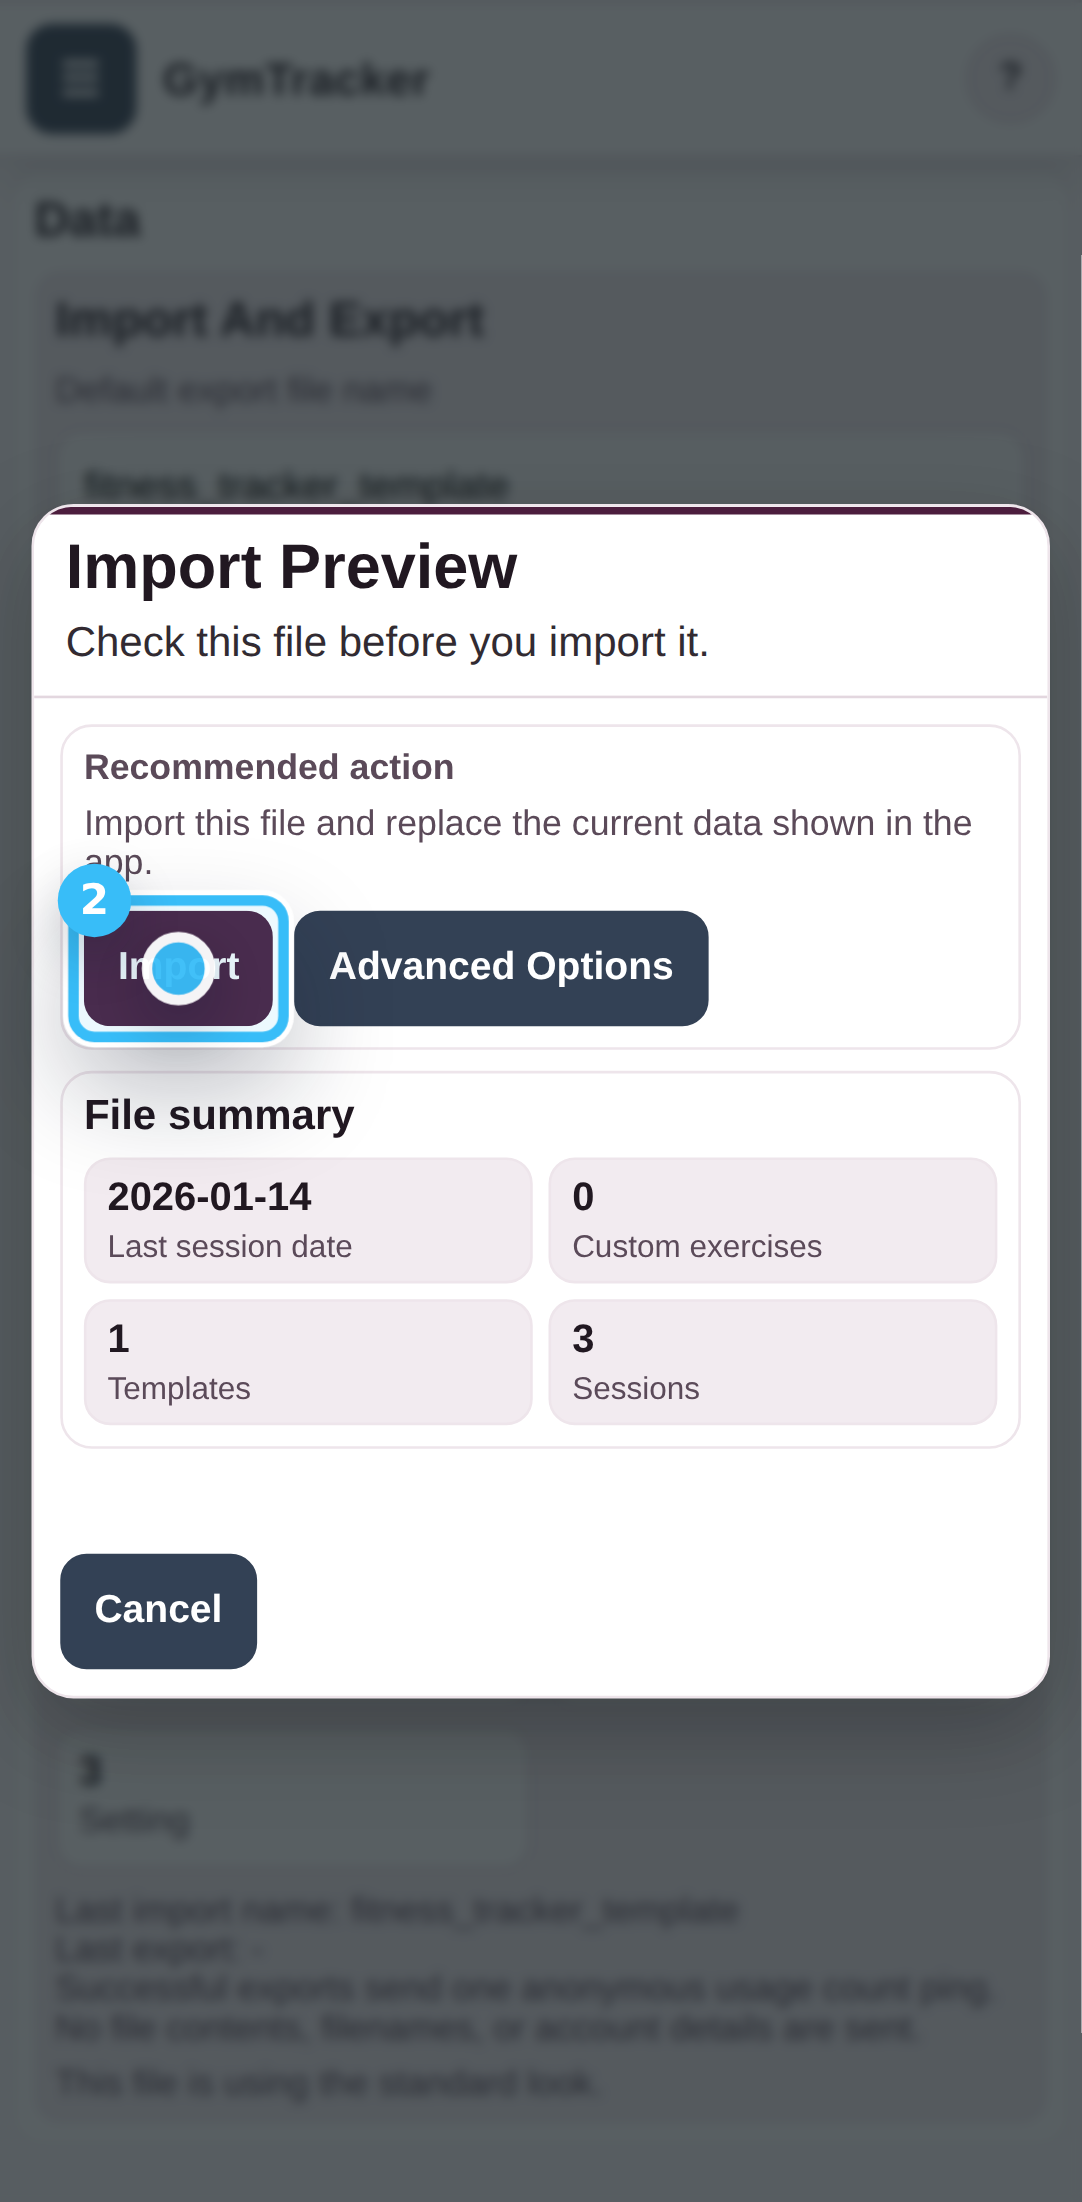
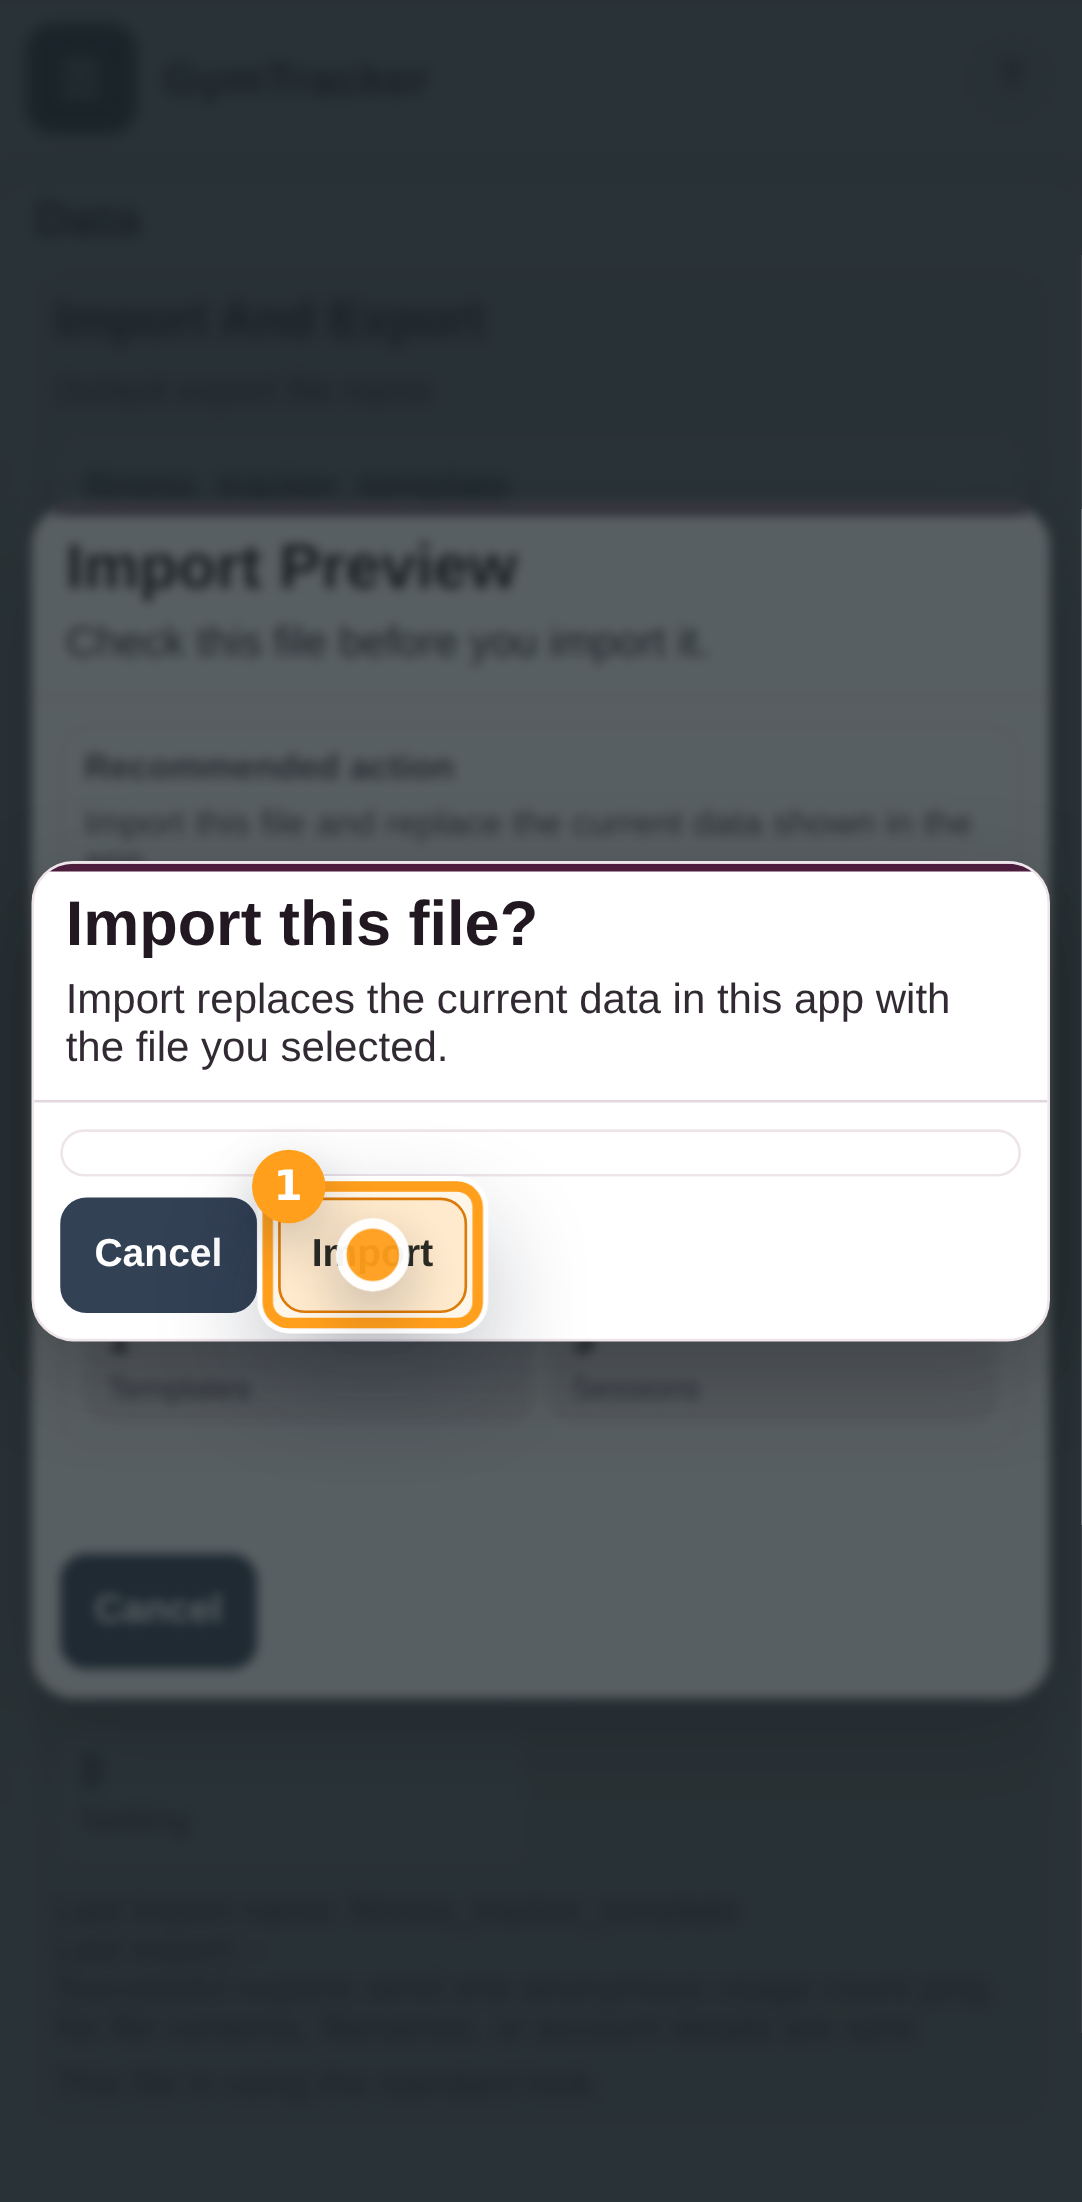
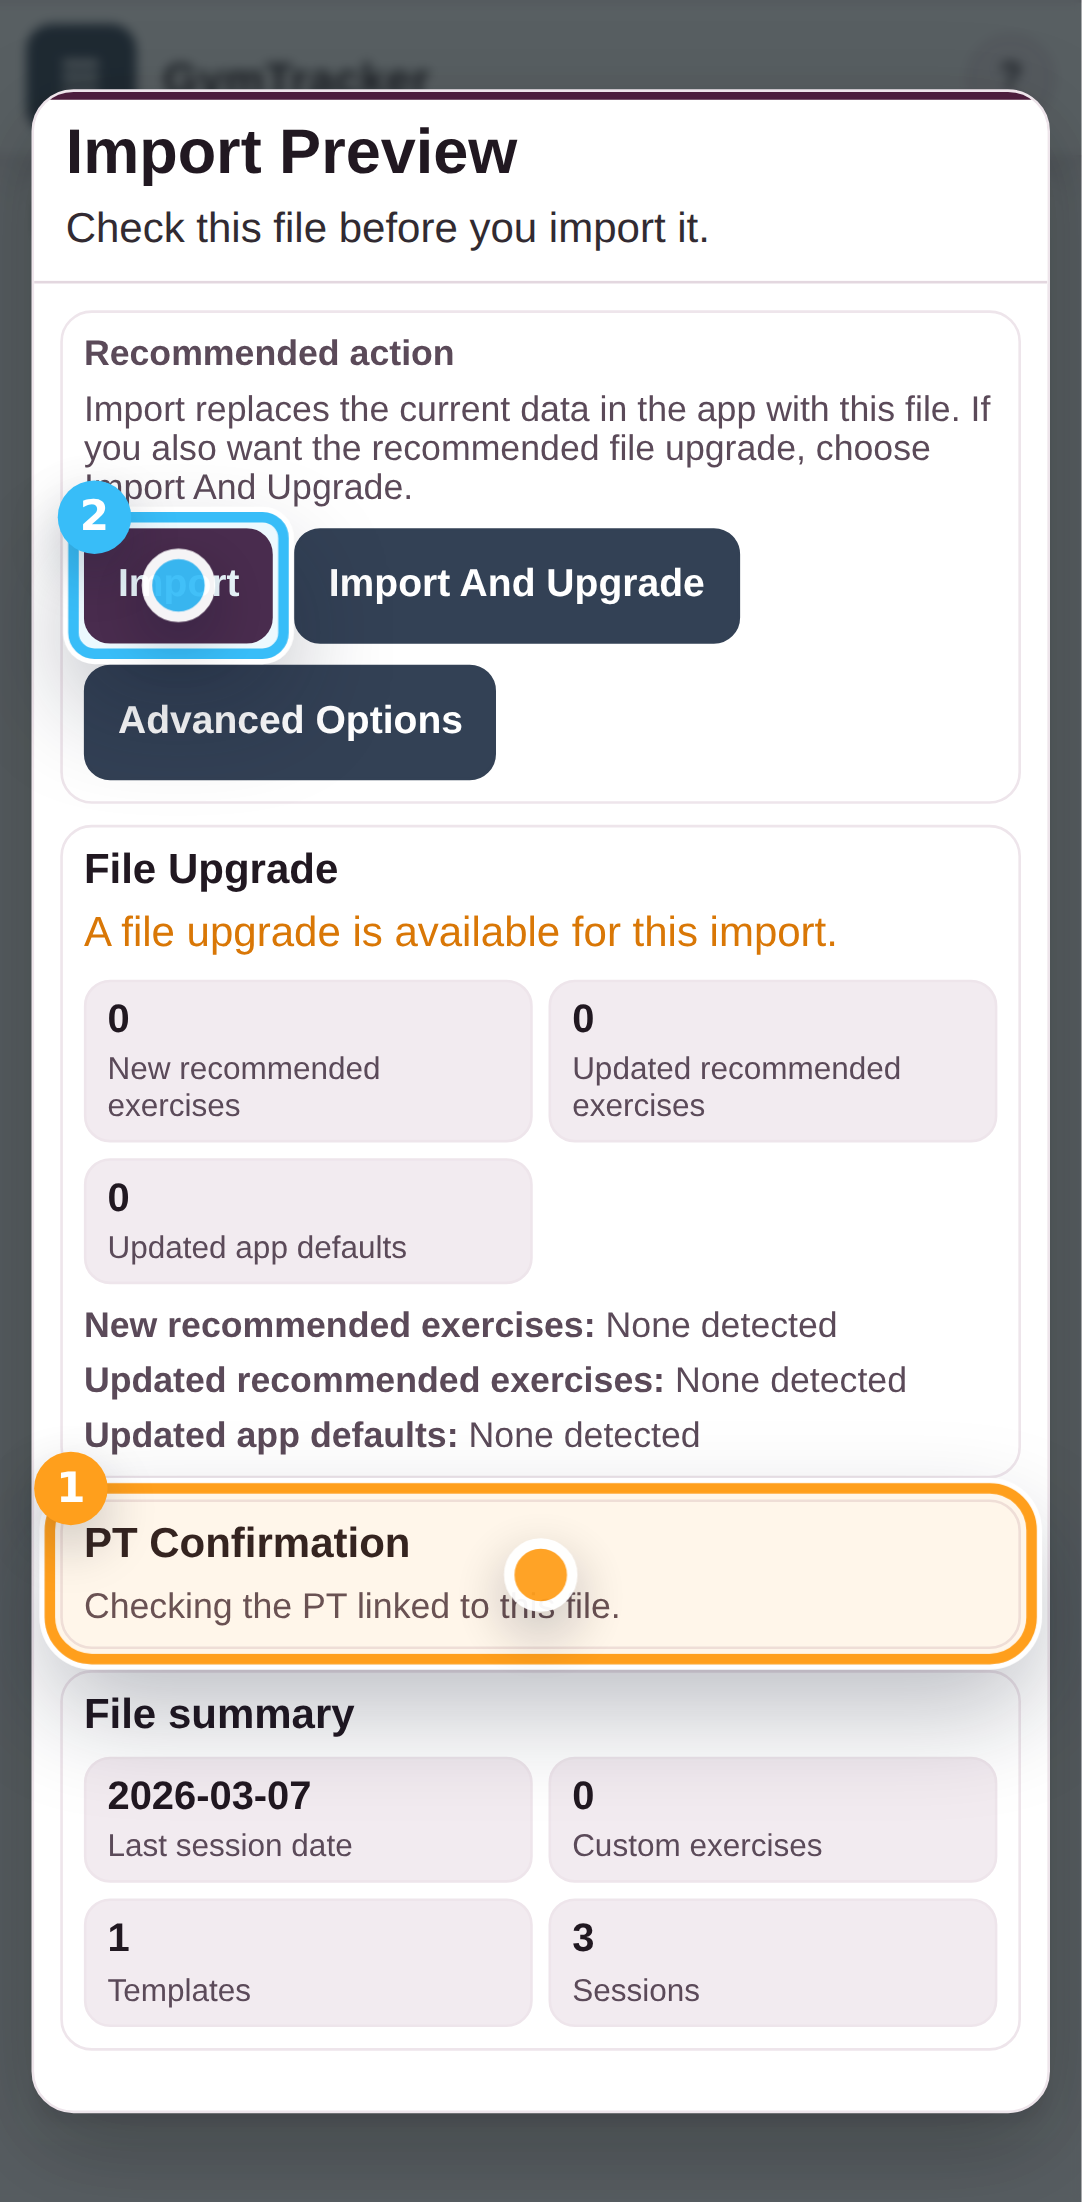
1. Meet your Data File
This is your Data File. It contains your GymTracker history, progress, and setup. Keep it safe. In Personal mode, GymTracker is designed so you can simply bring your file with you, open it, train, and then save your updated version when you are done.
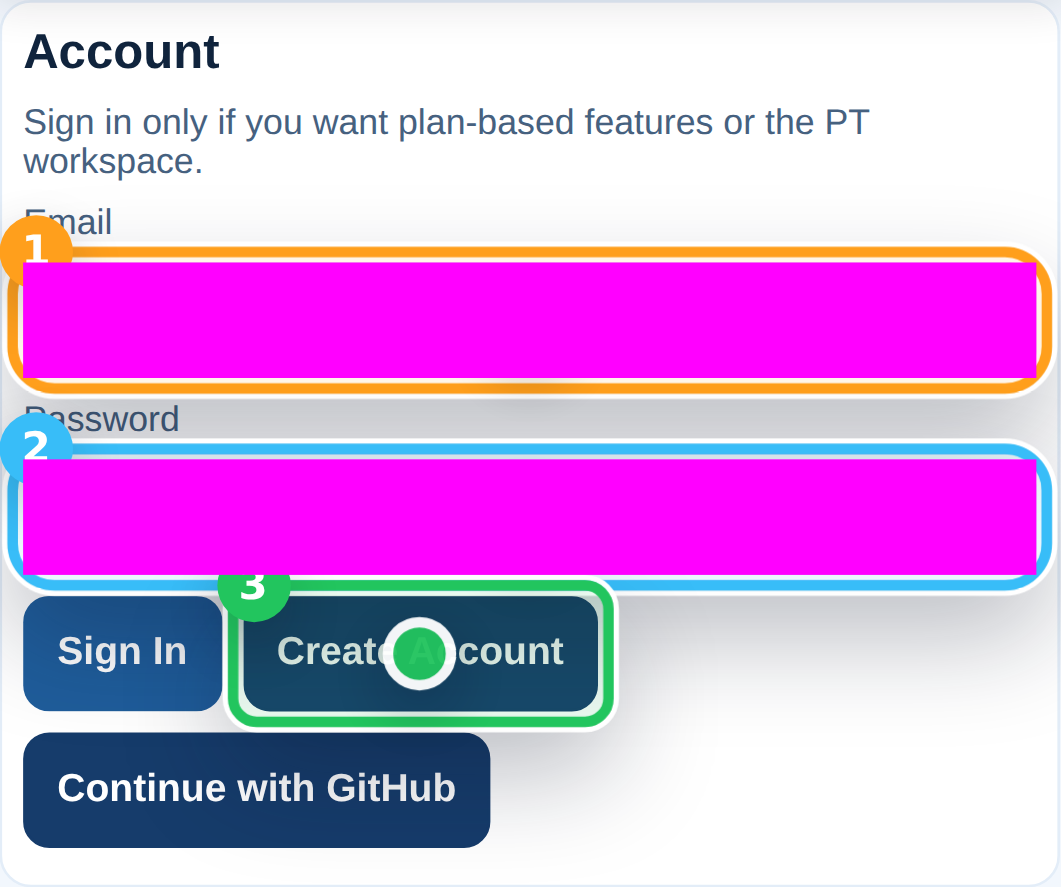
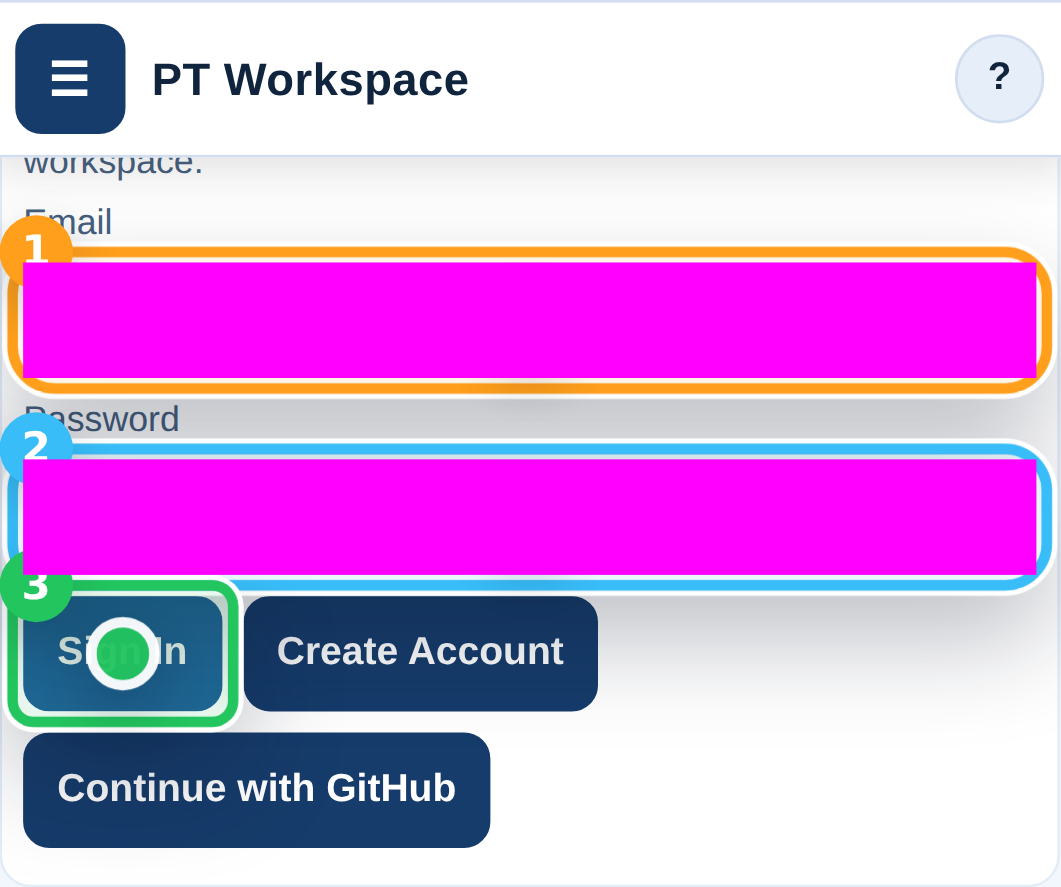
Home > Open Existing Data FileHome > Import New Data FileHome > Load saved starter fileHome > Open a sample file
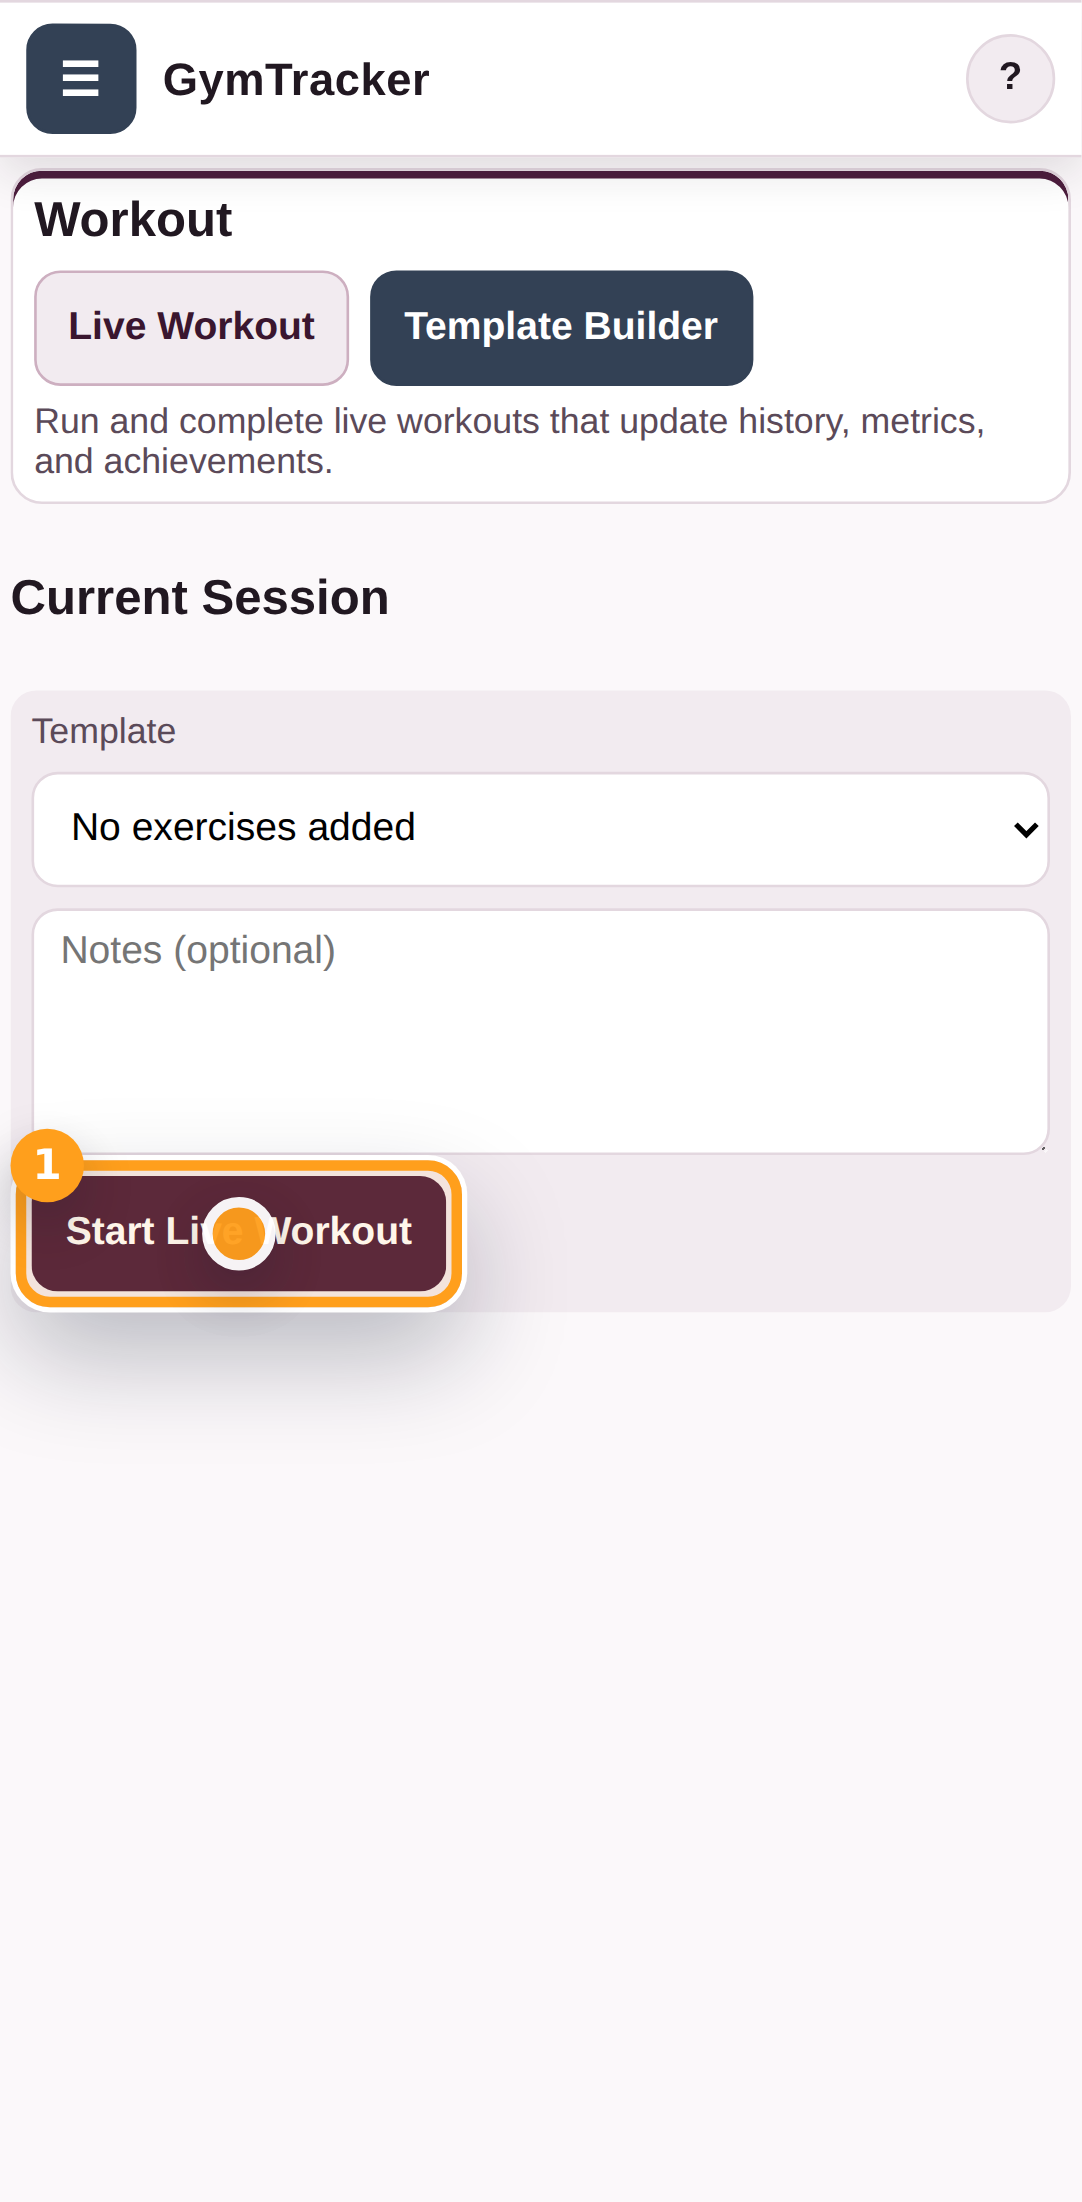
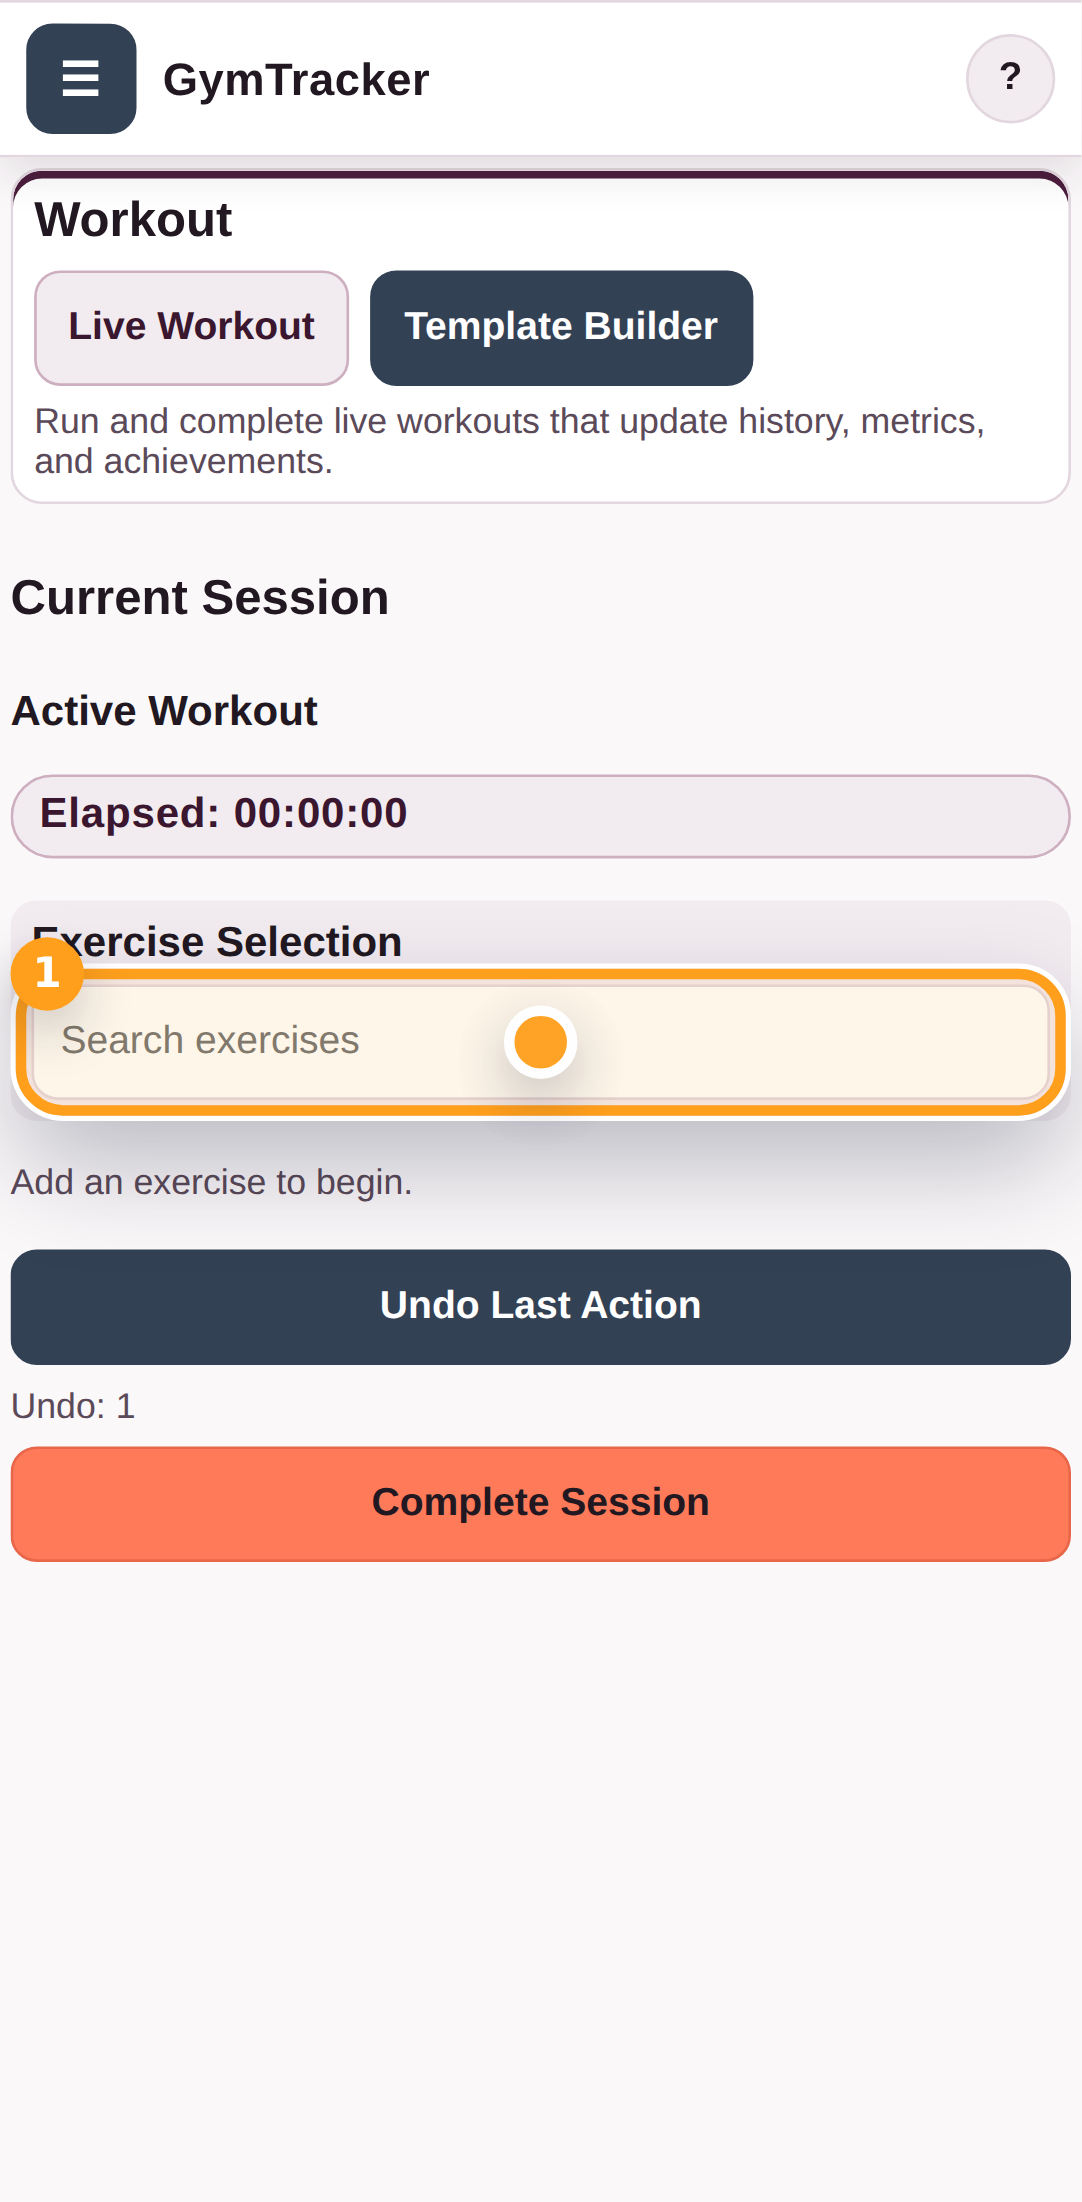
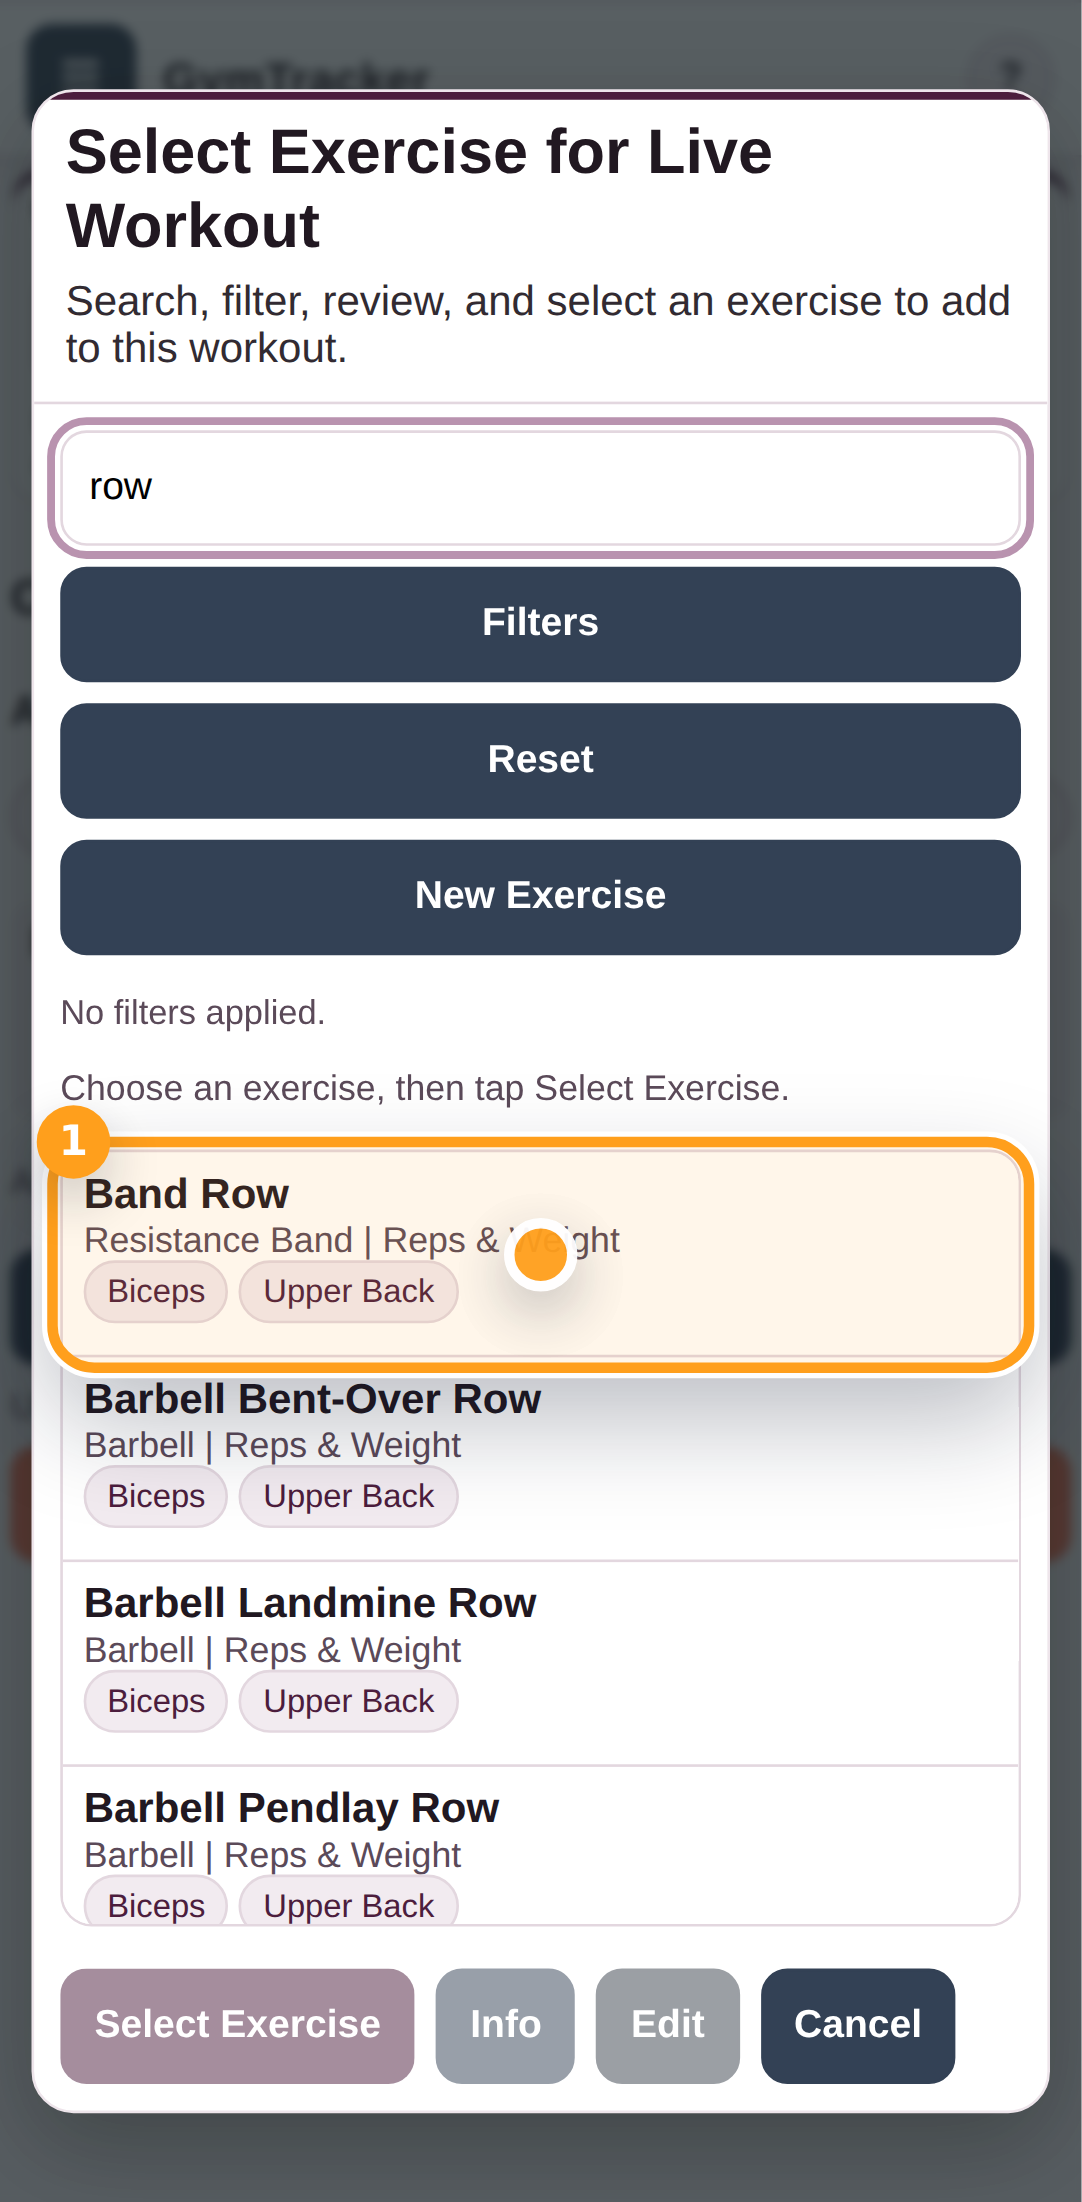
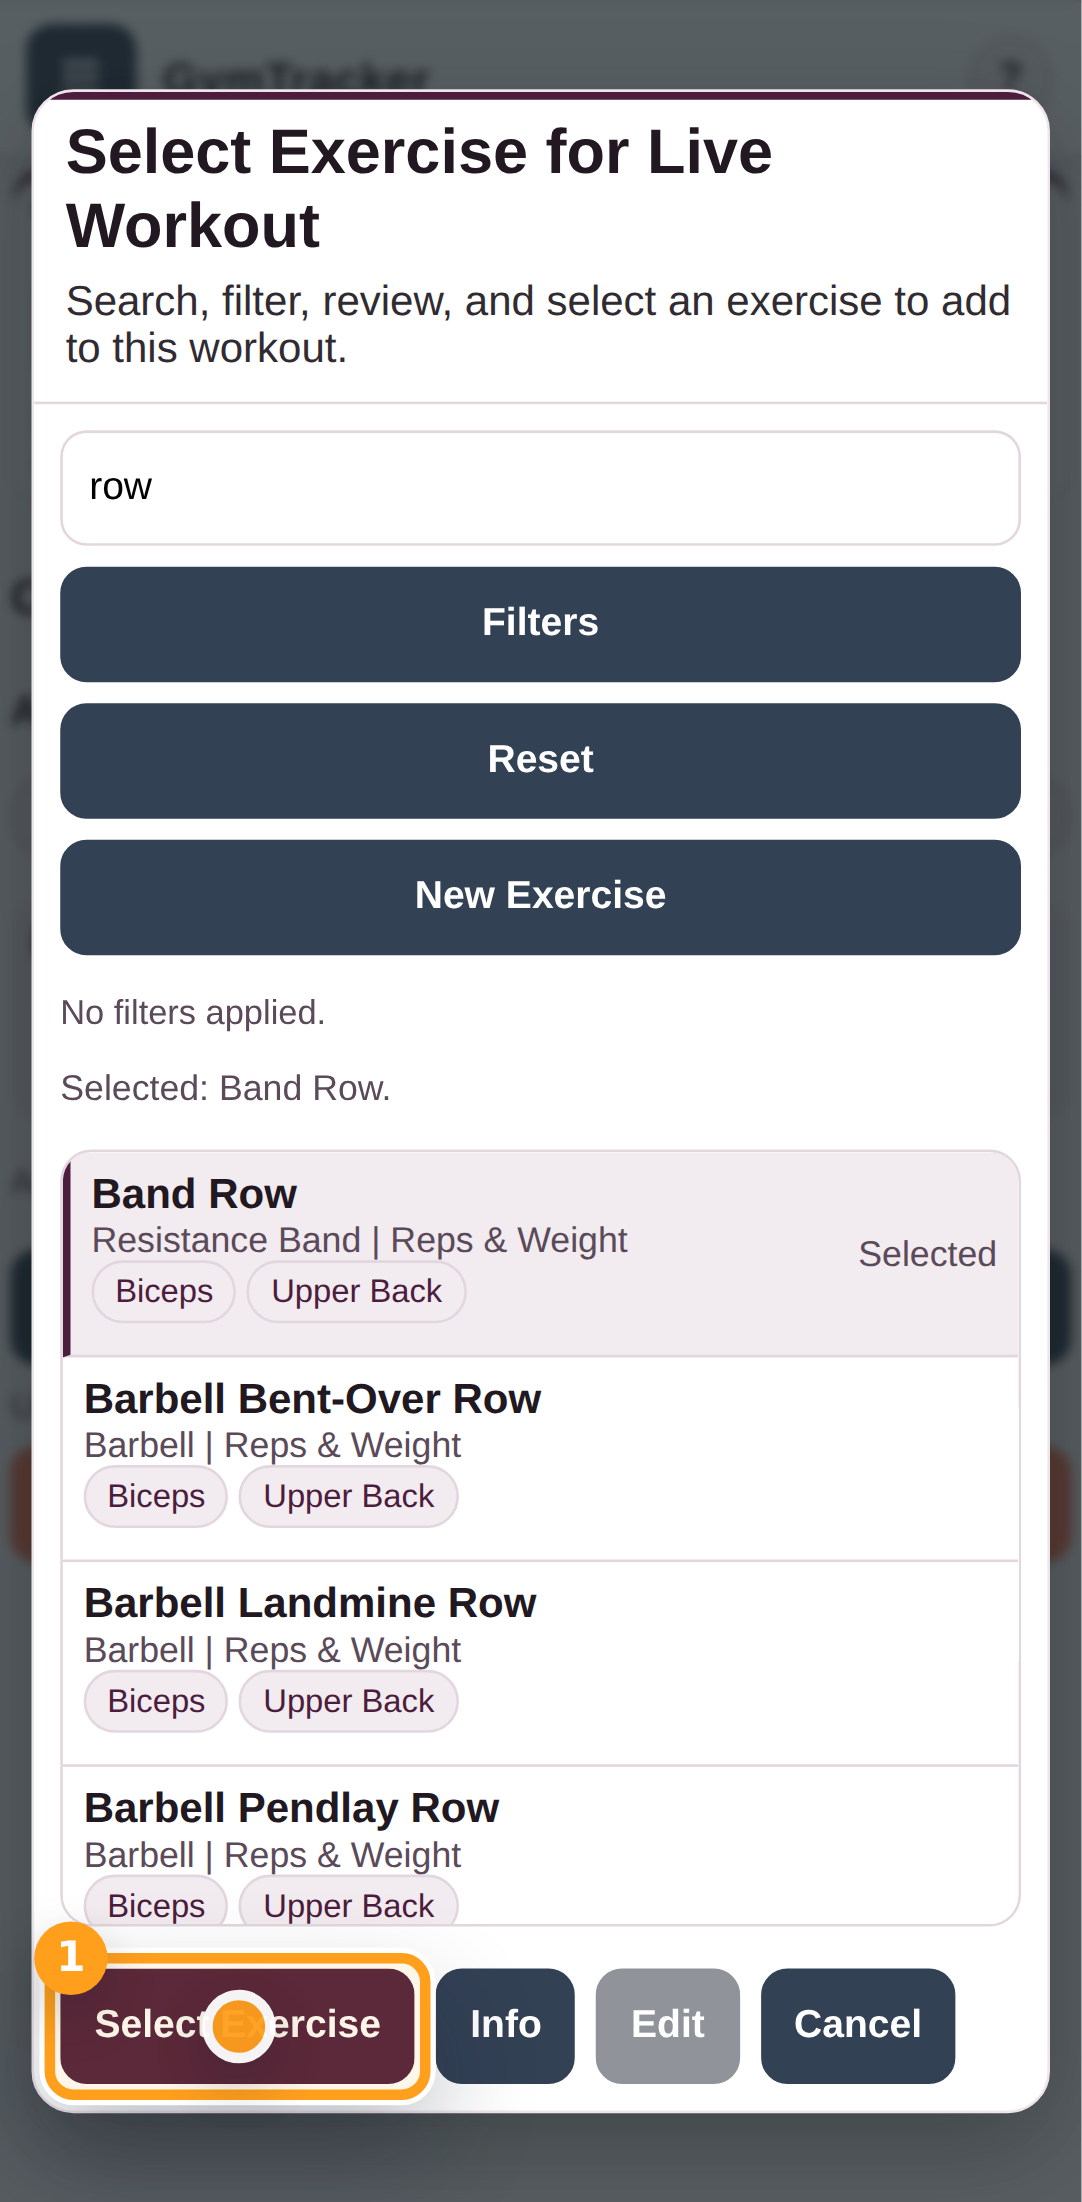
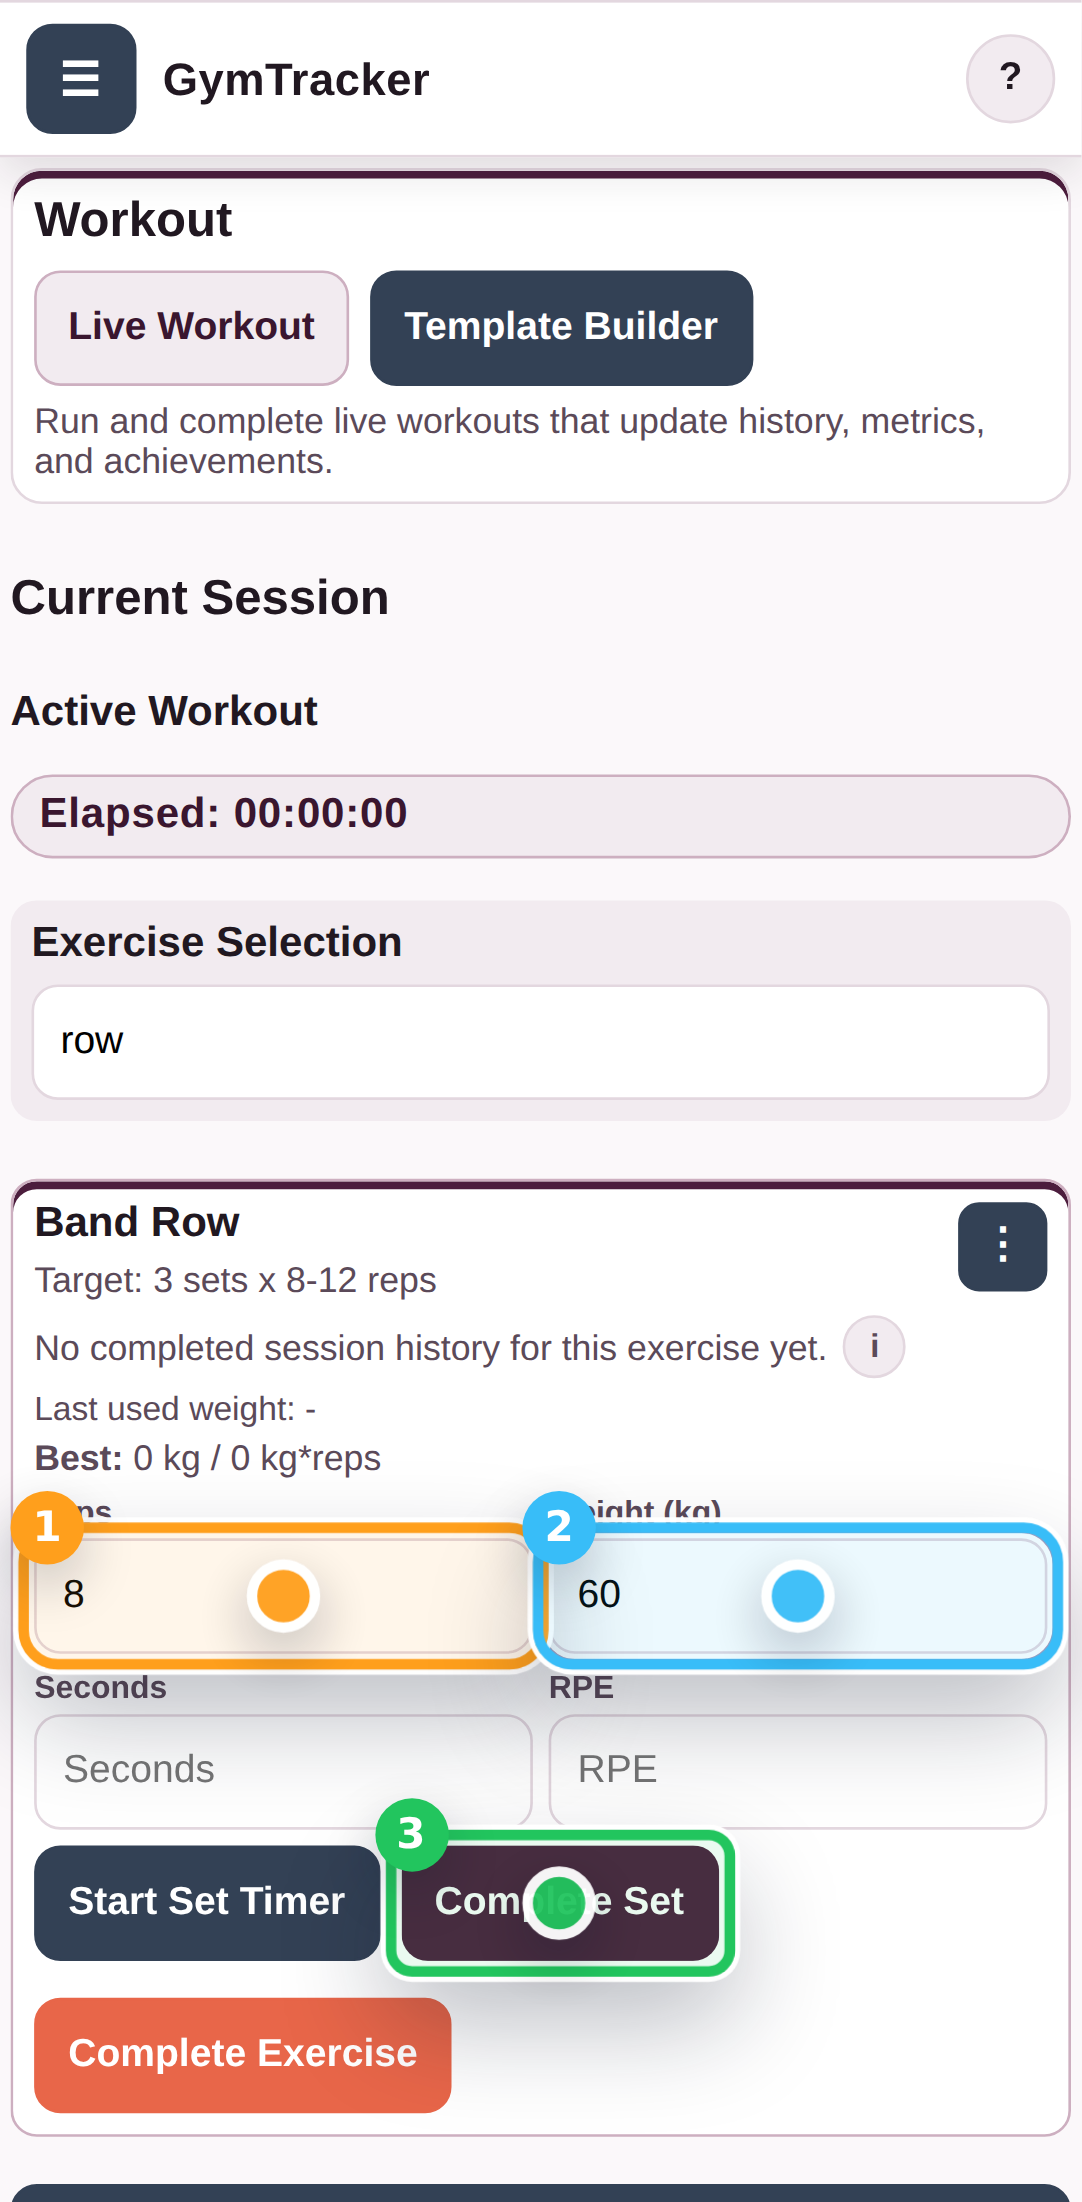
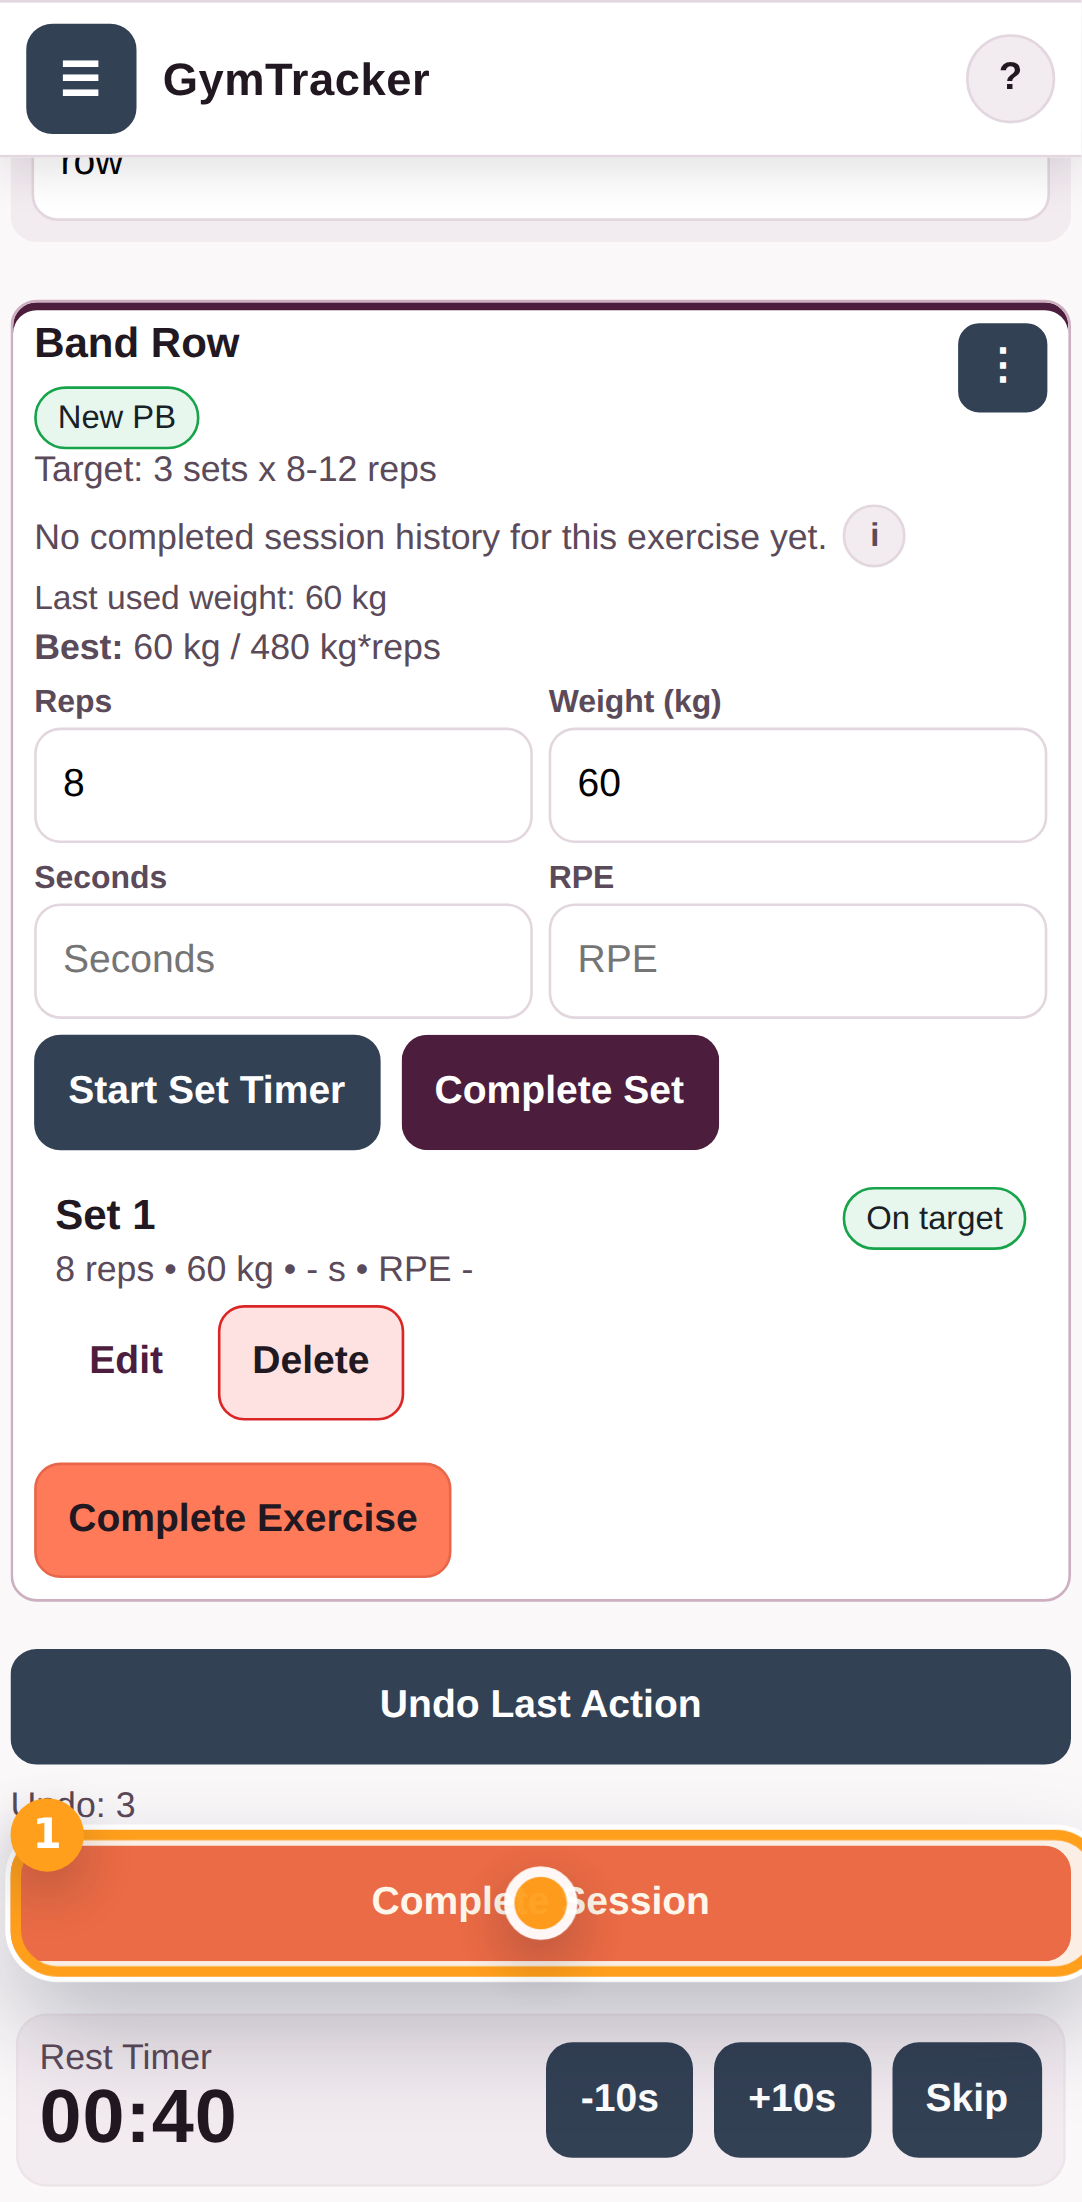
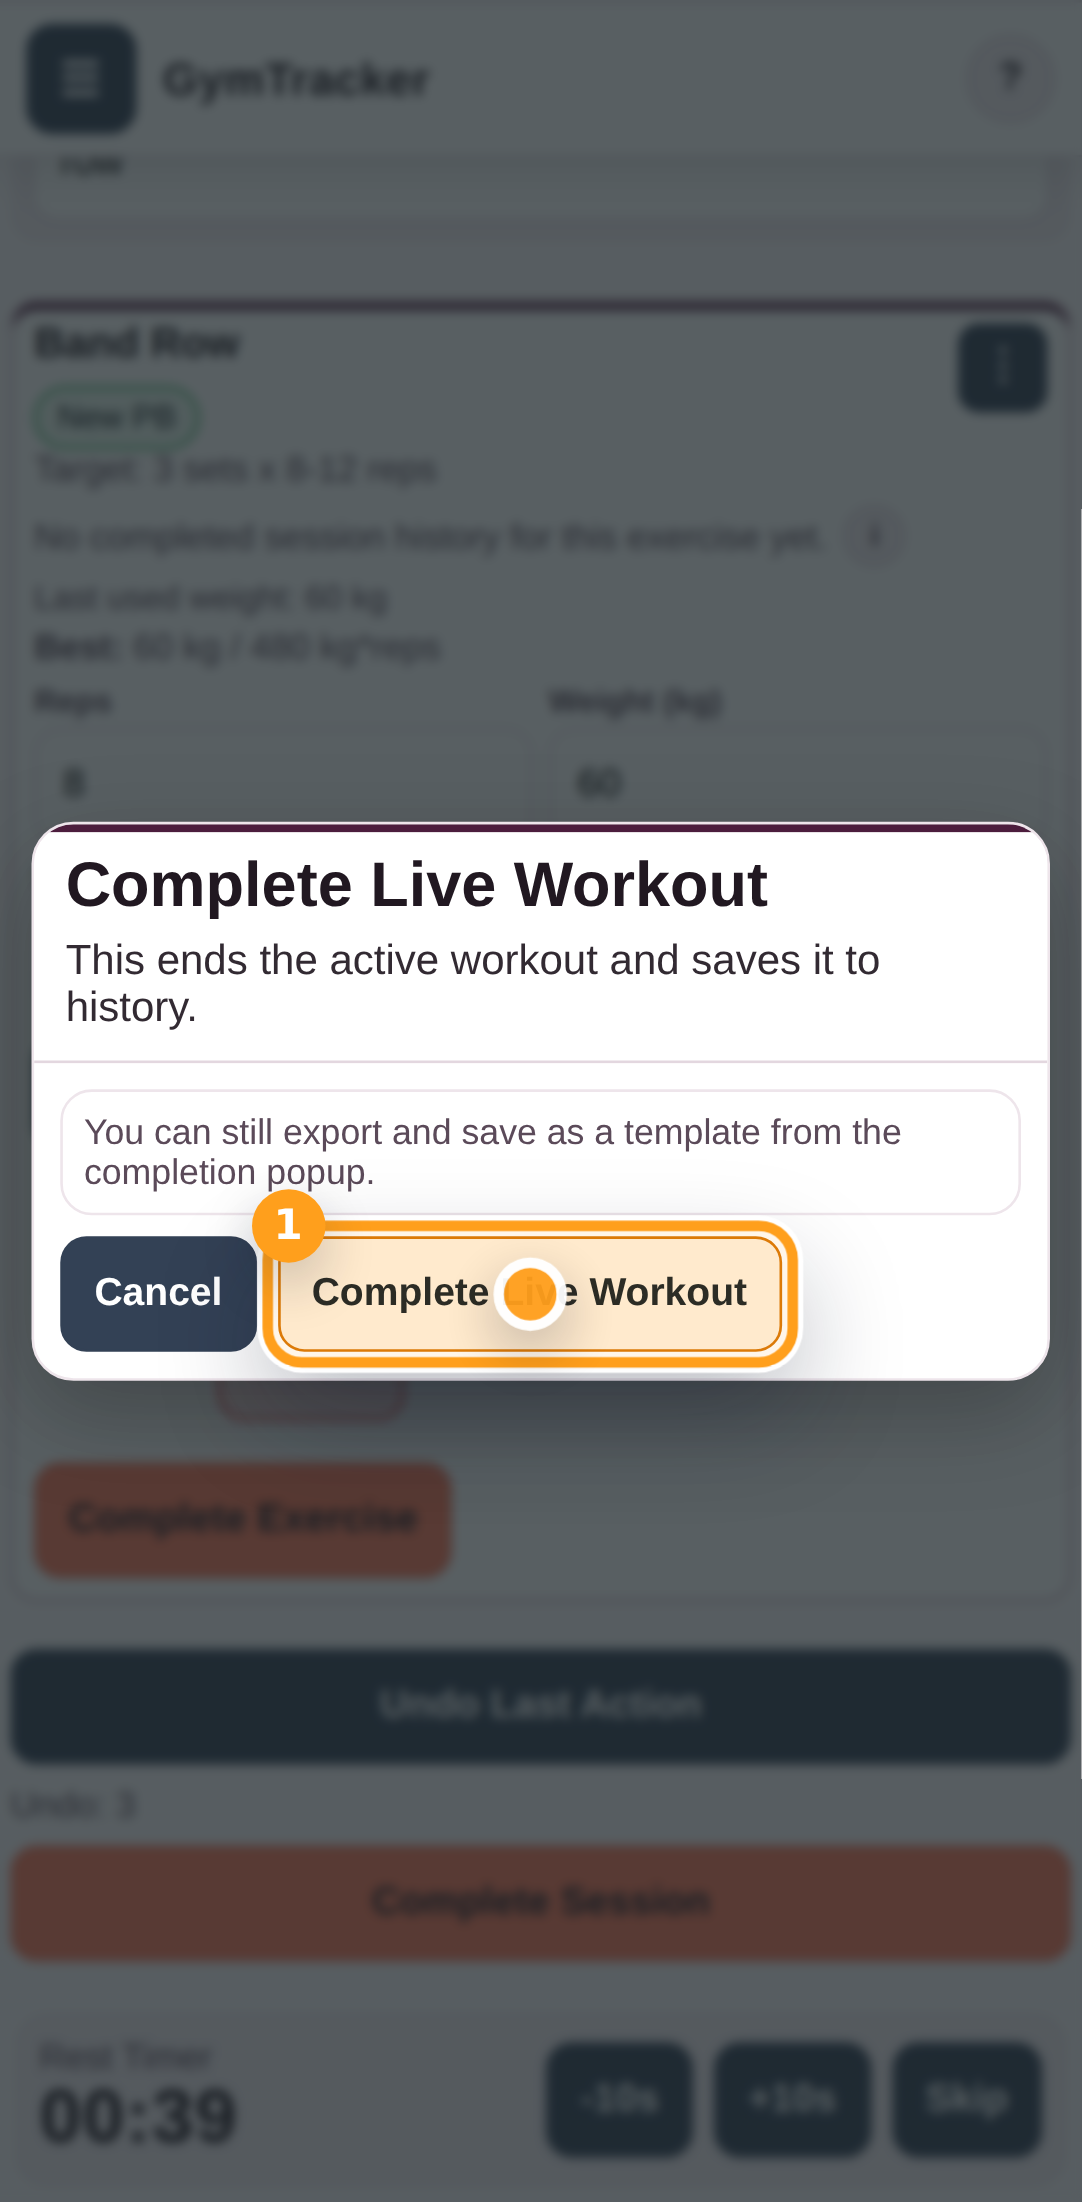
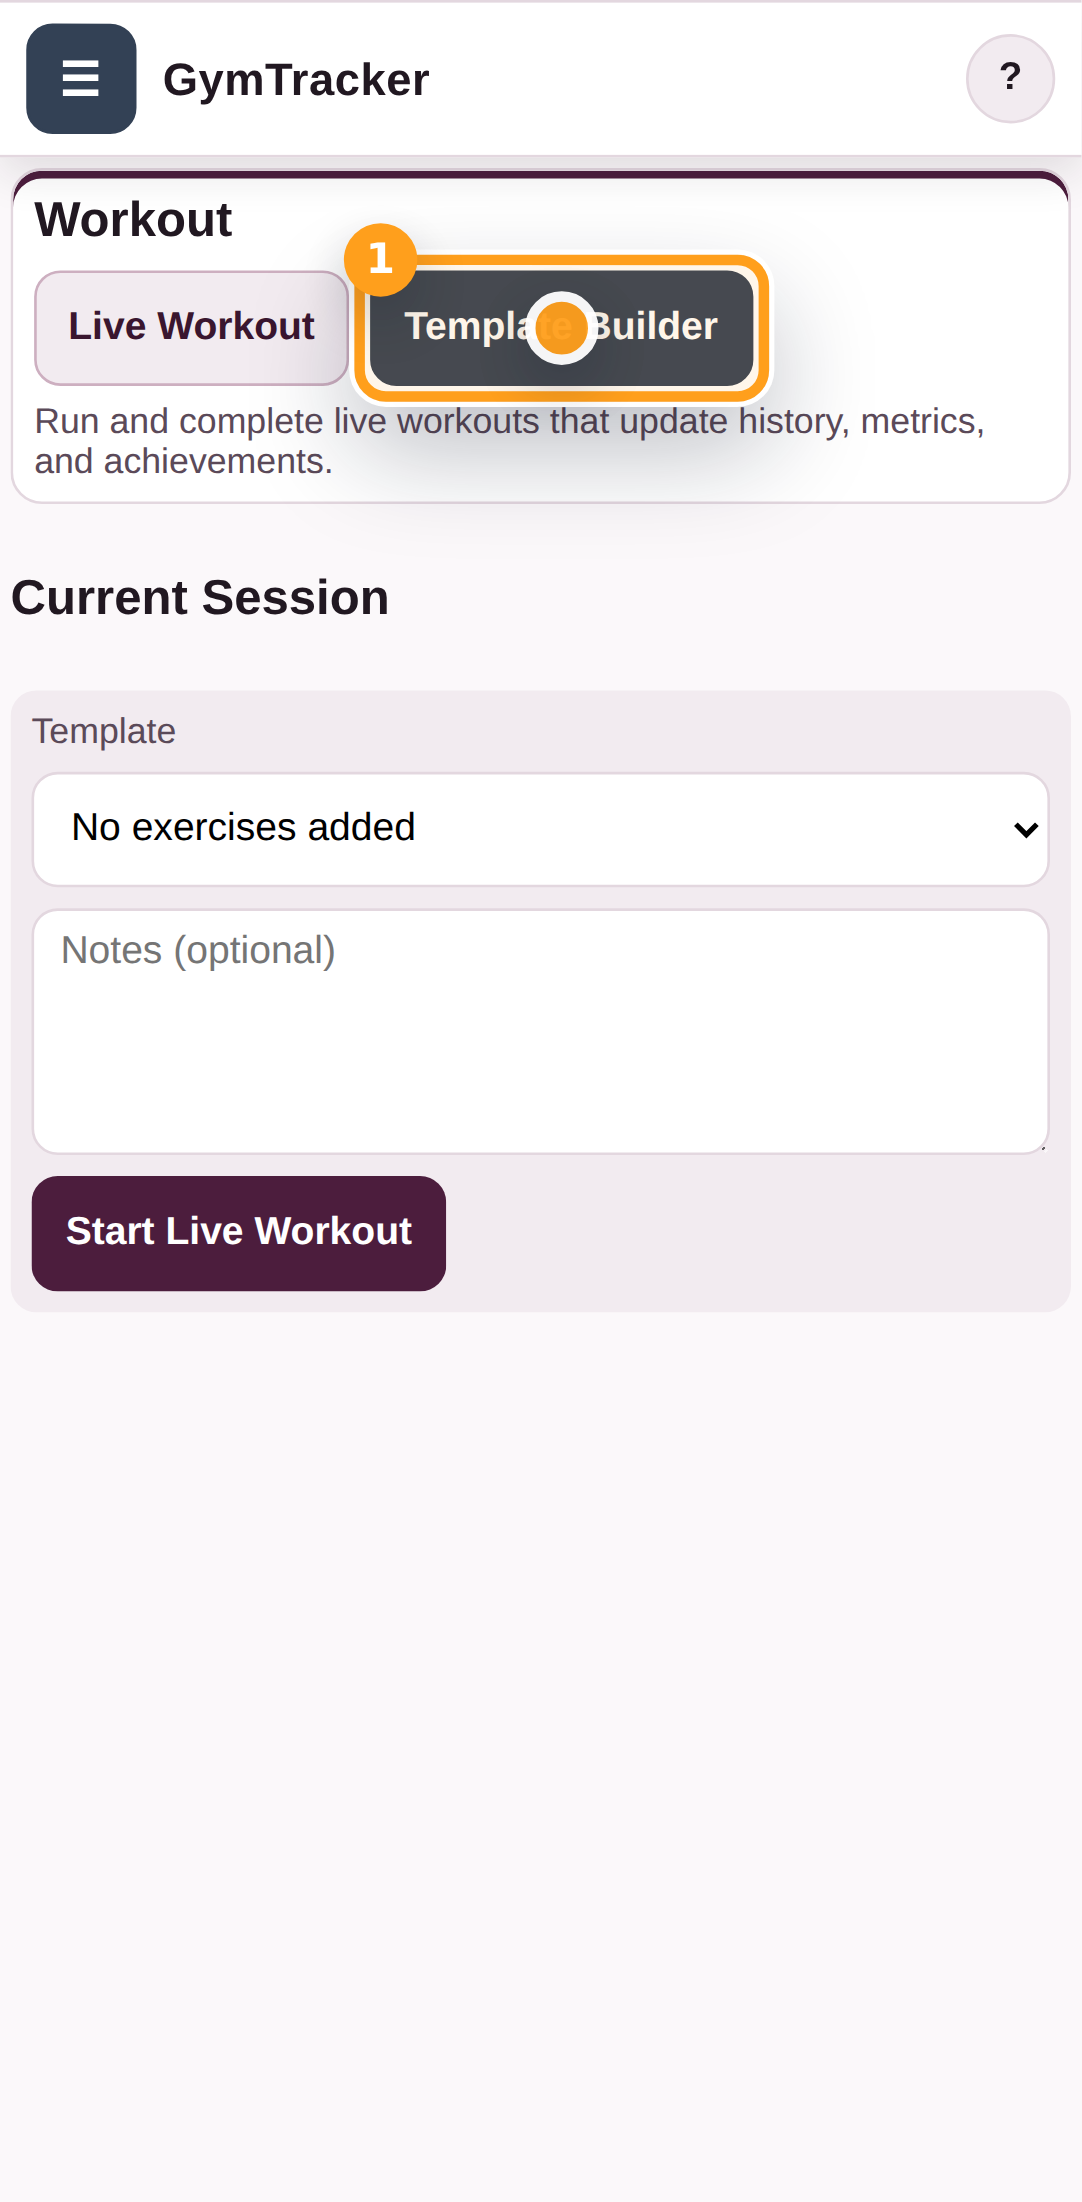
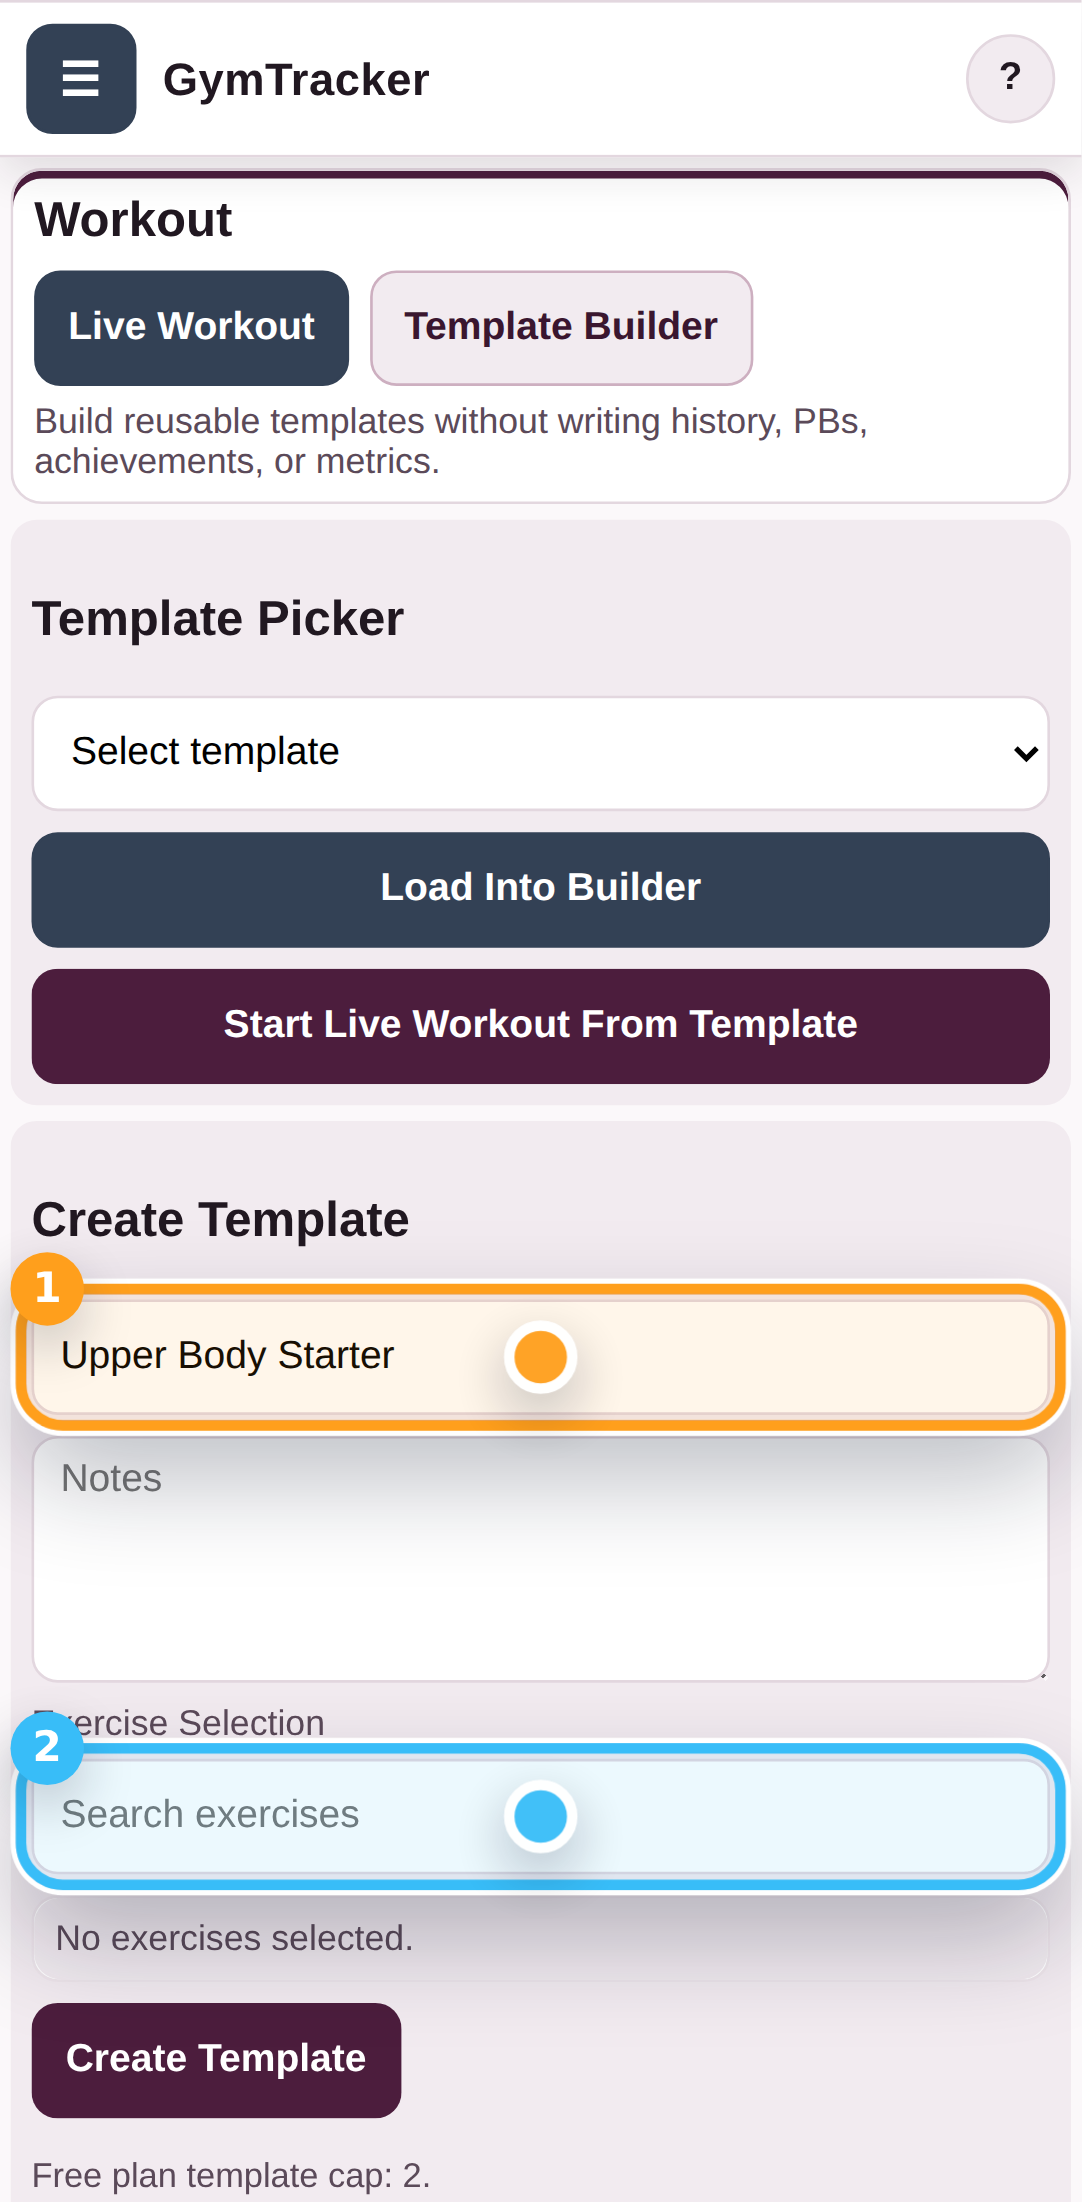
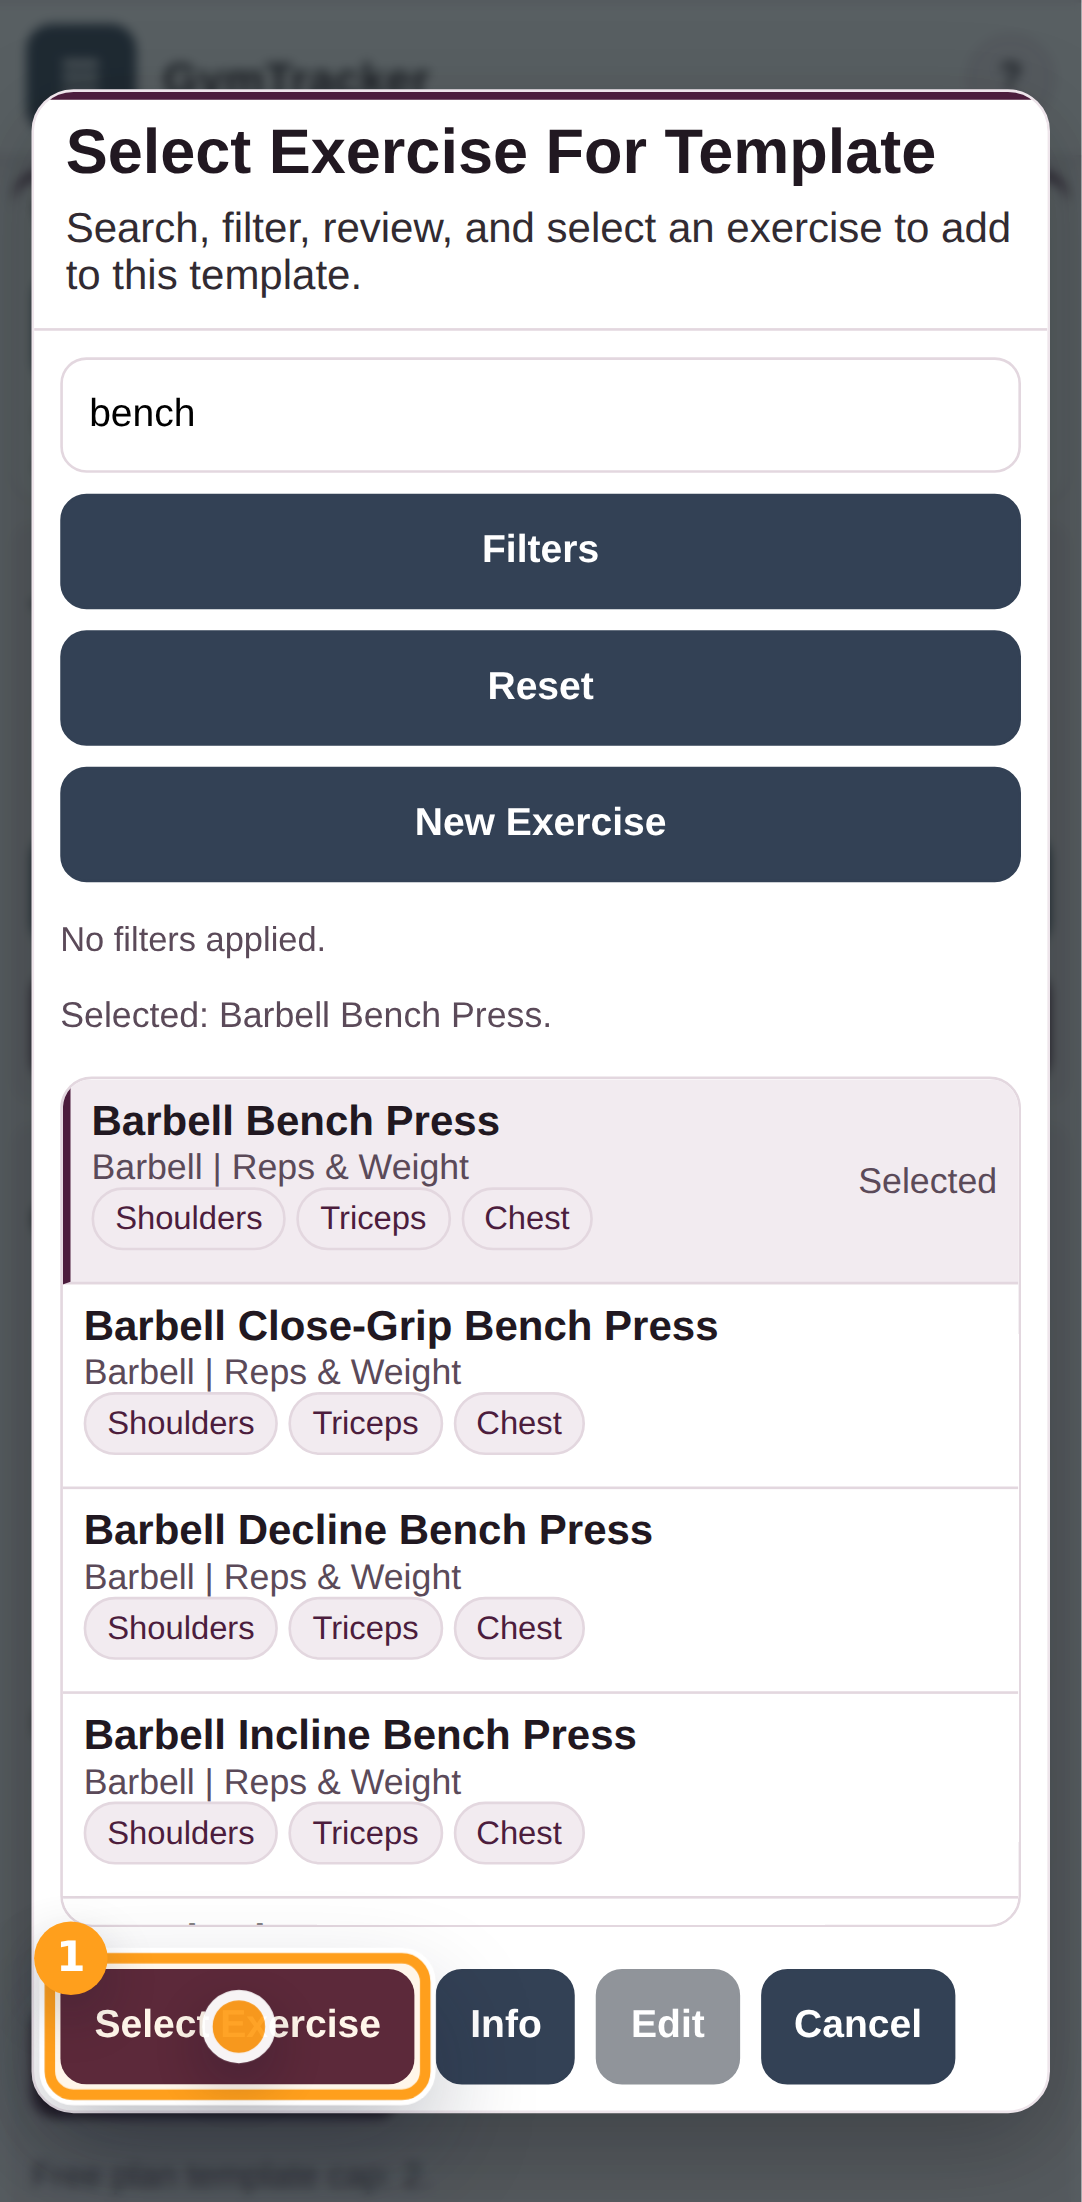
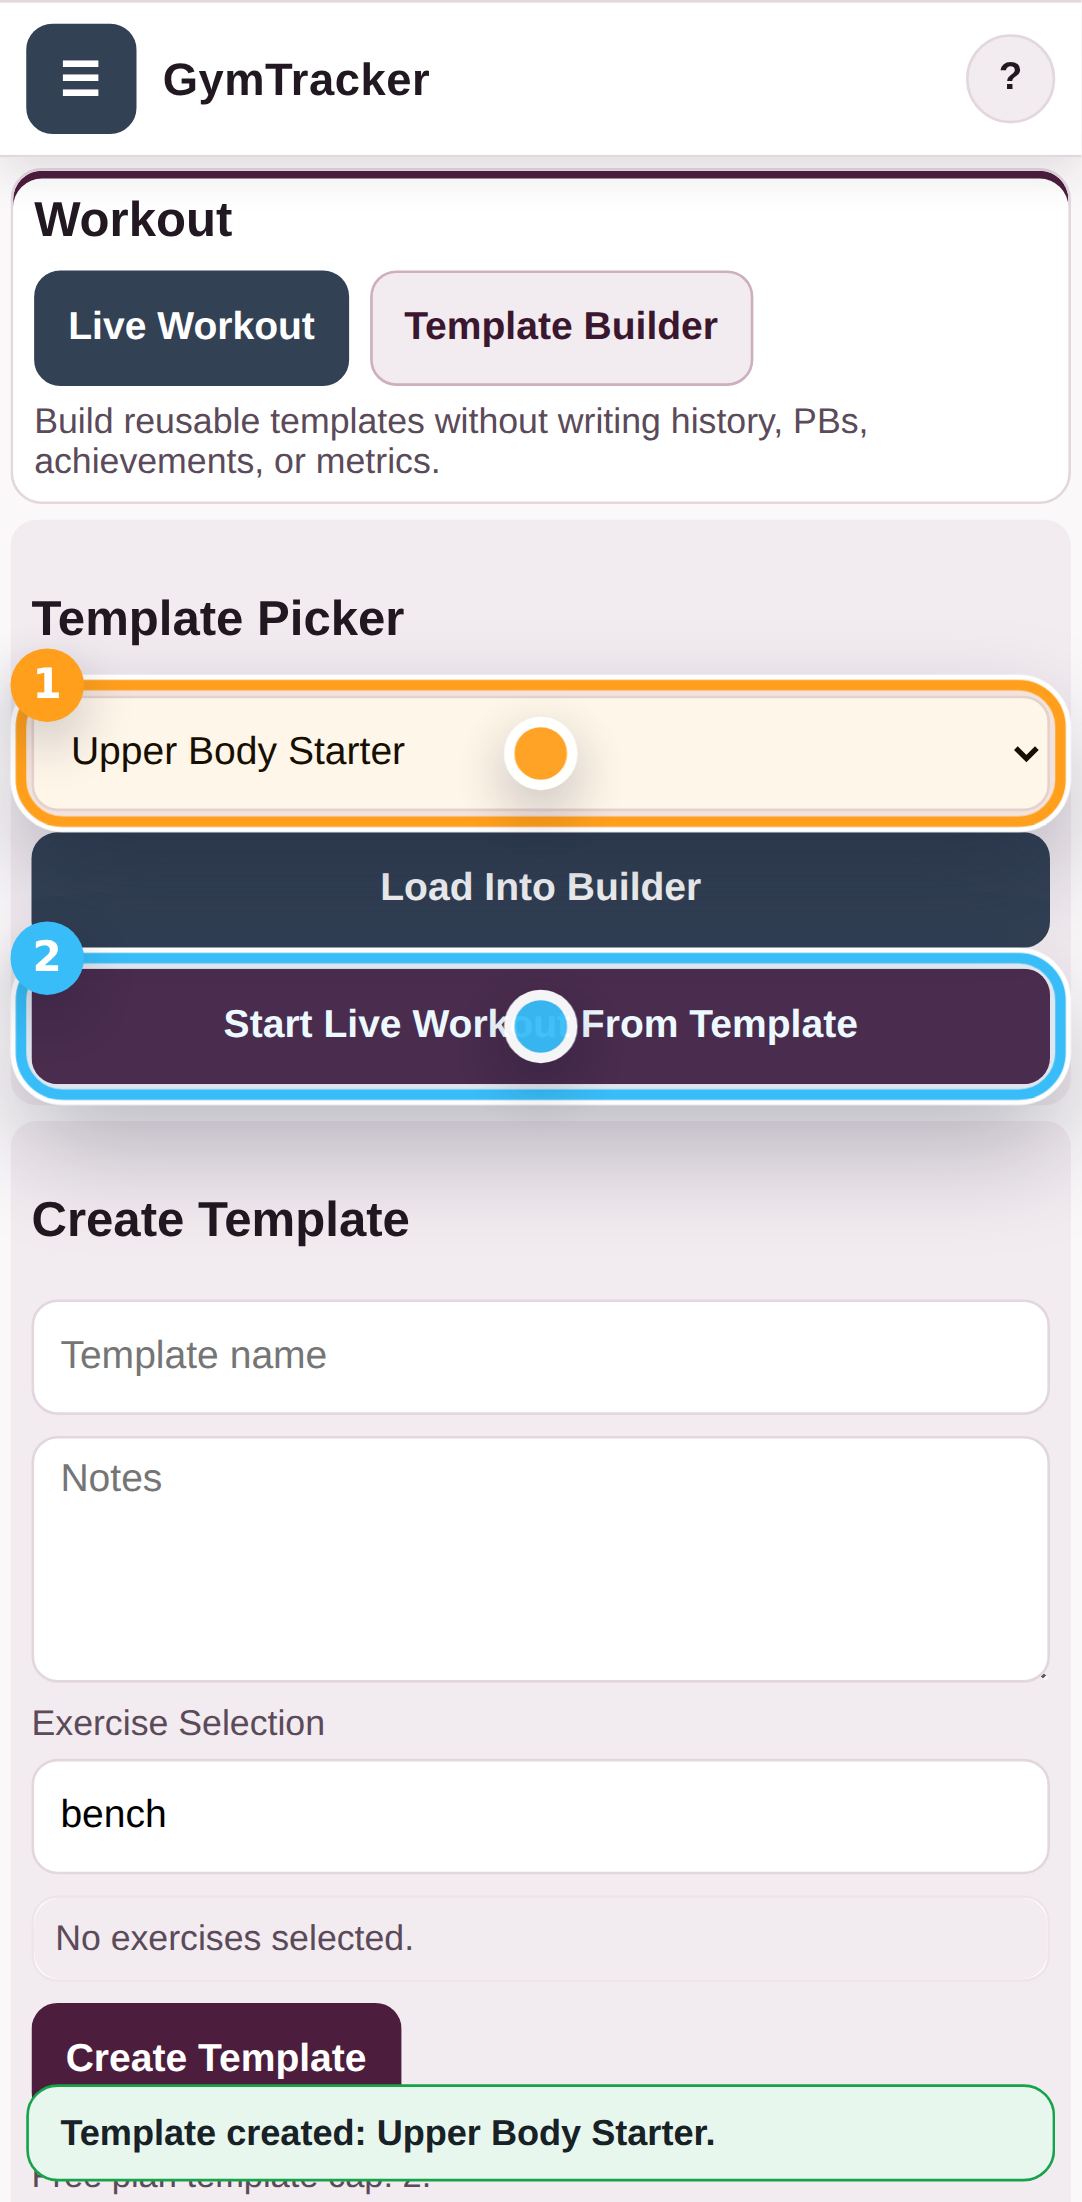
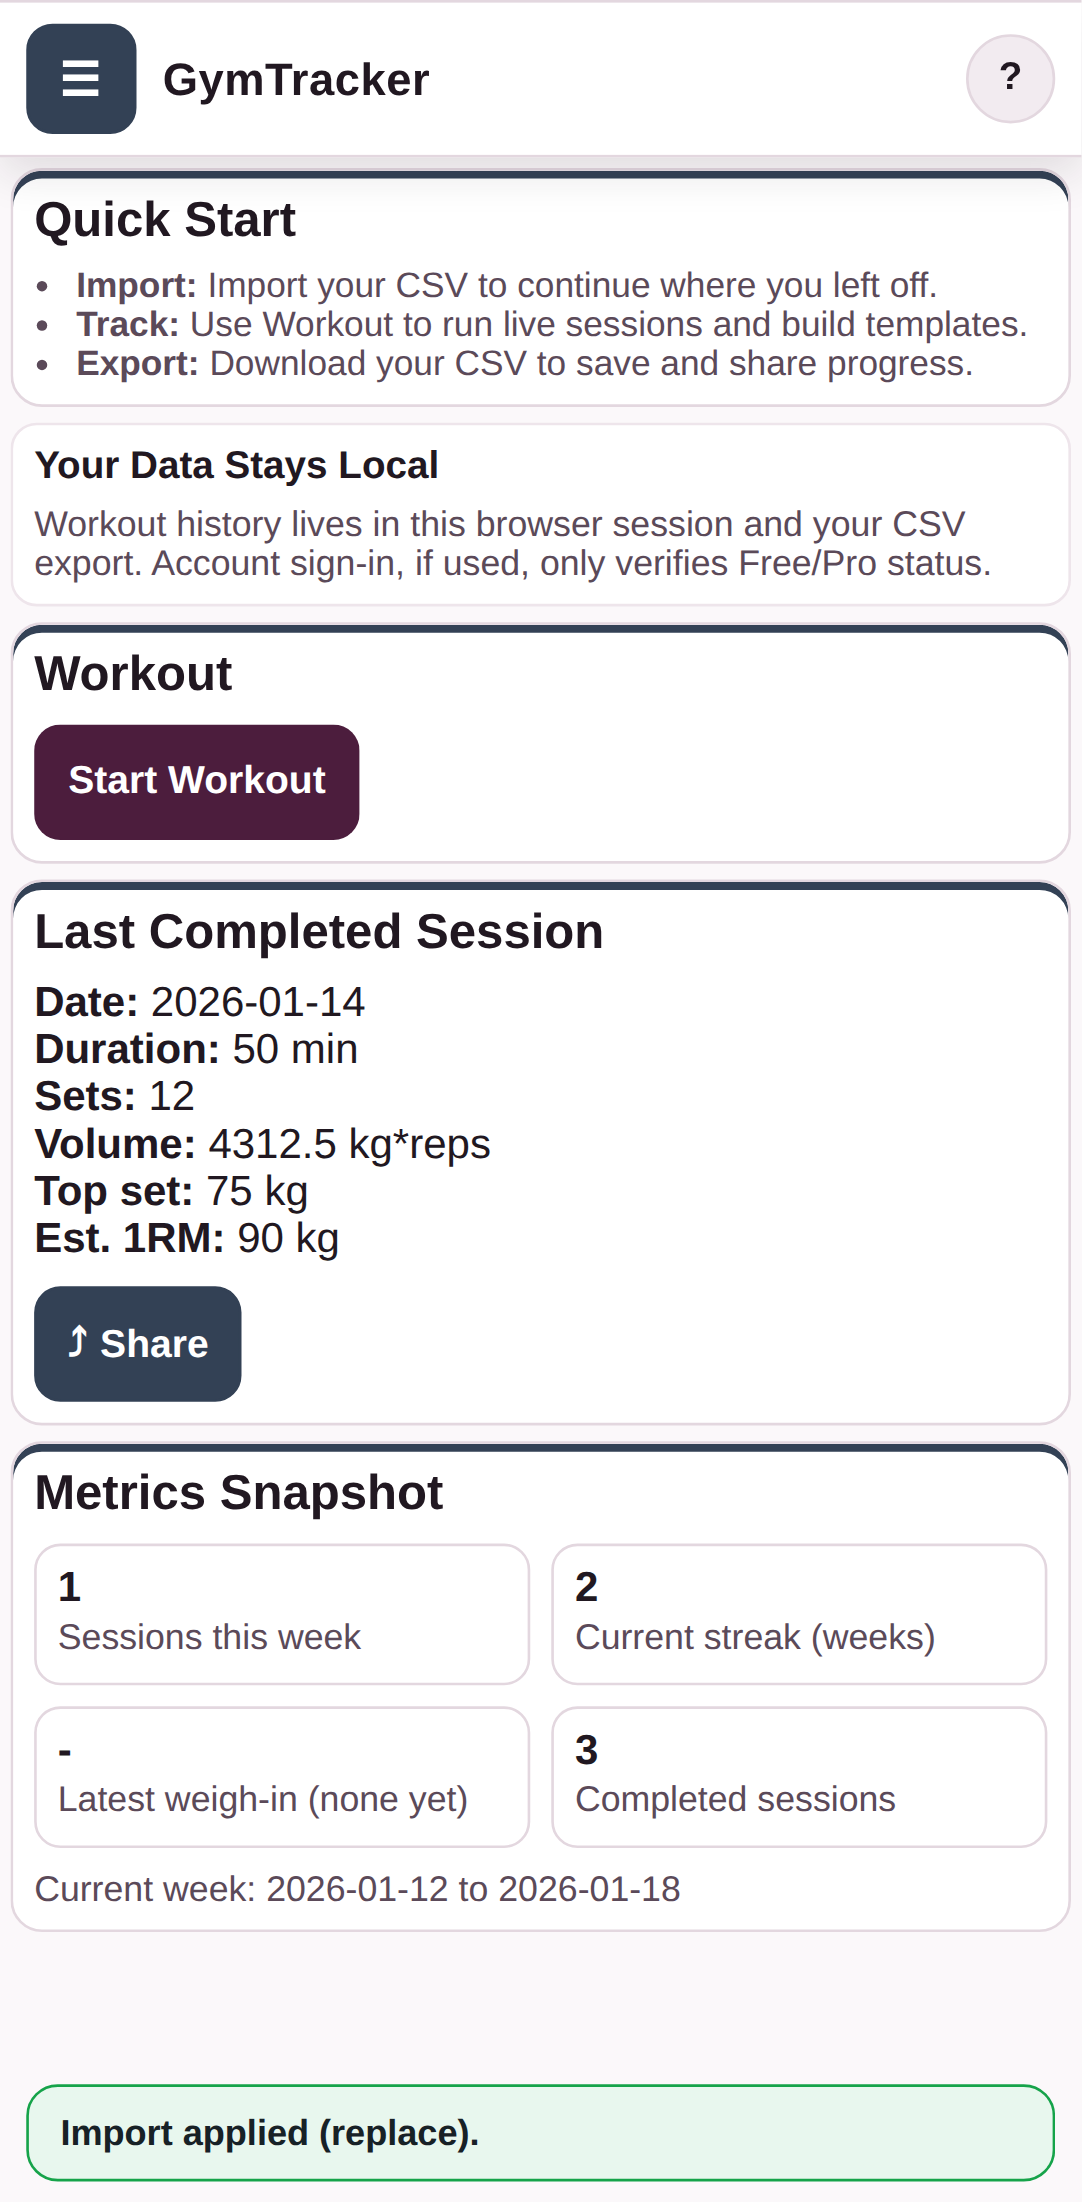
2. Step into your gym diary
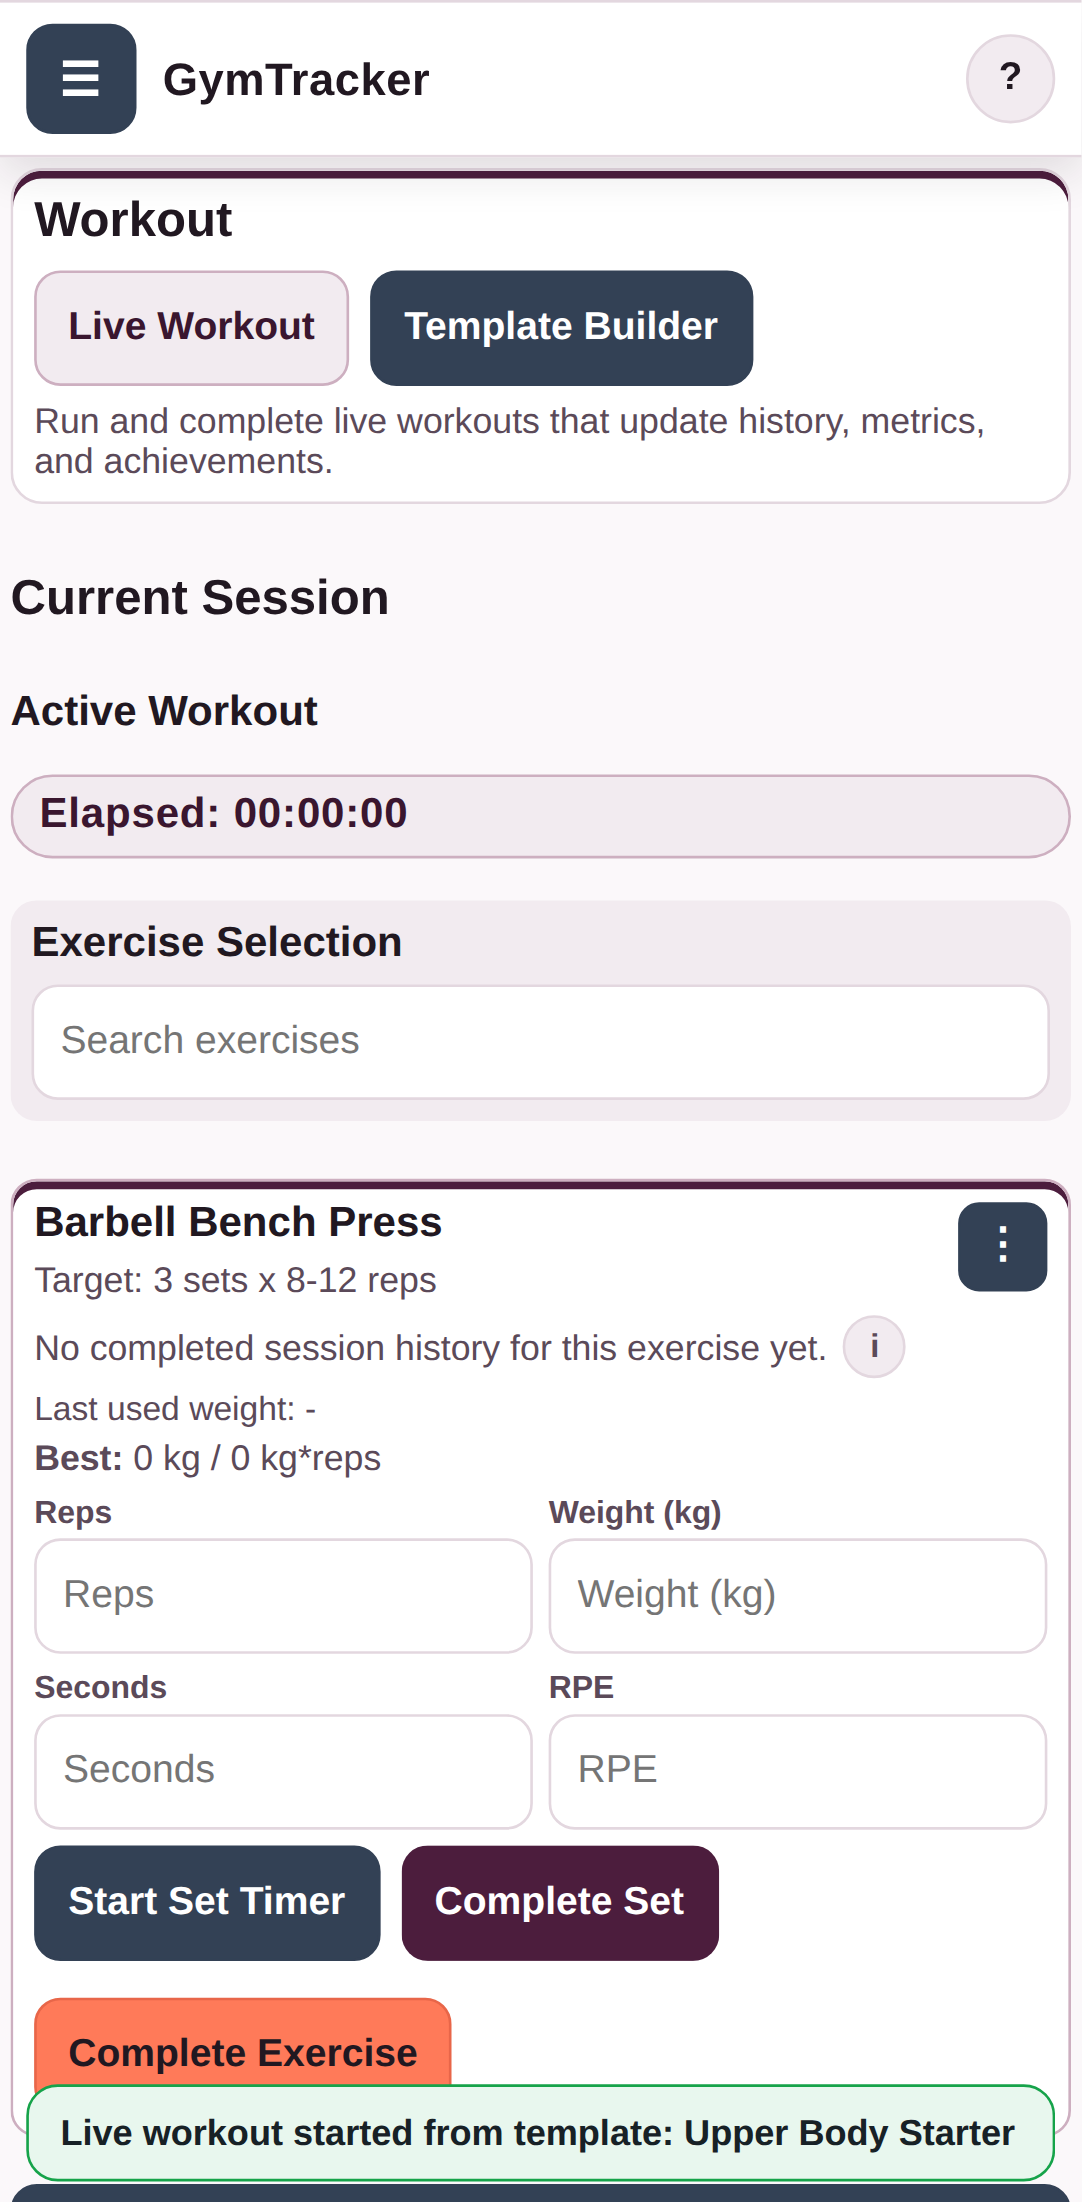
Once your file is open, GymTracker becomes your training space. You log workouts, choose exercises, track your sessions, and build up a history that belongs to you.
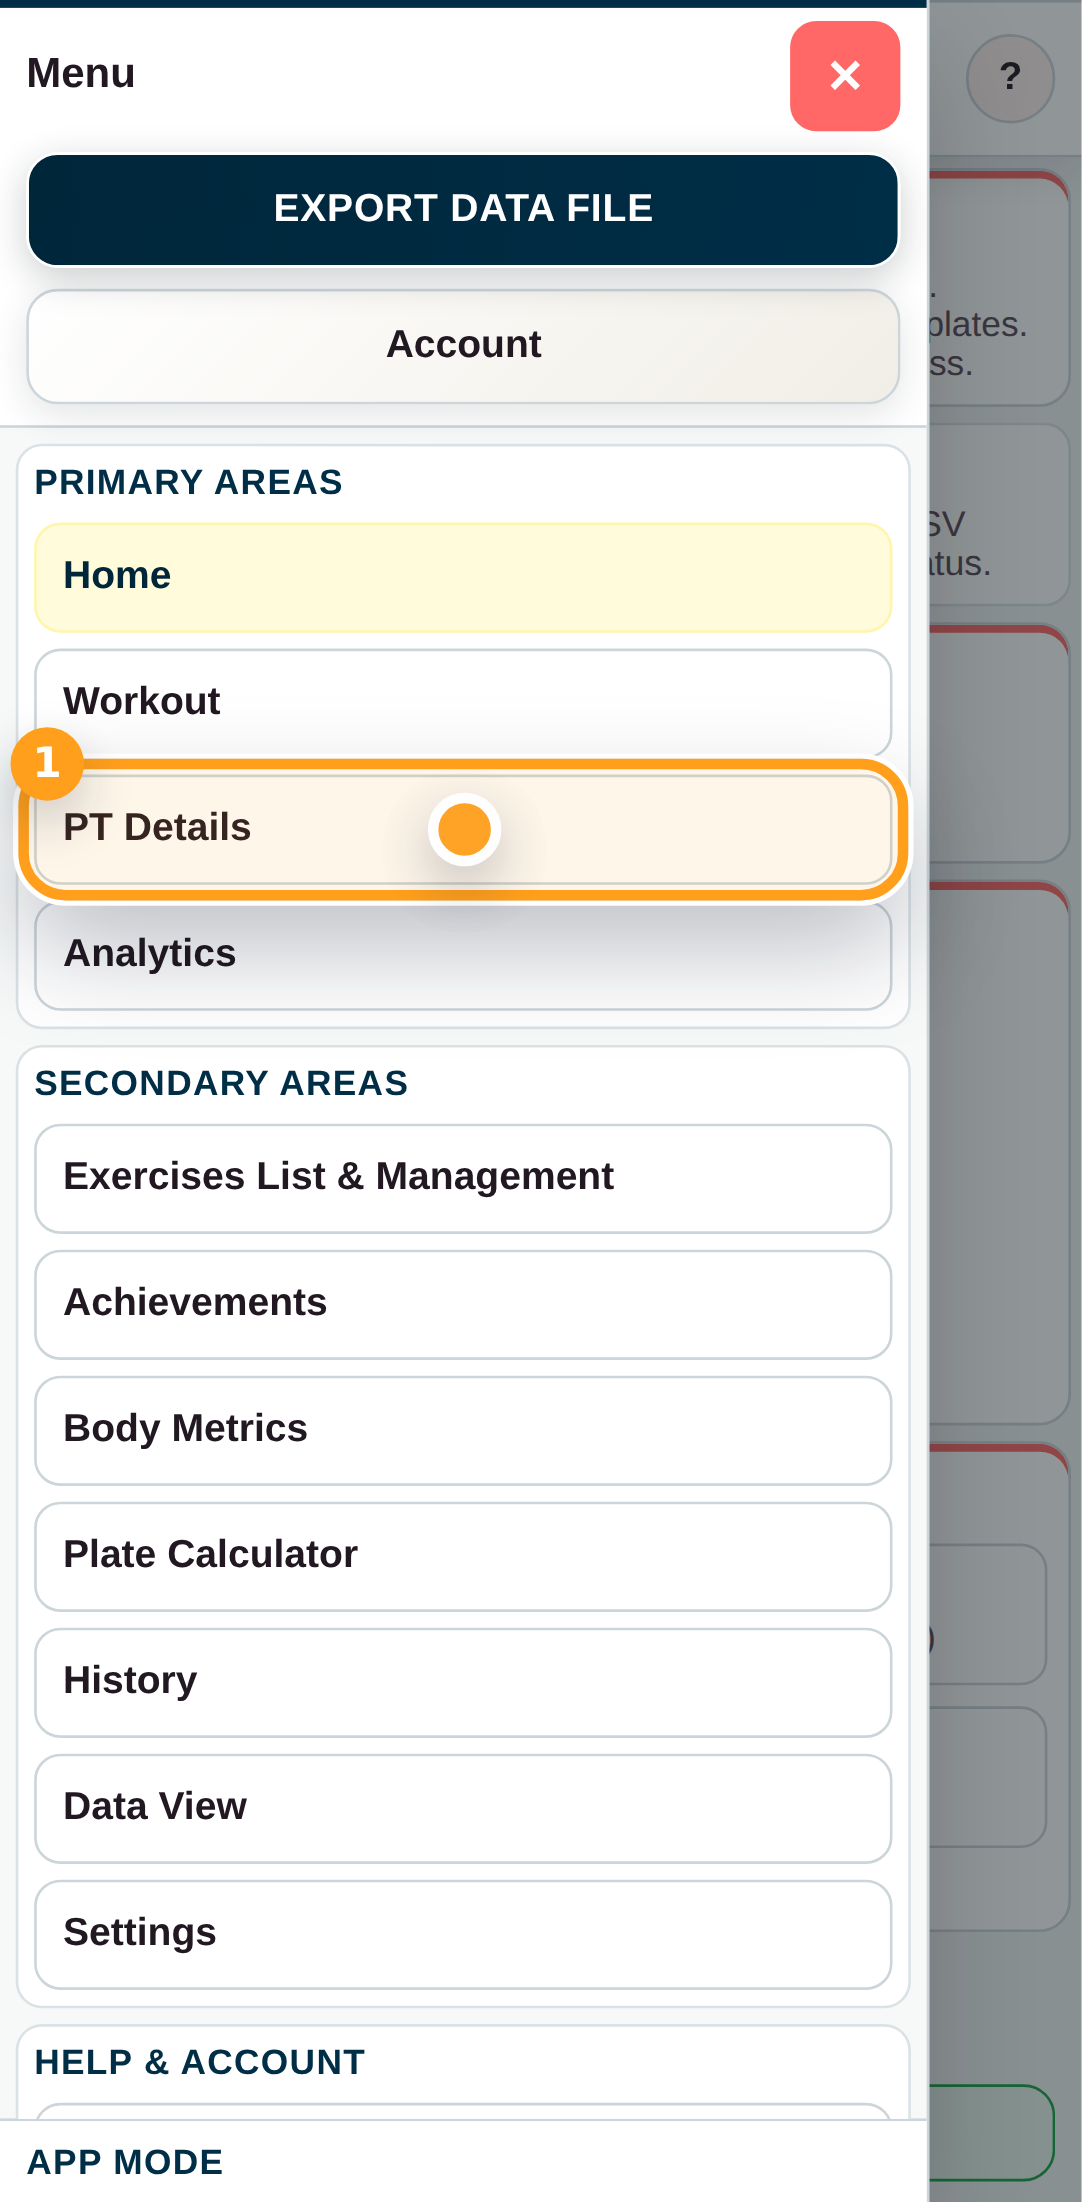
Home > WorkoutHome > Exercise LibraryHome > HistoryHome > Analytics
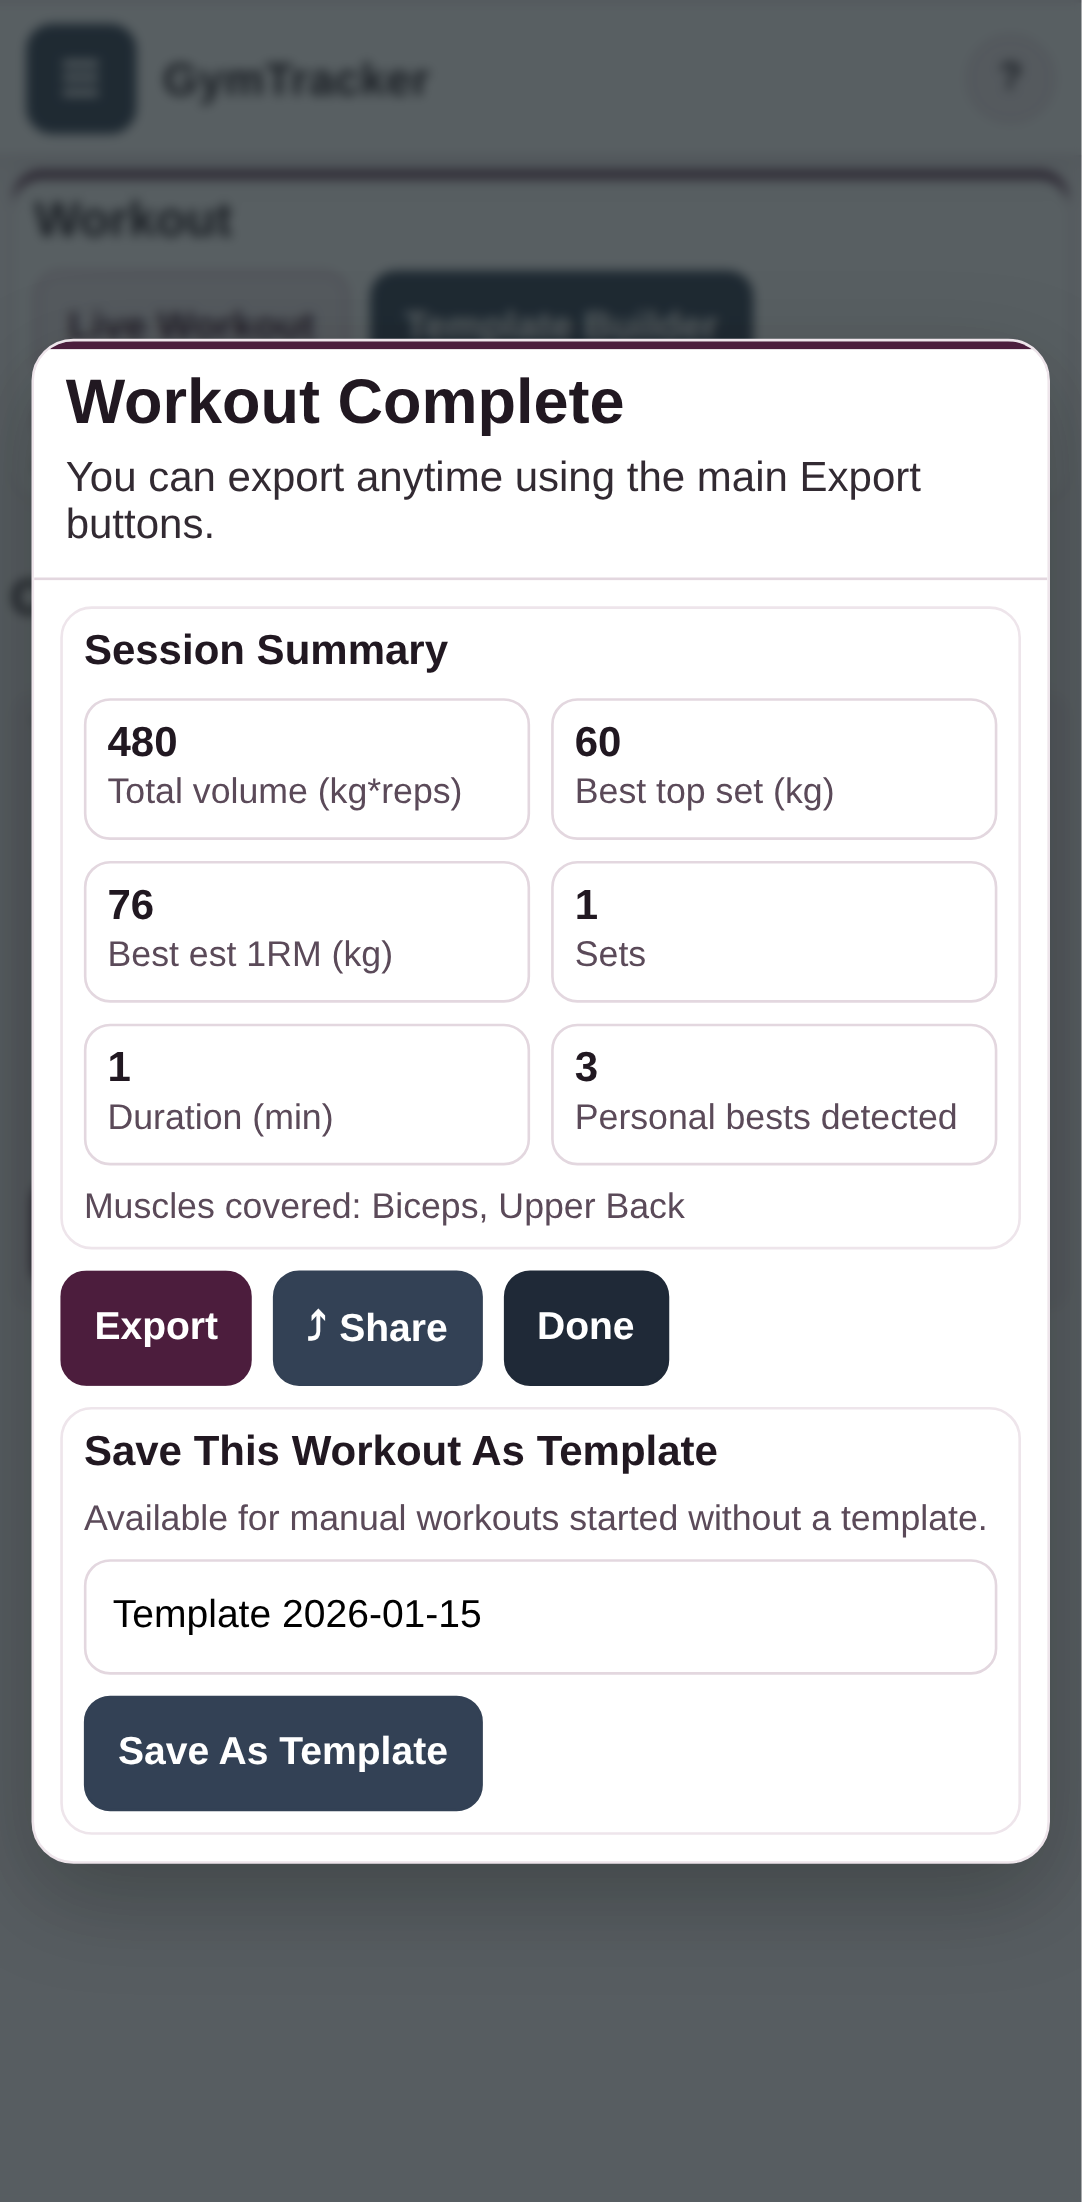
3. Let your data start talking back
After a few sessions, your file becomes more than a log. You can review sessions, look at analytics, build targets, and set weekly muscle goals.
Home > AnalyticsHome > Analytics > Build TargetHome > Analytics > Weekly Muscle TargetsHome > Analytics > Customise Analytics
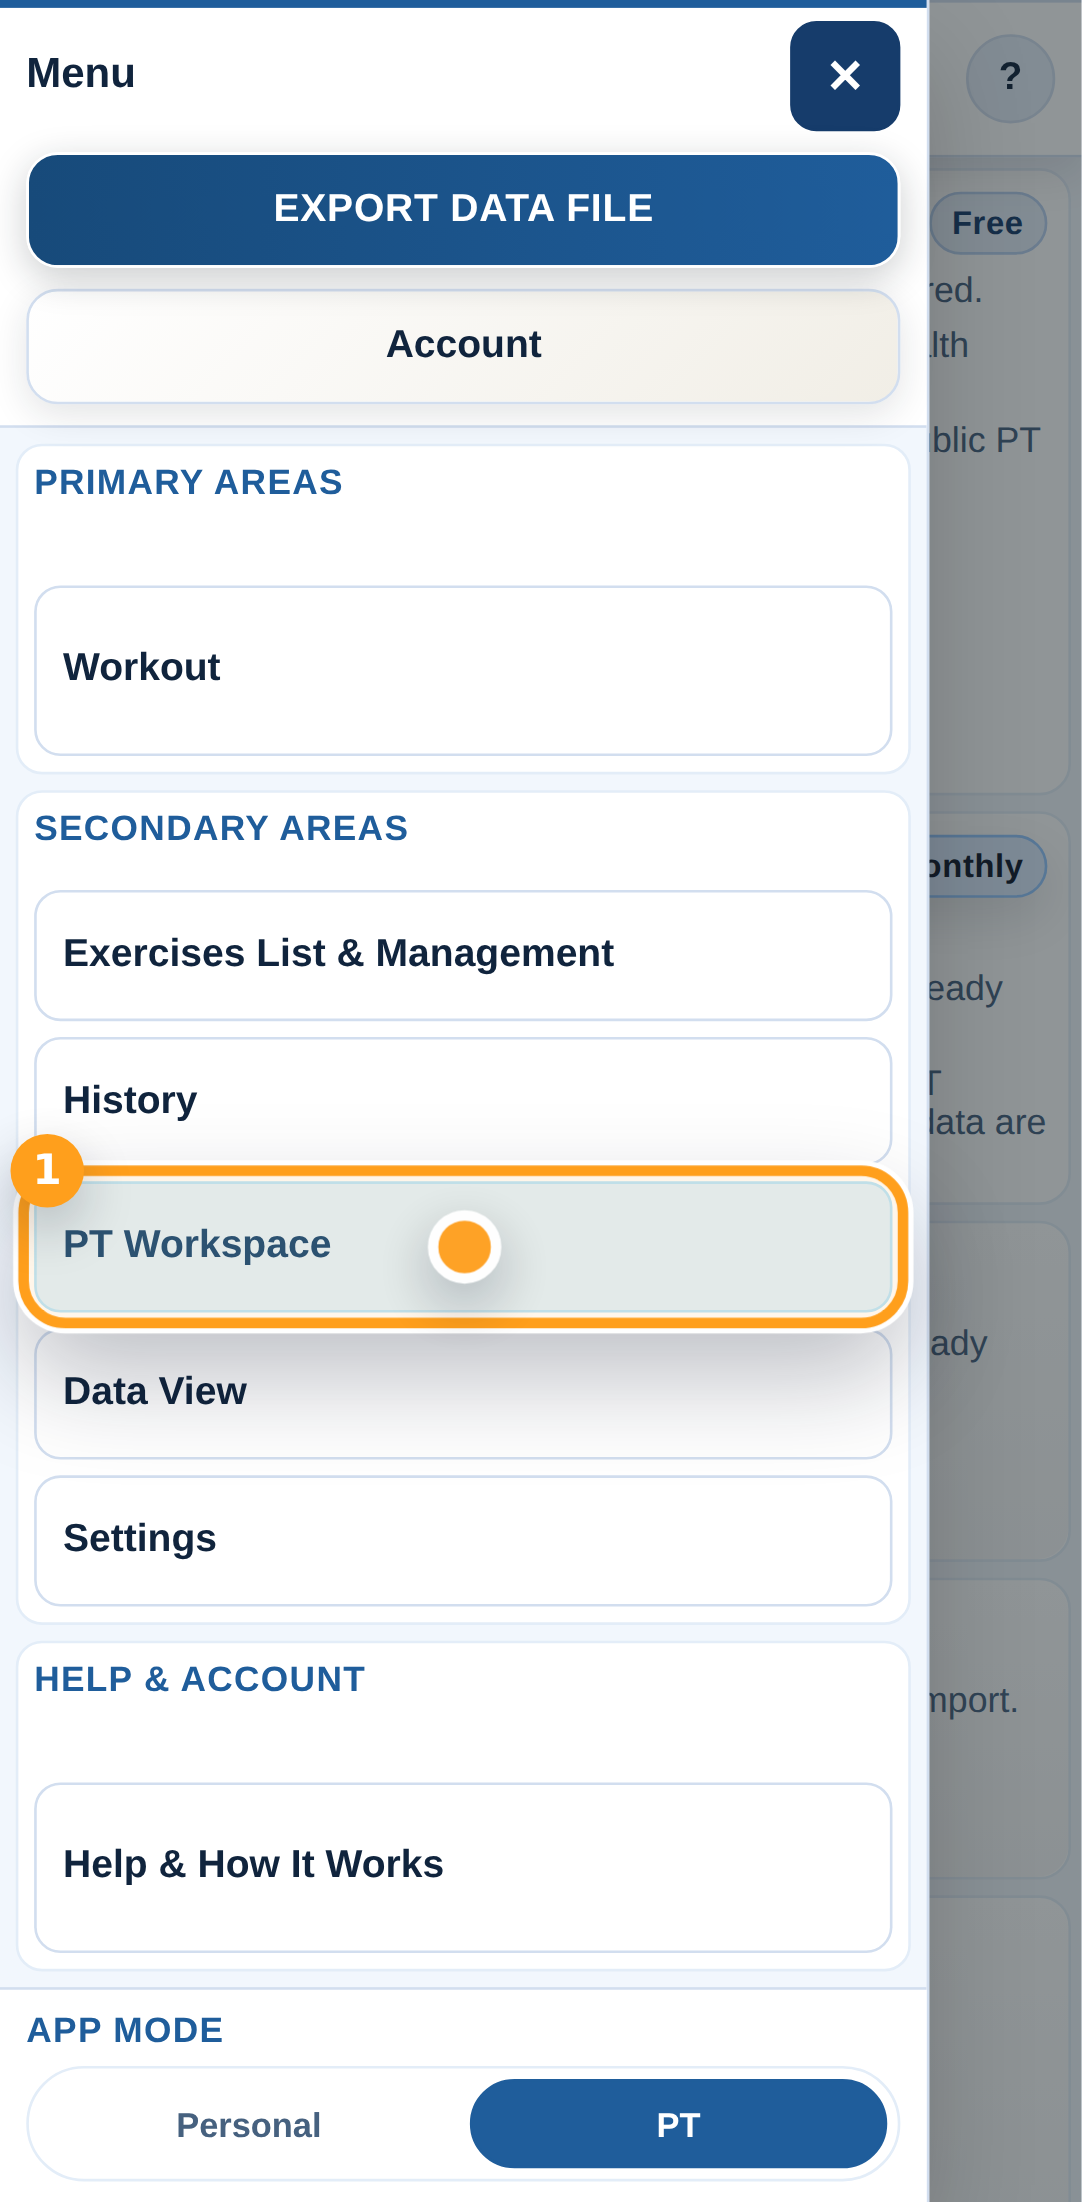
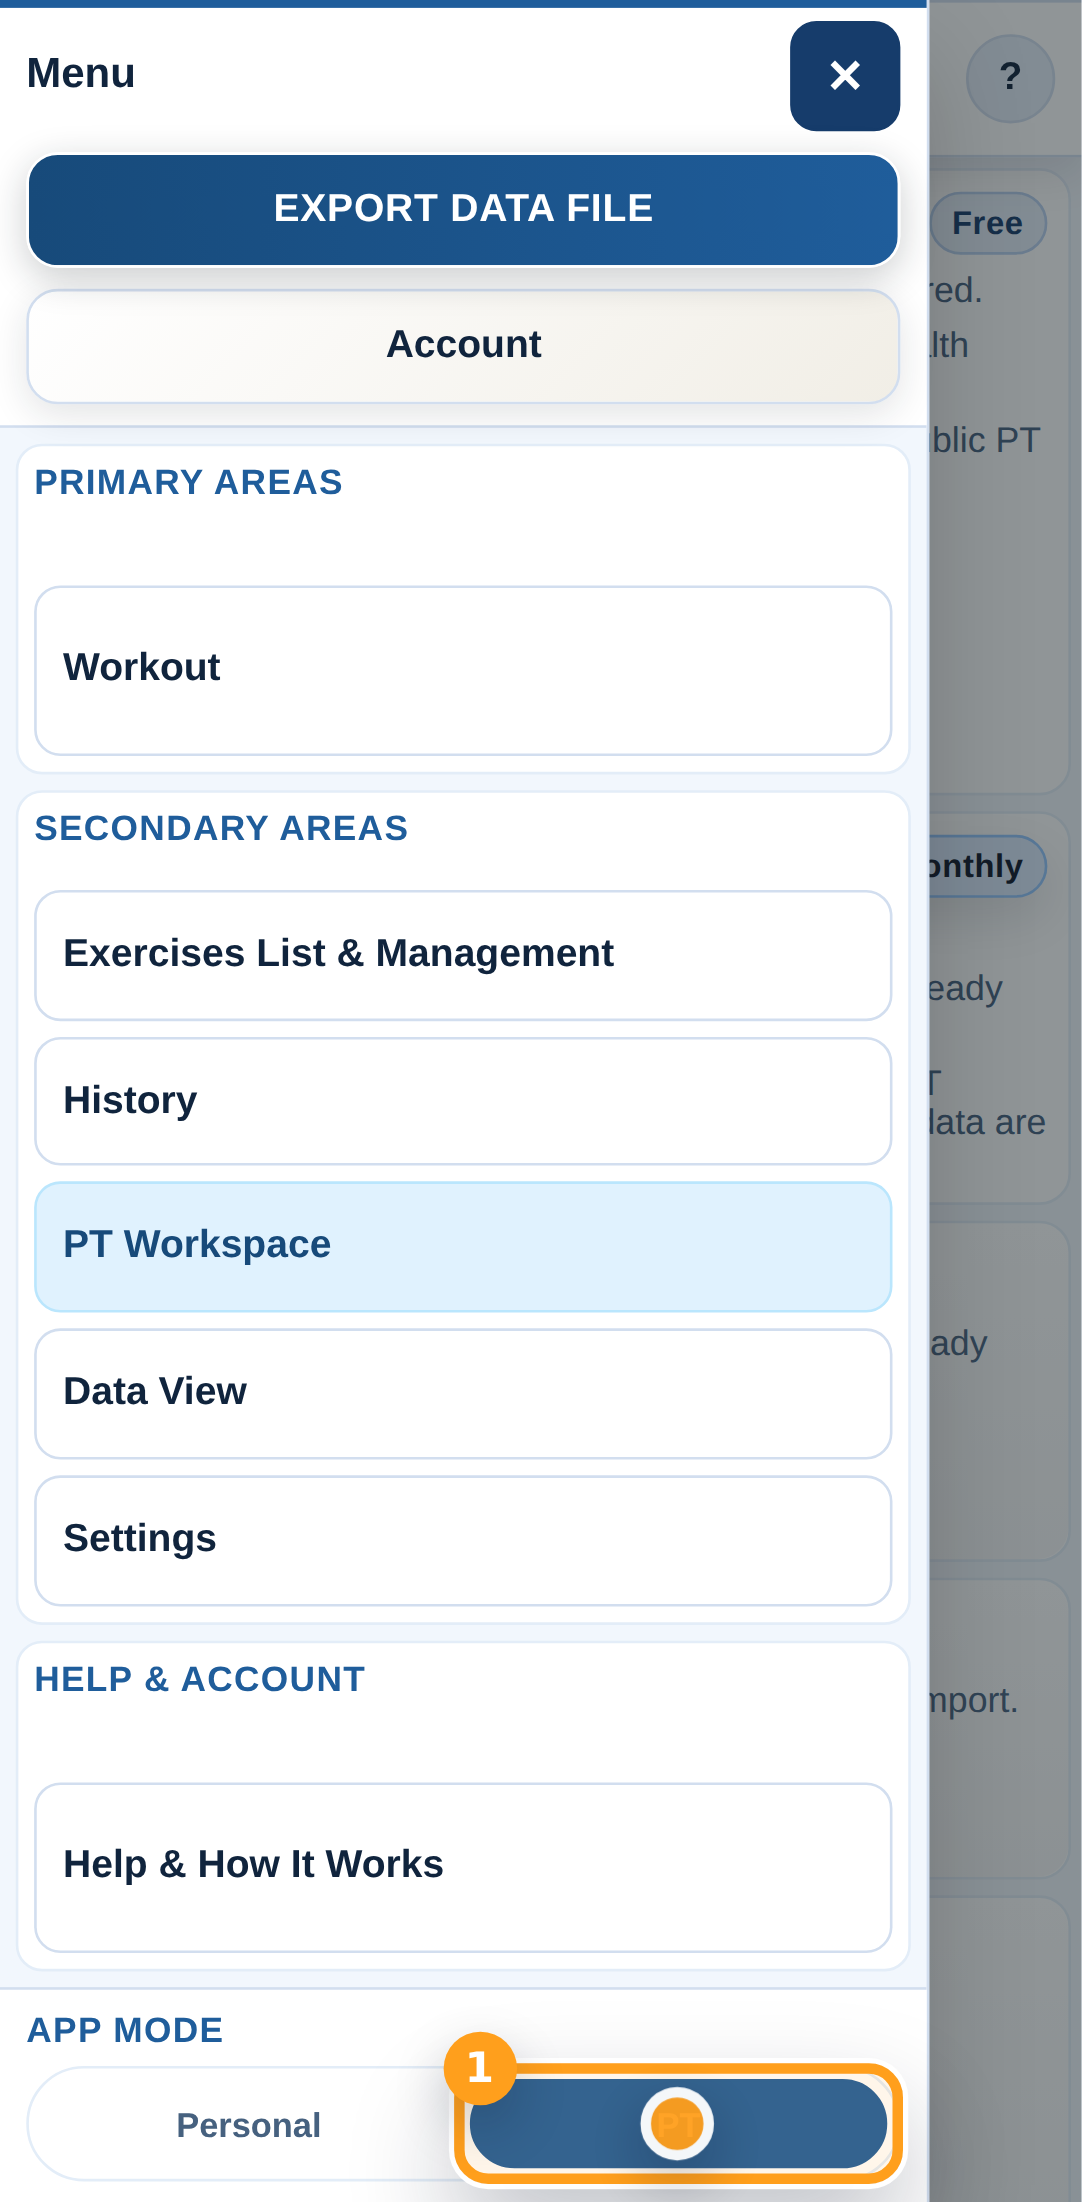
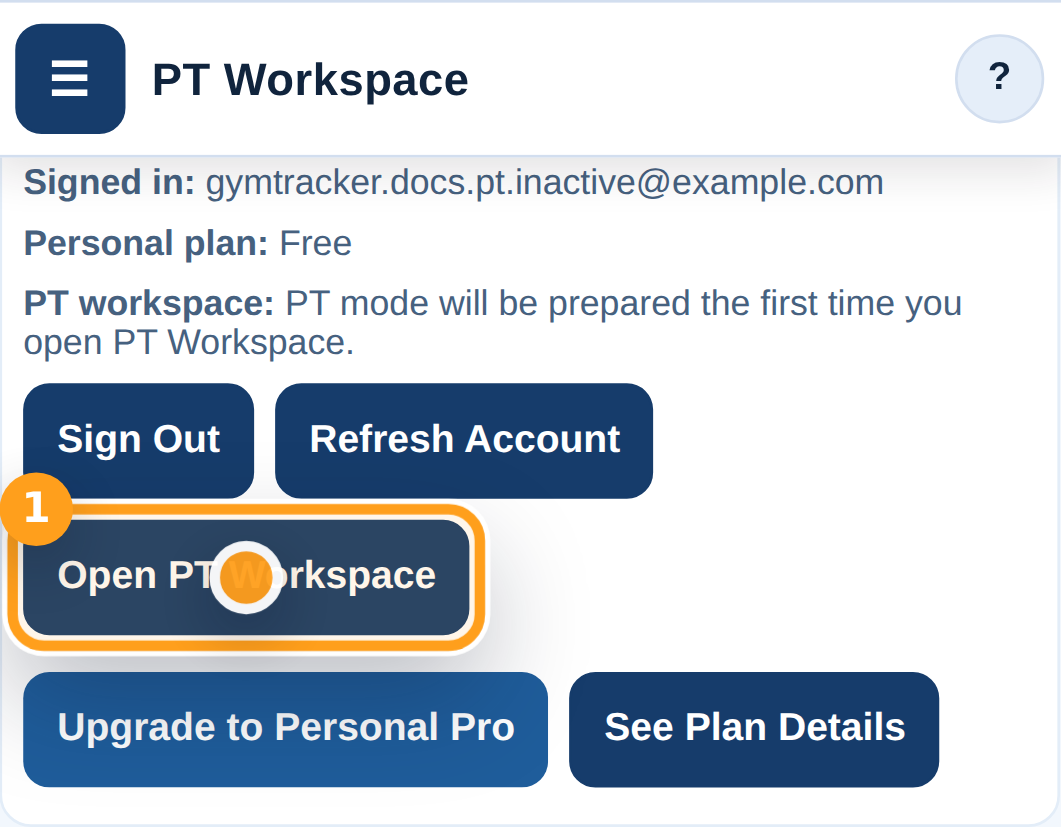
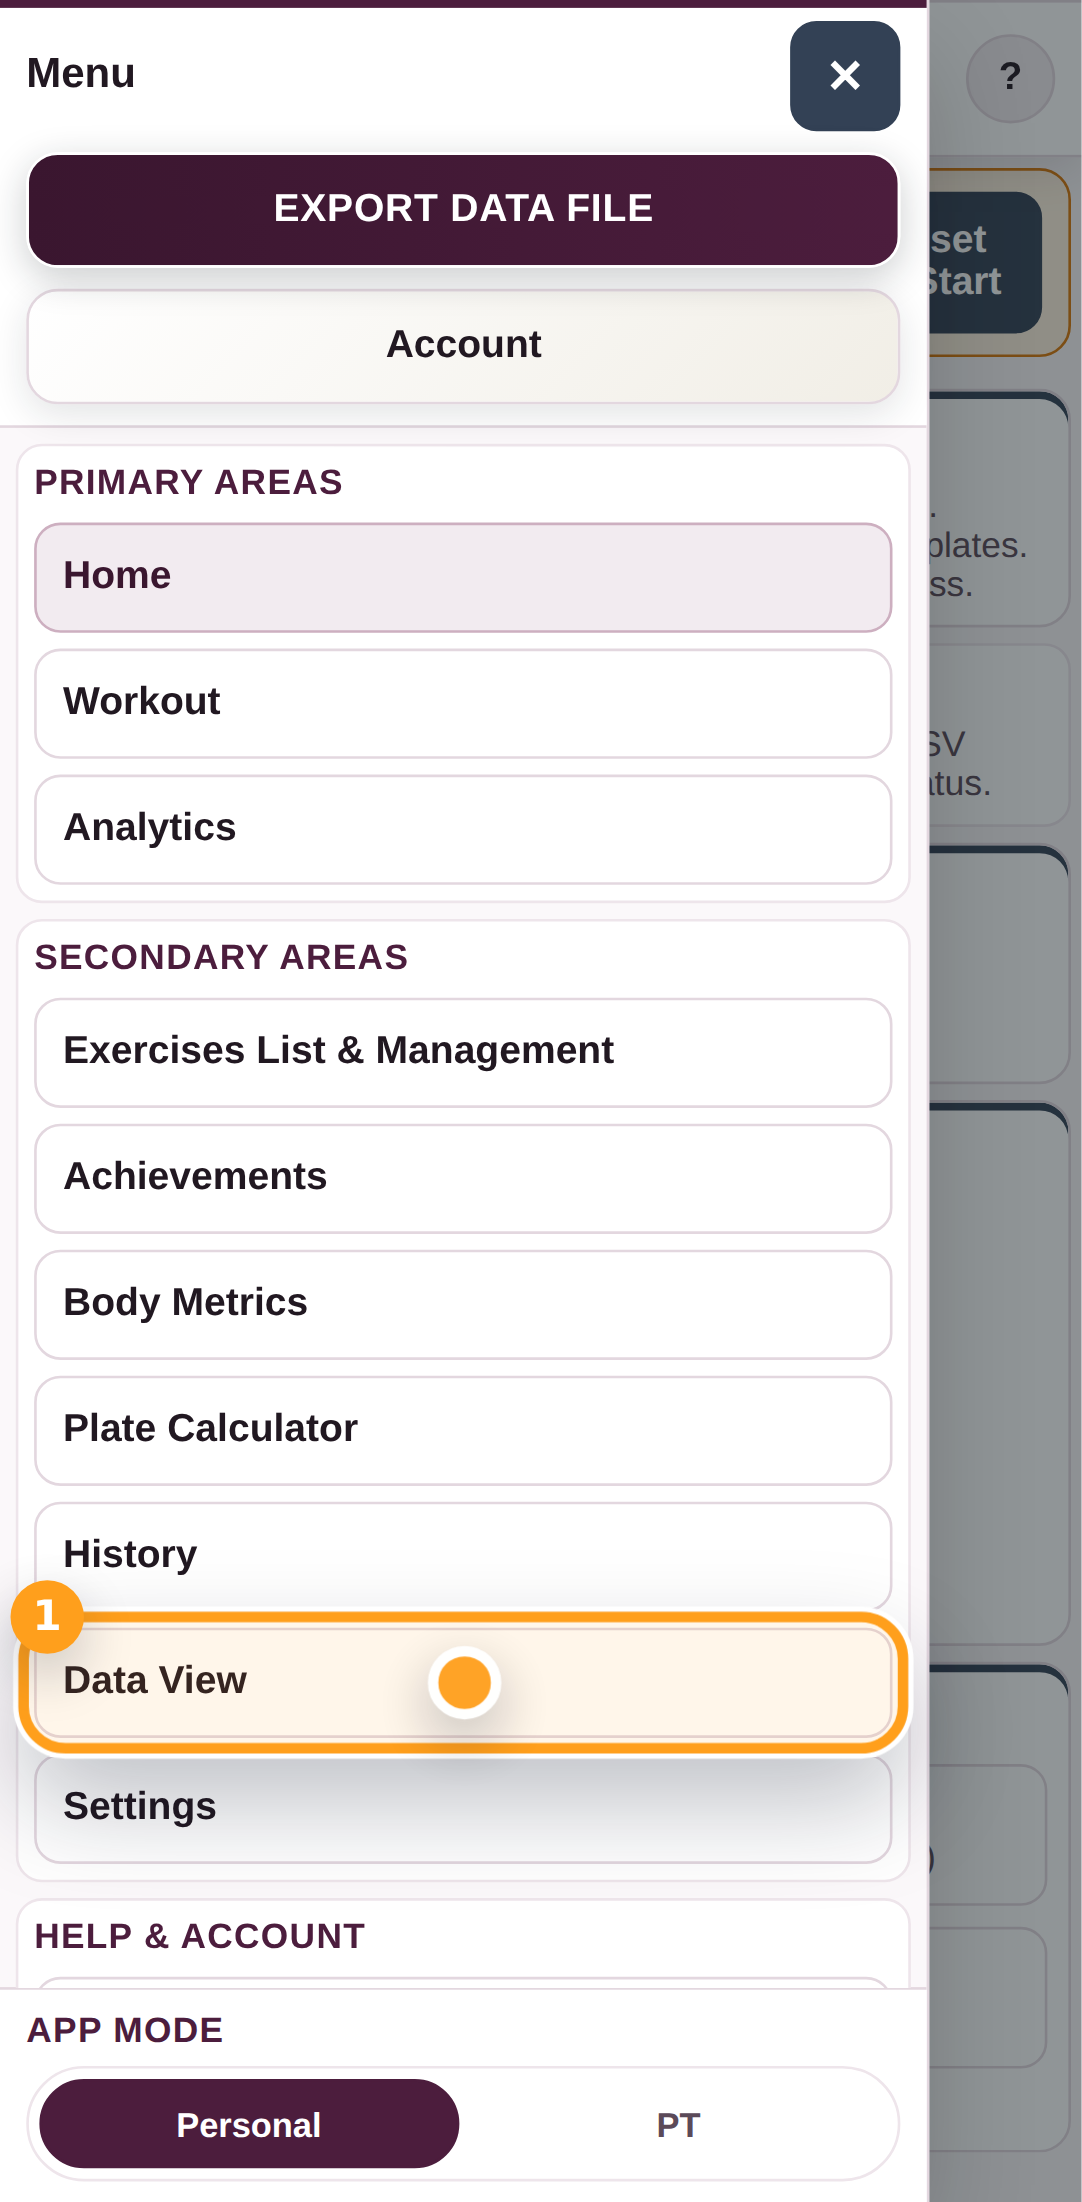
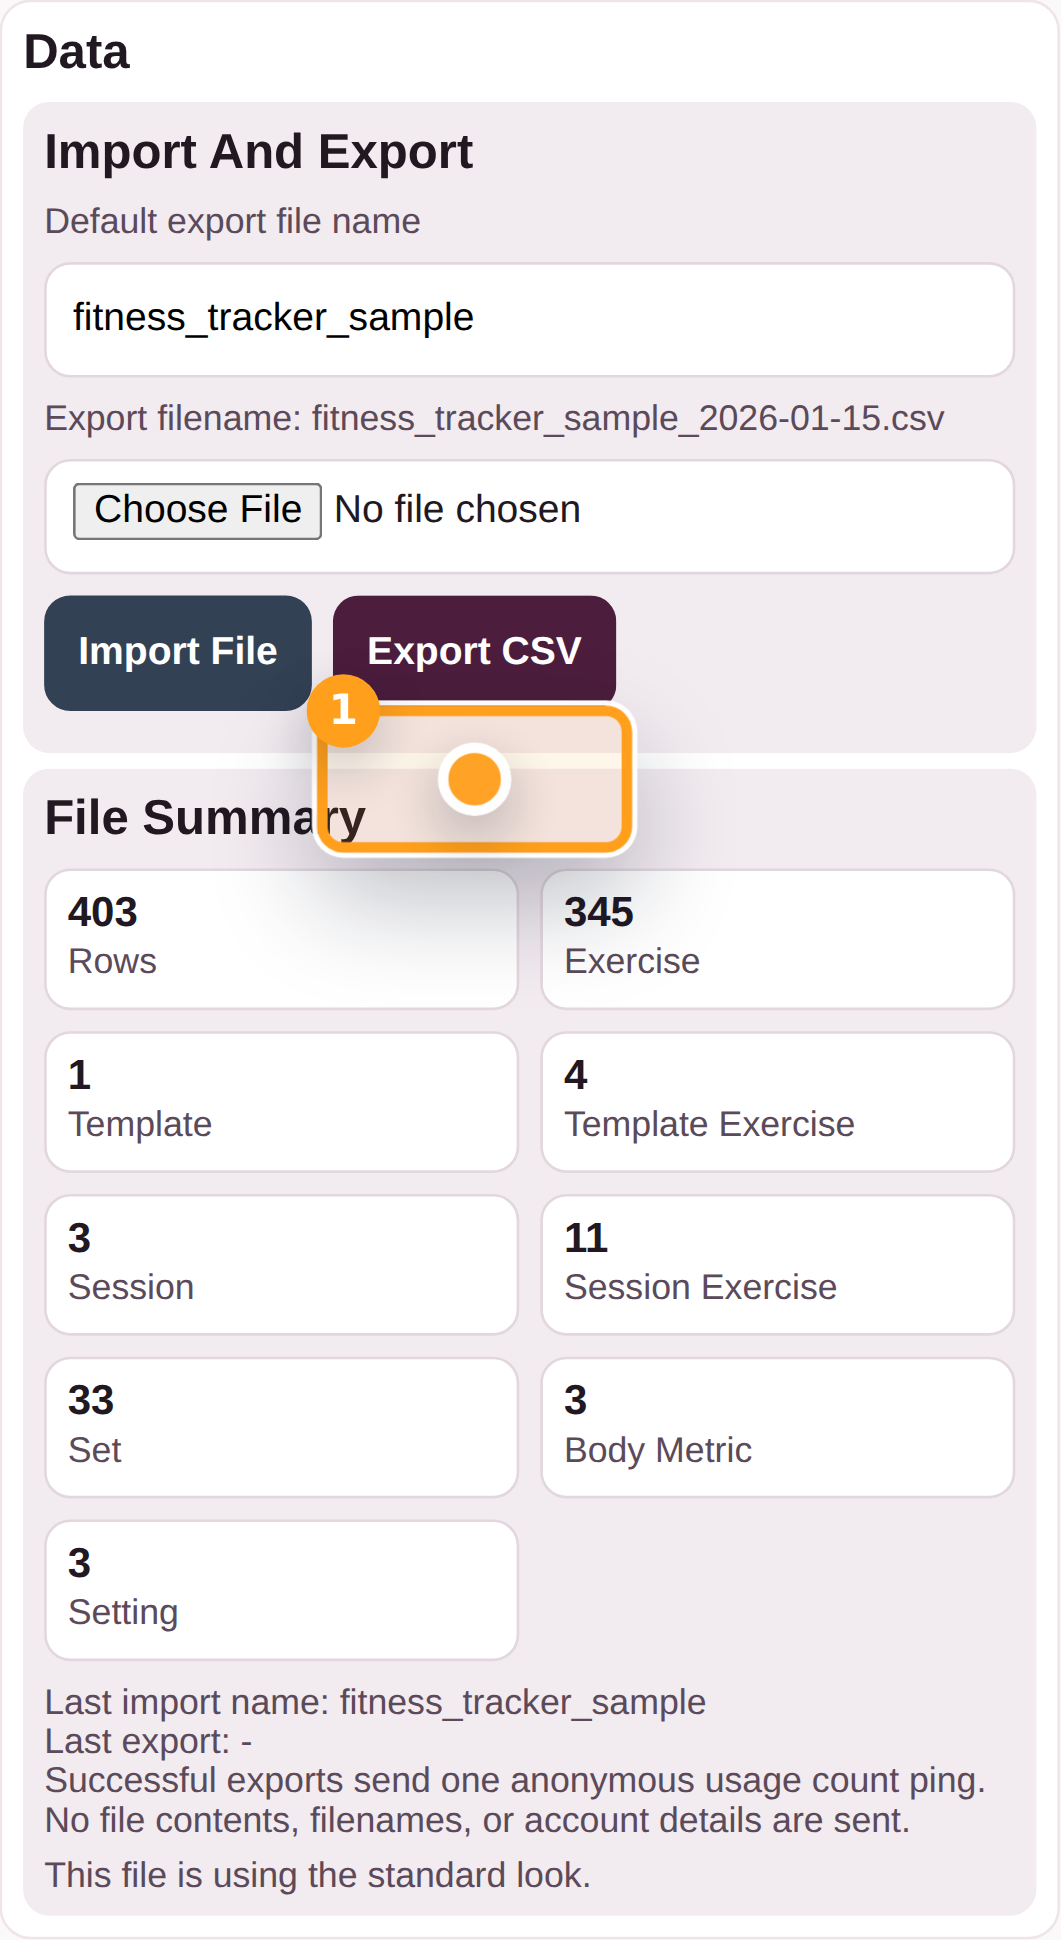
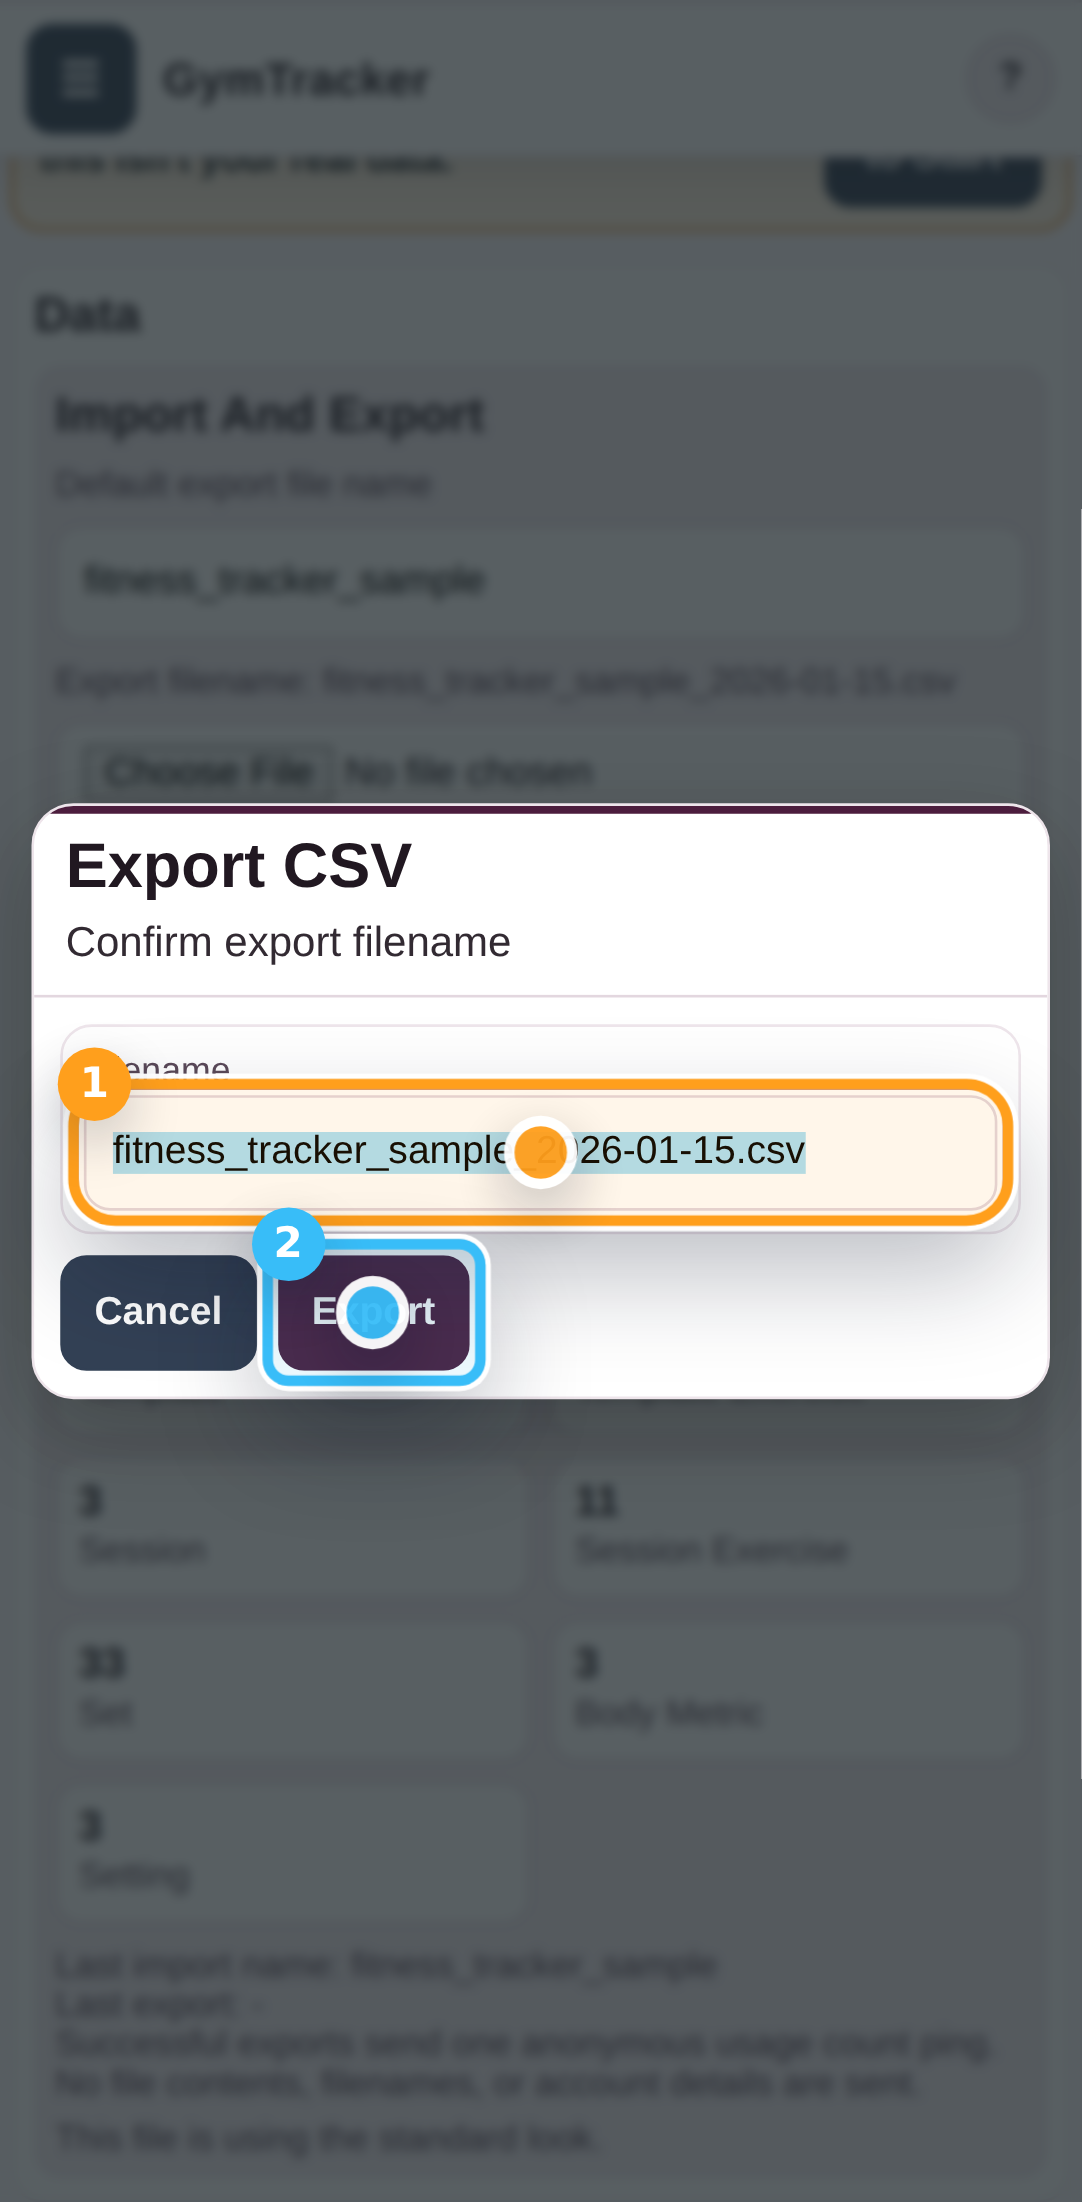
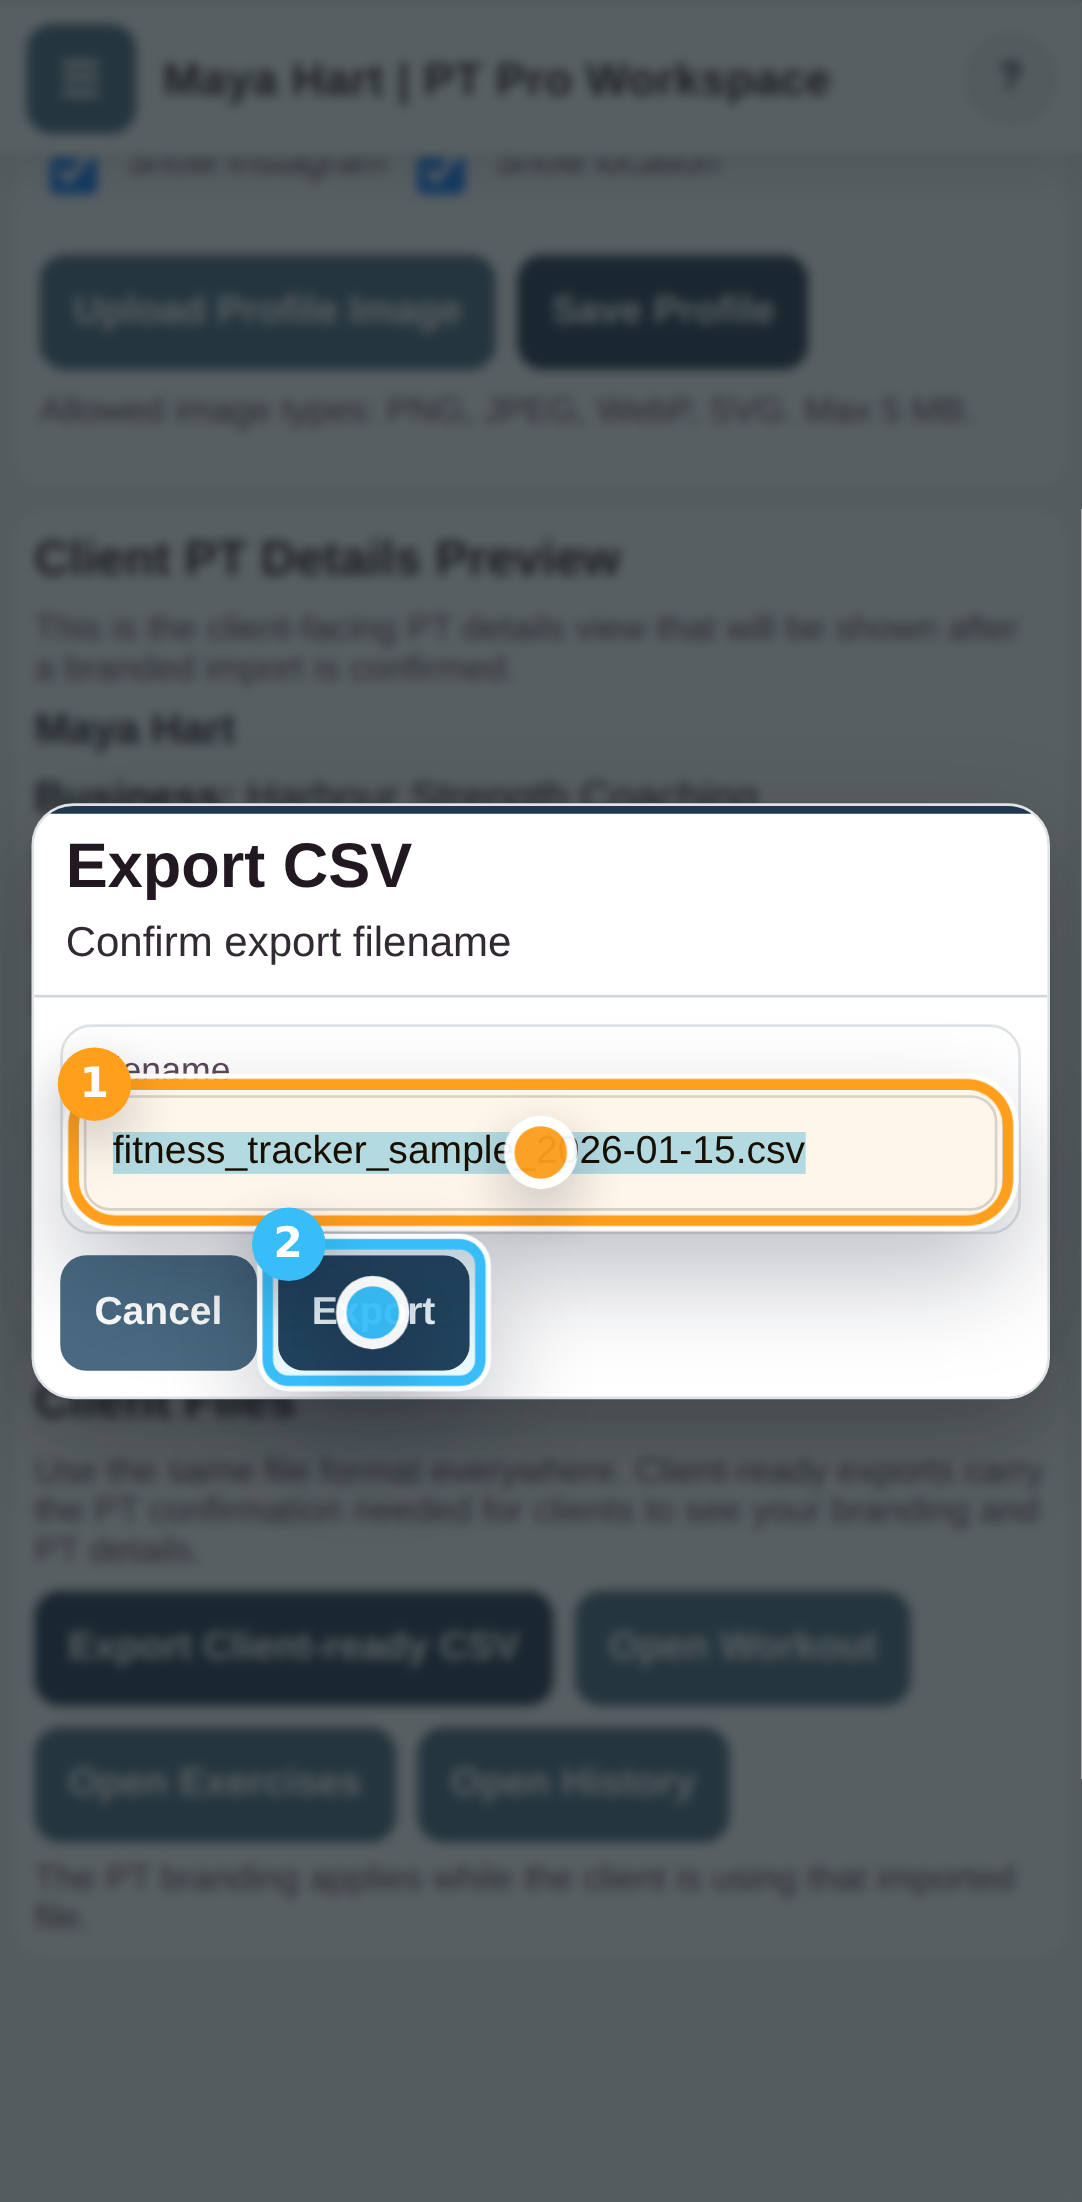
4. Save your progress and take it with you
When you are done, export your updated Data File. Think of it like closing the cover on your training diary and putting it safely back in your bag.
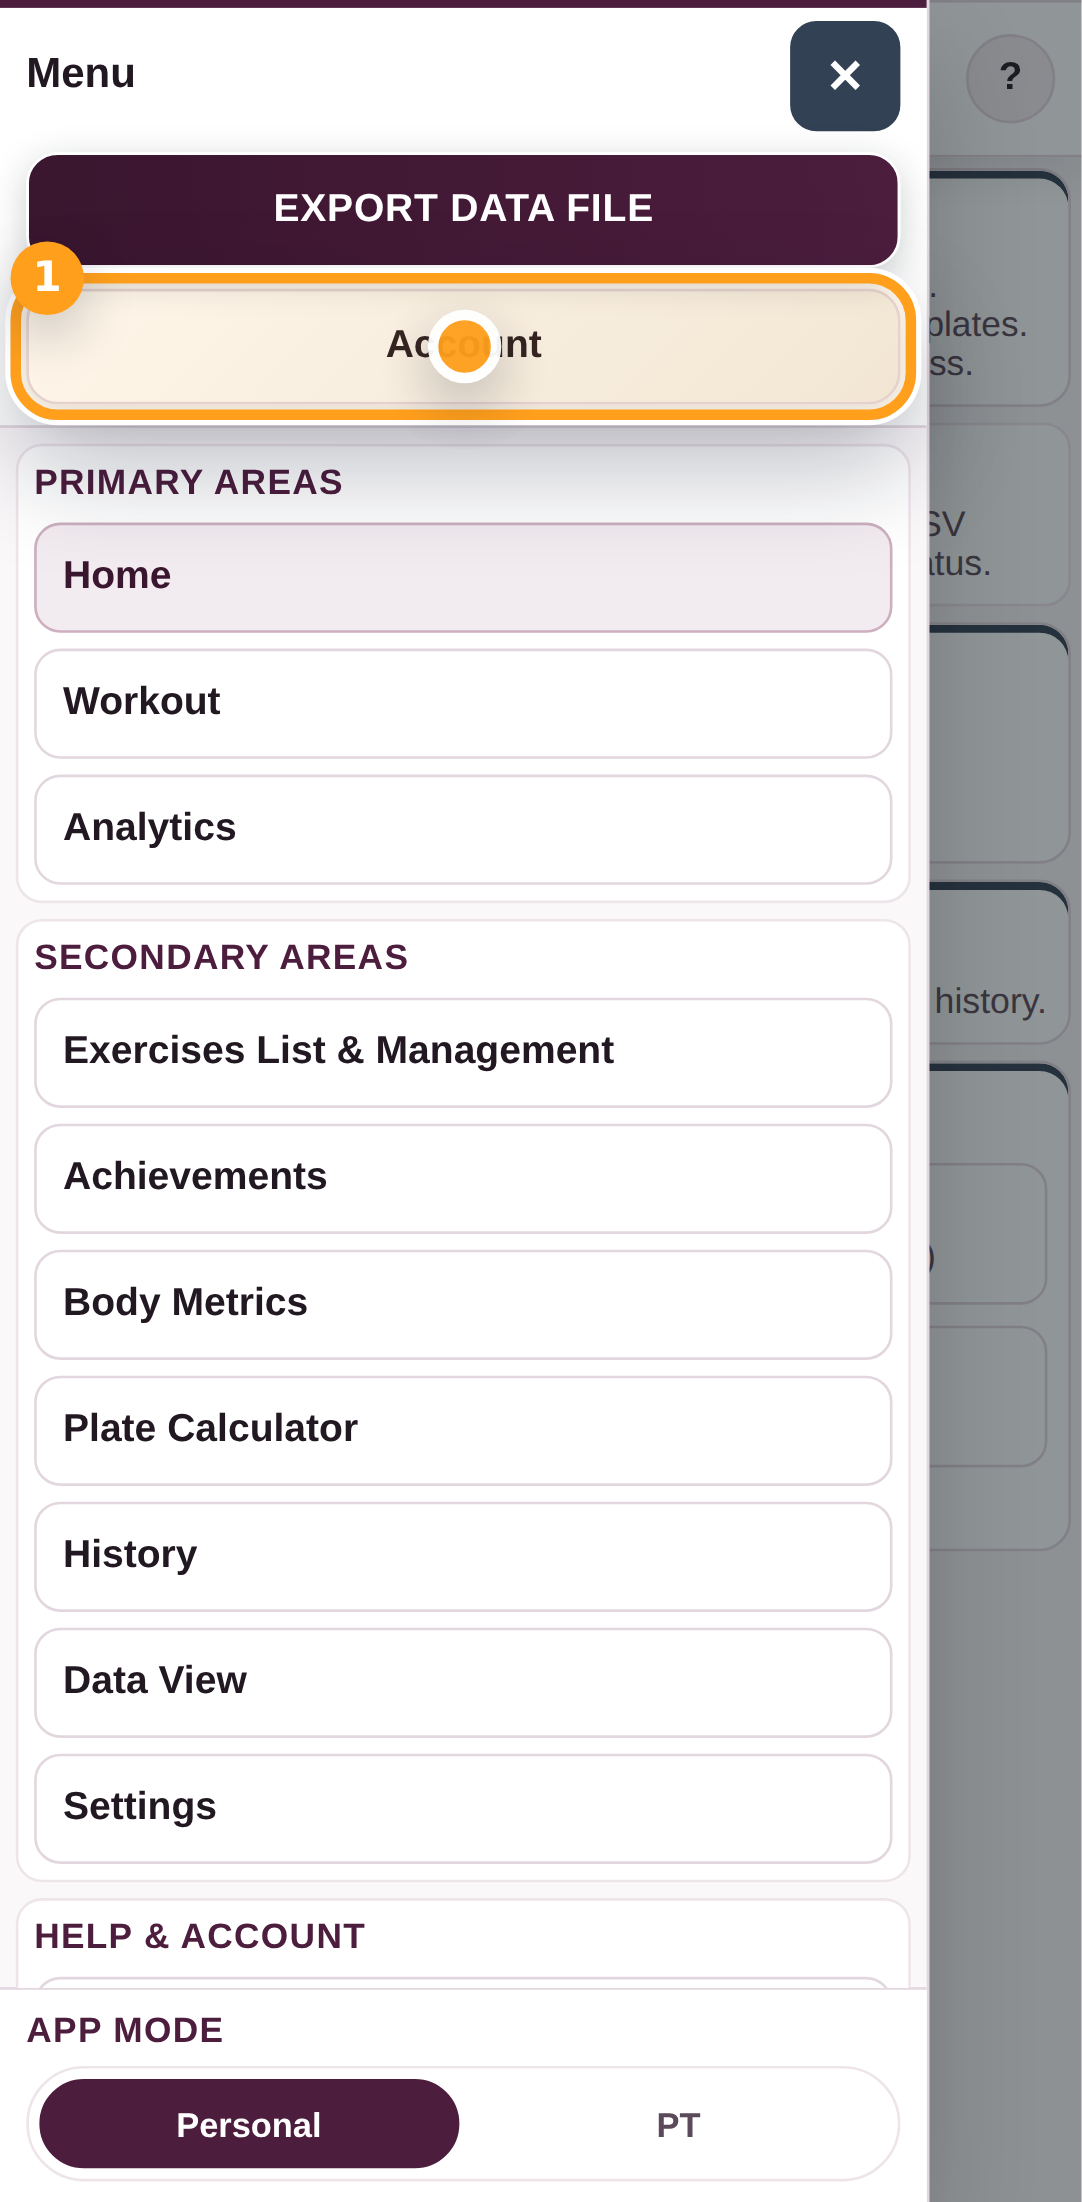
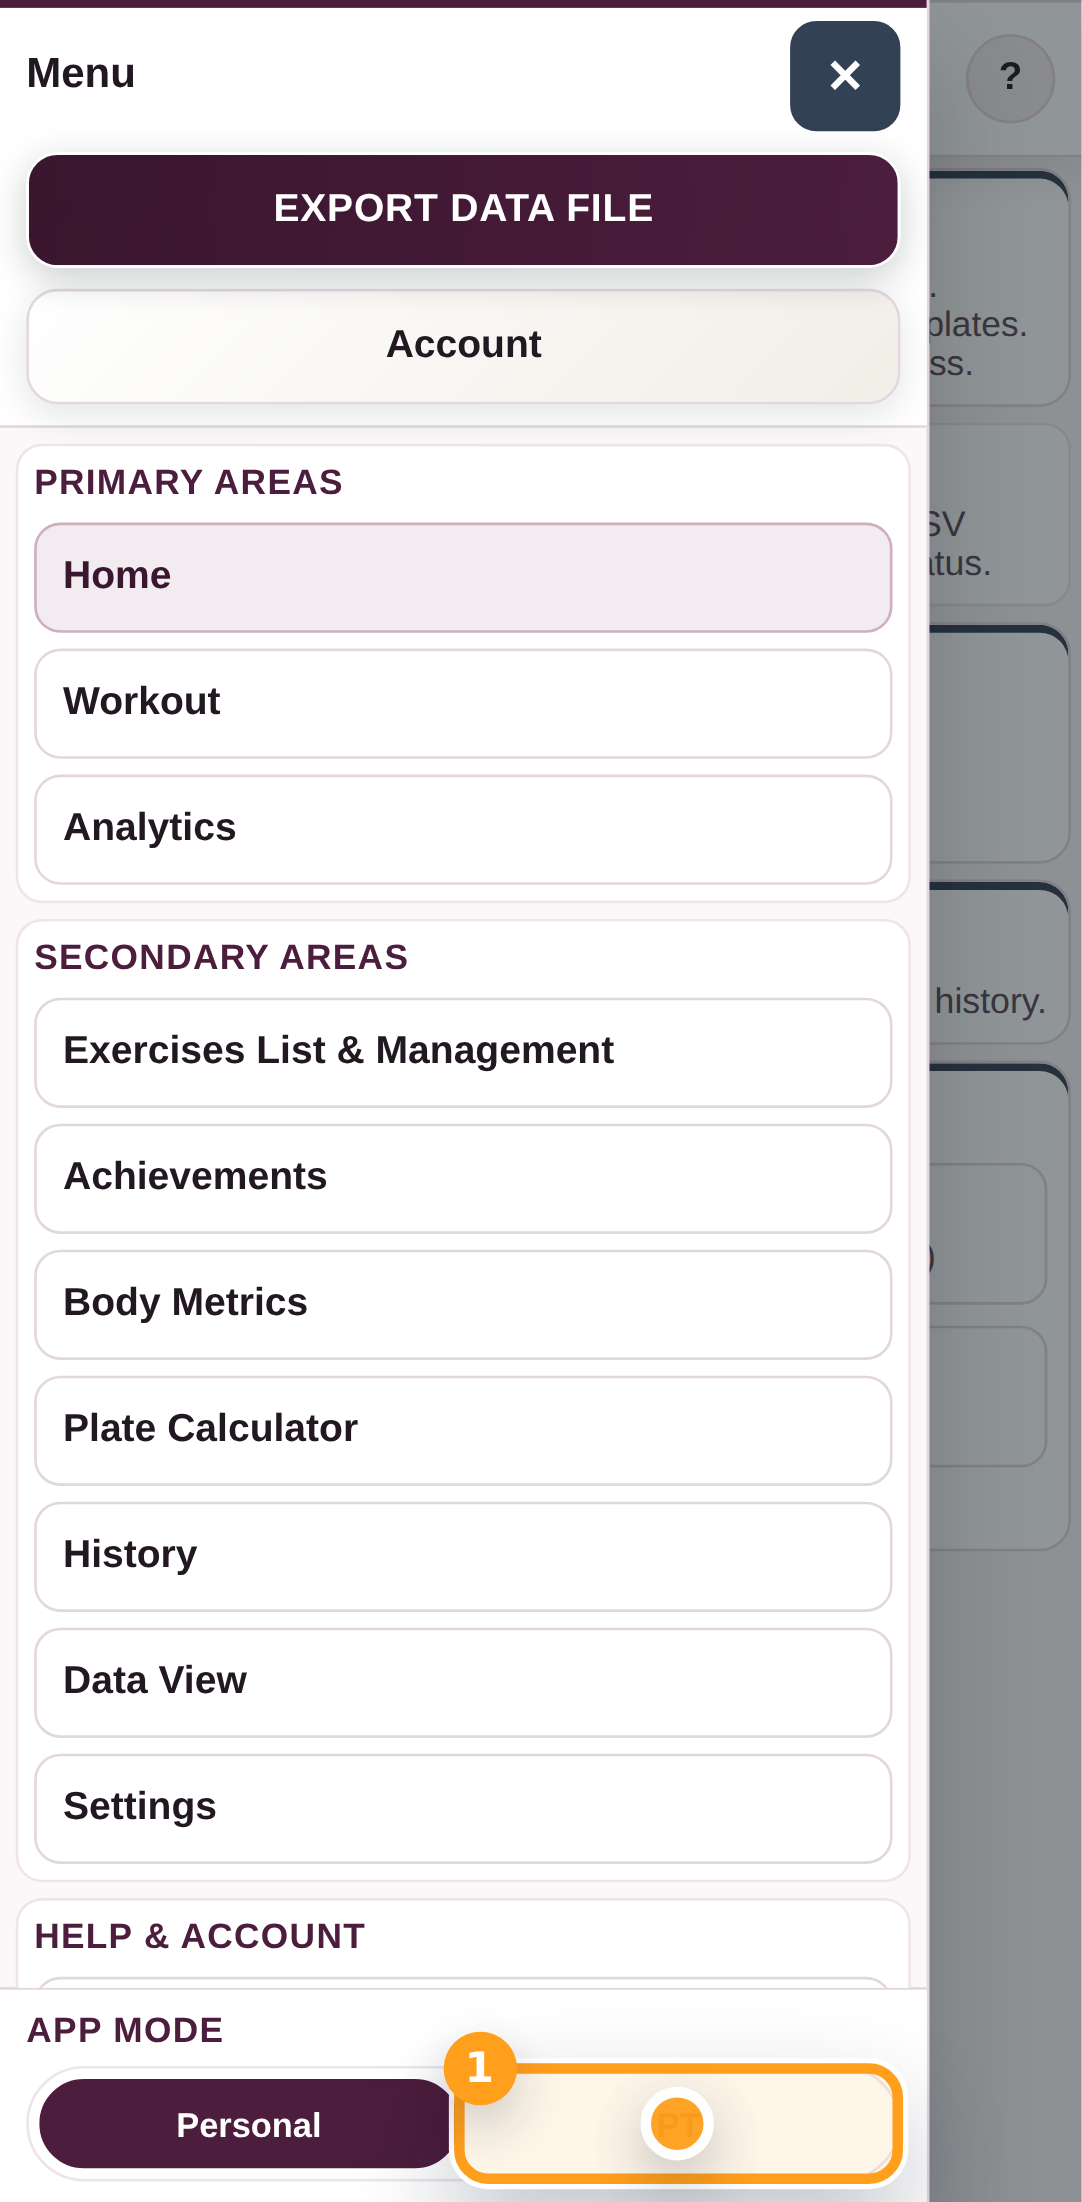
Home > Export Data File